
|
|
 |
|
|
|
Welcome to the Australian Ford Forums forum. You are currently viewing our boards as a guest which gives you limited access to view most discussions and inserts advertising. By joining our free community you will have access to post topics, communicate privately with other members, respond to polls, upload content and access many other special features without post based advertising banners. Registration is simple and absolutely free so please, join our community today! If you have any problems with the registration process or your account login, please contact us. Please Note: All new registrations go through a manual approval queue to keep spammers out. This is checked twice each day so there will be a delay before your registration is activated. |
|
|||||||
 |
|
|
Thread Tools | Display Modes |
|
|
#271 | ||
|
Starter Motor
Join Date: Apr 2012
Posts: 8
|
Great job Paul, and great pictures please keep up the great work I'll follow it with interest. How I found you was I was looking for info of what the colour was on the original Thompson (can type with only a dipstick no filler) power steering pump my Cobra came from the factory with. I want to recon the pump (a bit poor at 88K genuine k's but still lots of years) but want to touch it up before reinstalling. It's a bluey, green industrial metalic or hammer finish any ideas you found in your research or help would be appreciated. Thanks
|
||
|
|

|
|
|
#272 | |||
|
P6 LTD
Join Date: Feb 2005
Location: Perth
Posts: 3,291
|
Quote:
Drive shaft is in 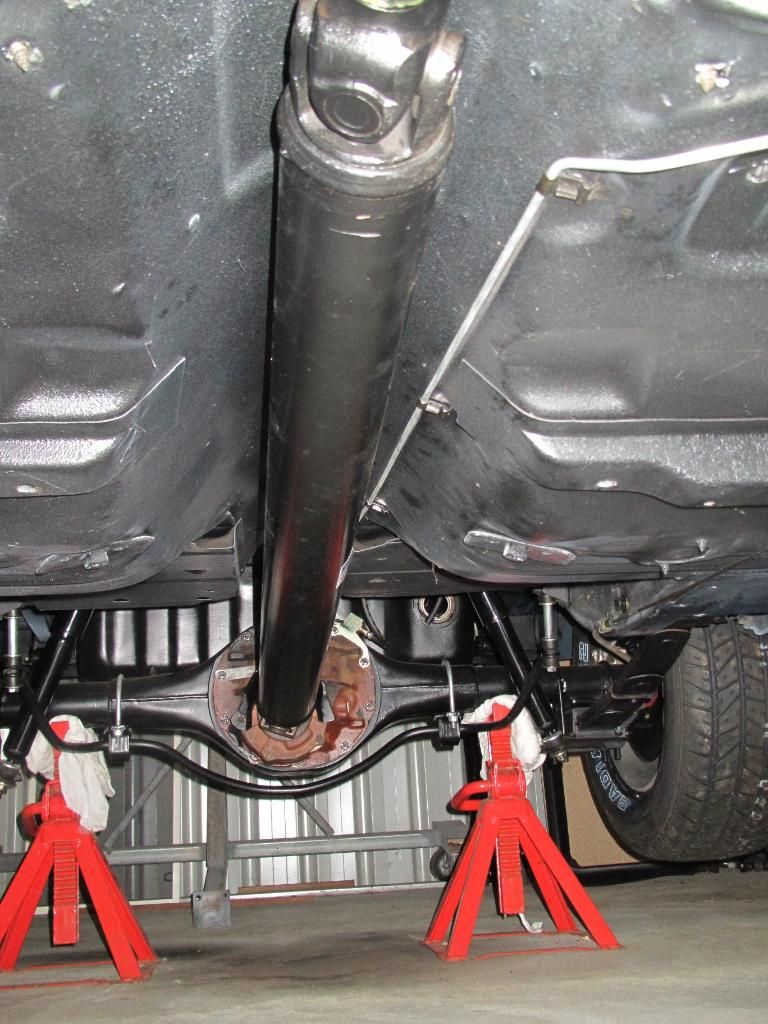 Power steering pump is also in 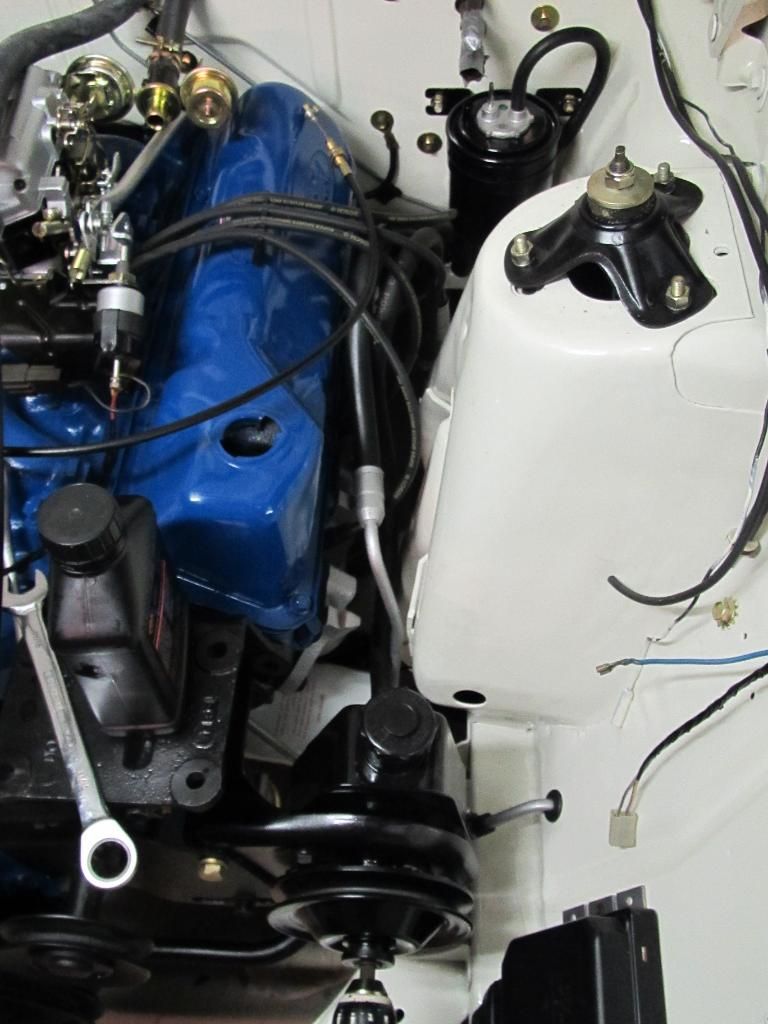 Priming the system 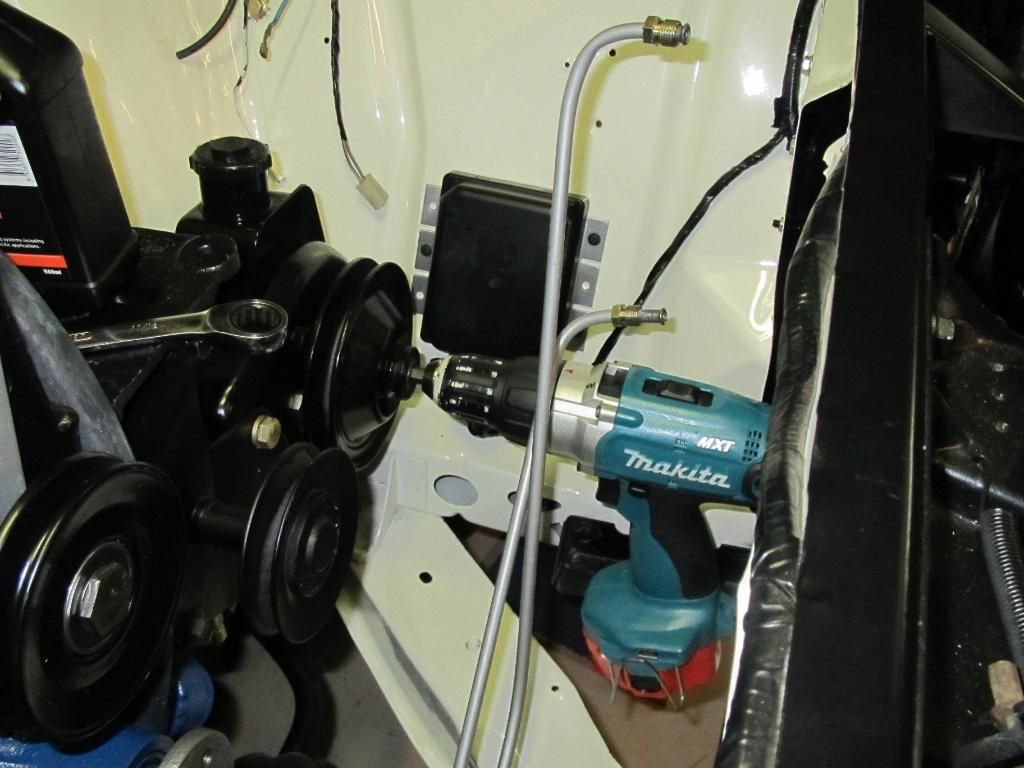 I got a bit lucky here (touch wood) in that I was a bit concerned in having the new power steering box in and no oil to it for quite some time. However, after putting the pump in and turning it over (with no luck), out came the vacuum pump to 'pull' the oil through as compared to pushing it through with the pump. Once that was done, I ran it up for a little while and all appears to be okay (no leaks from the PS box). Hope that remains the same when the engine is started. I have also added some trans oil to the FMX as well as primed the engine lube oil. I stripped an old distributor and now use that is my oil drive with the aforementioned cordless drill. Rocker cover also came off so as to ensure a full supply of oil was coming up through to the rocker gear. 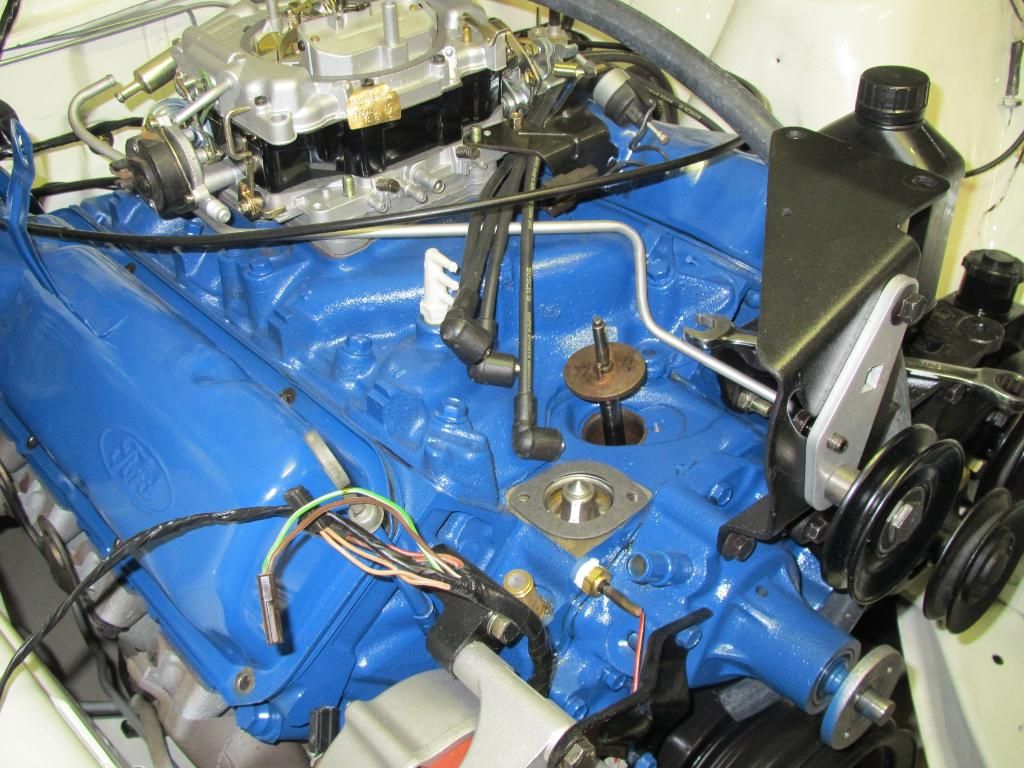
|
|||
|
|

|
|
|
#273 | ||
|
FF.Com.Au Hardcore
Join Date: Mar 2008
Location: Melbourne
Posts: 10,838
|
Very nice Paul.
I am looking at your factory power steering pump with great envy. No leaks and no noise! |
||
|
|

|
|
|
#274 | ||
|
Regular Member
Join Date: Jul 2012
Posts: 173
|
Mate,
Brilliant is the only way to describe, i have started similar project,at painting stage, paint code 9 sno white, engine bay and inners done, looks bit creamy..does that sound right to you.. |
||
|
|

|
|
|
#275 | ||
|
P6 LTD
Join Date: Feb 2005
Location: Perth
Posts: 3,291
|
A few small updates.
I was not happy with the headlights that had been restored so after a number of months, I managed to get a couple of NOS ones. 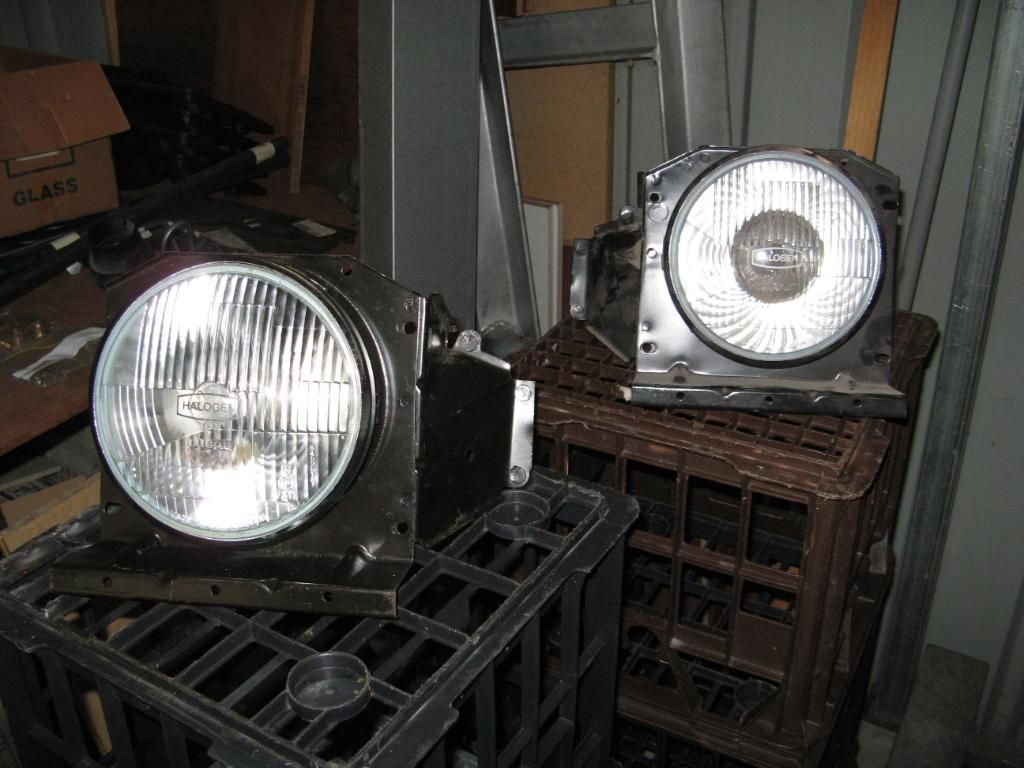 And now fitted to the grille 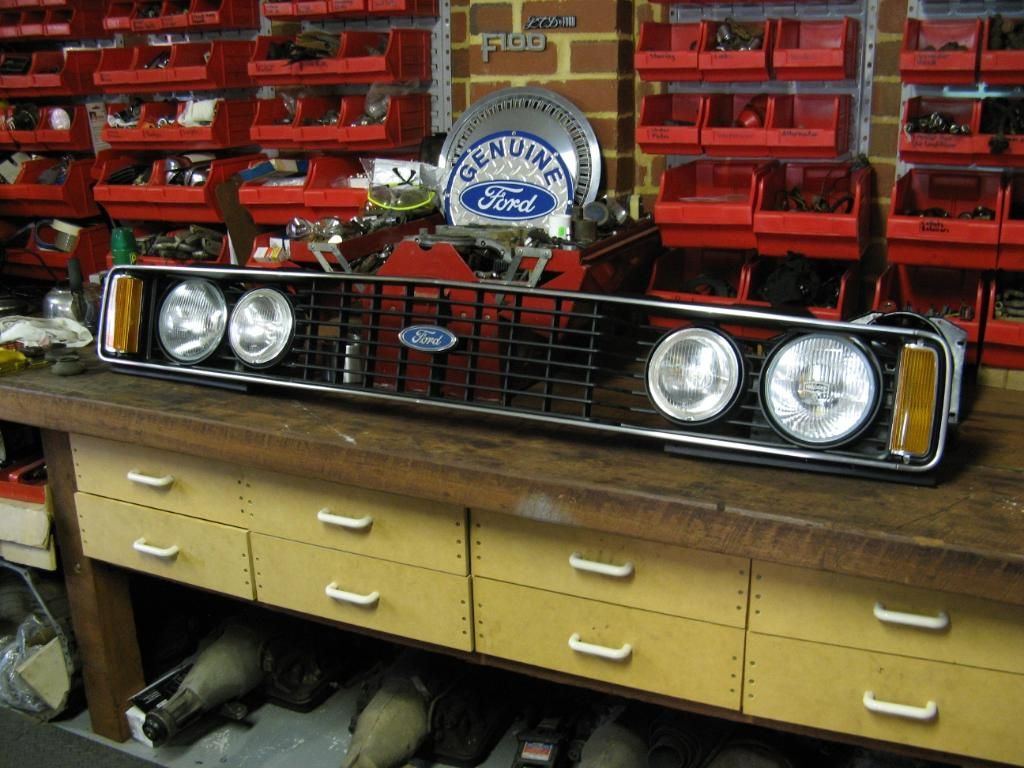 The carby is now on properly and most connections have been done, a pic of underneath from the transmission 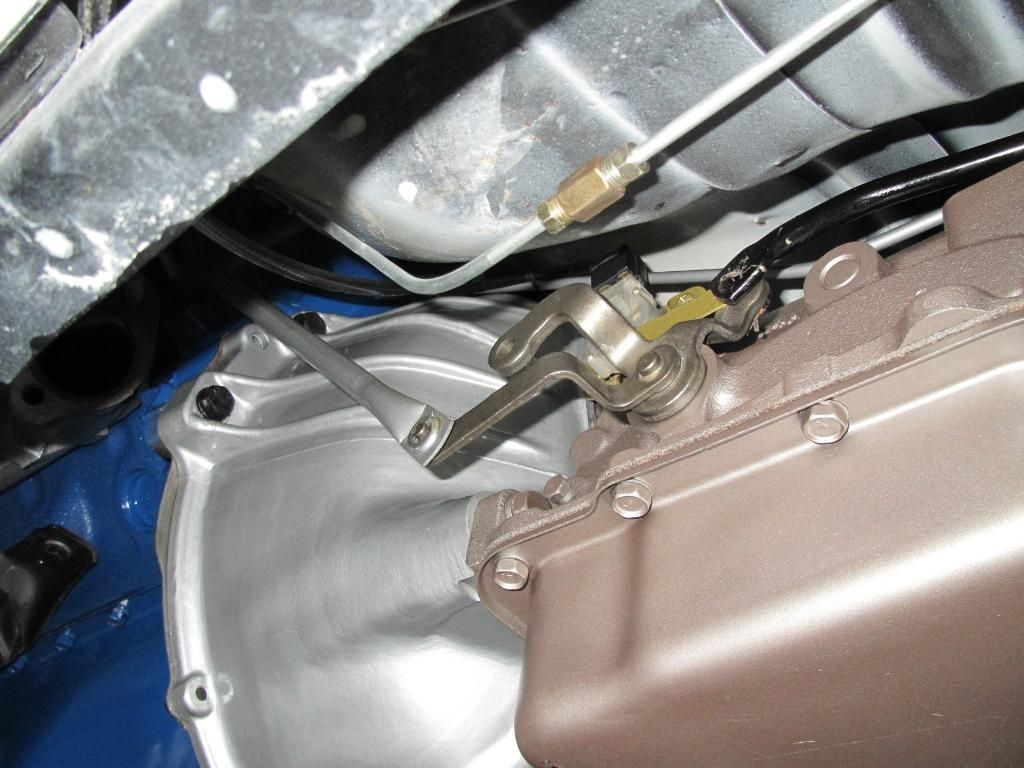 And a few bits that have been bought/reconditioned Radiator 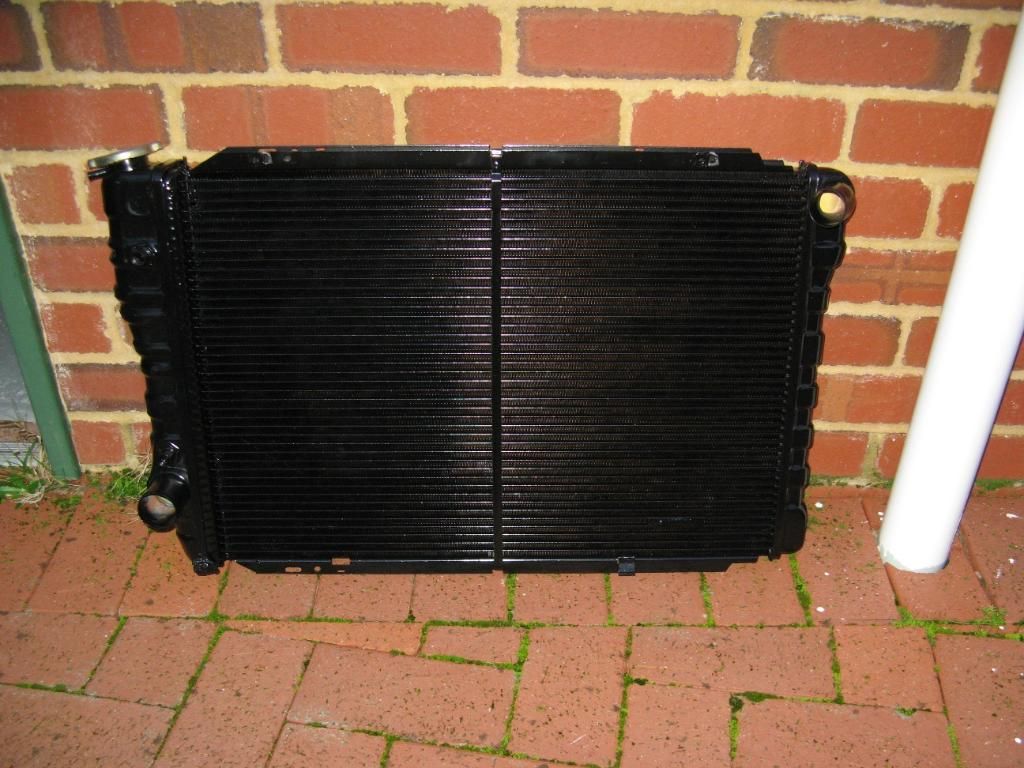 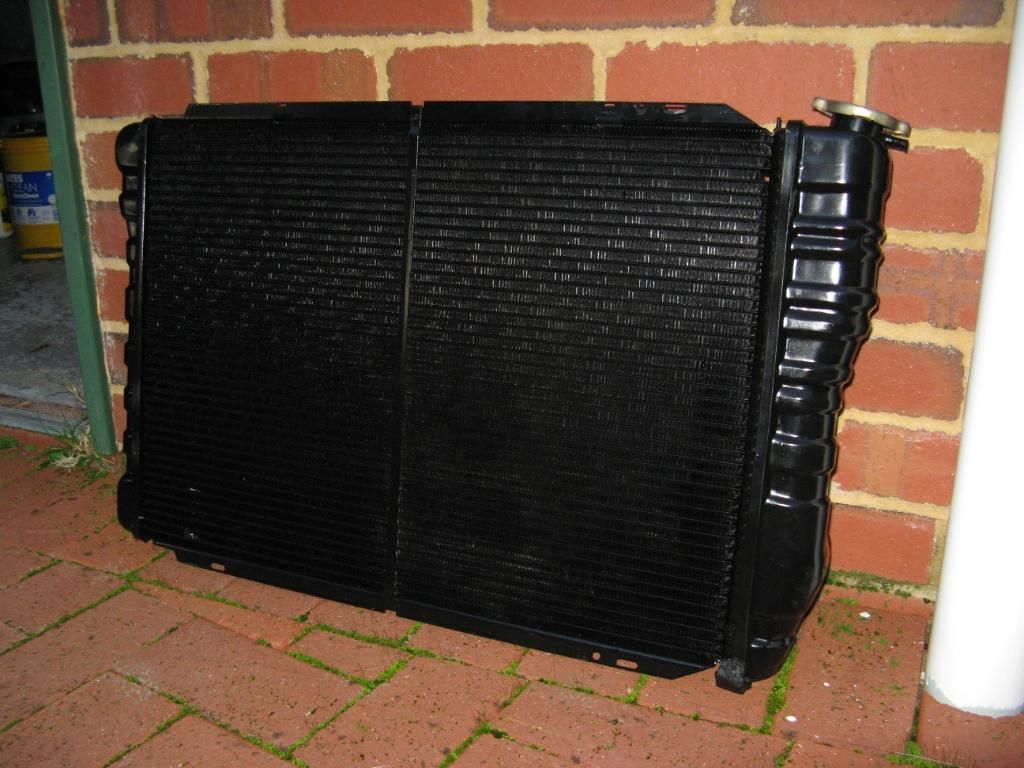 Radiator shrouds (one for the P6 LTD as well), before and after cleaning 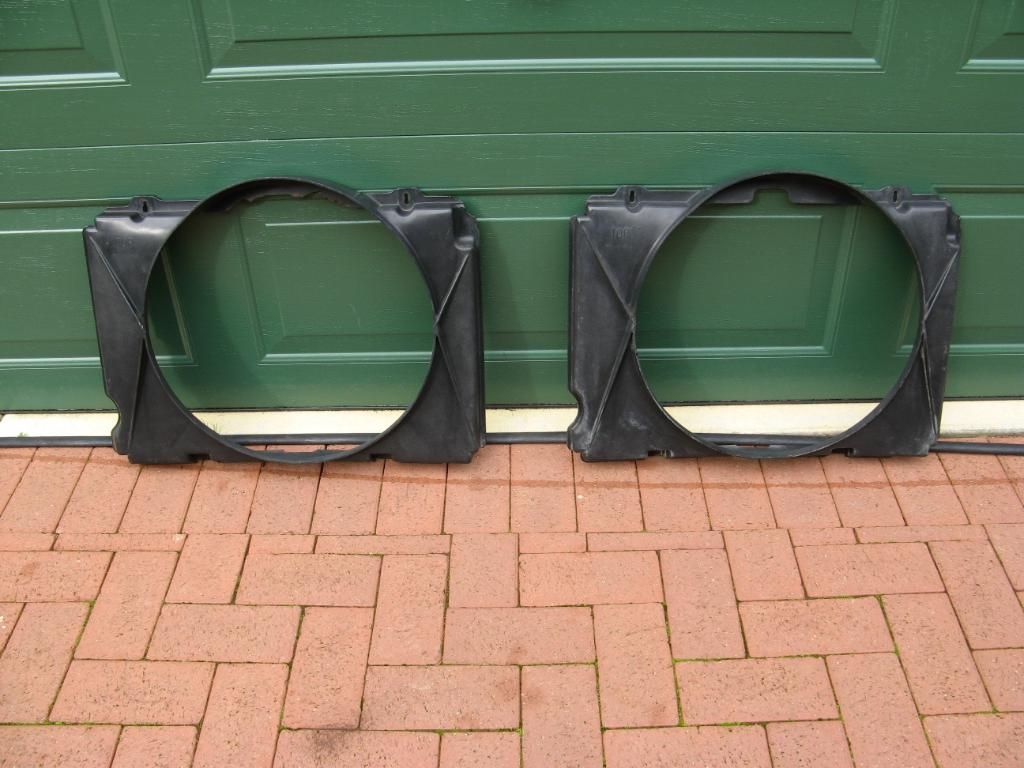 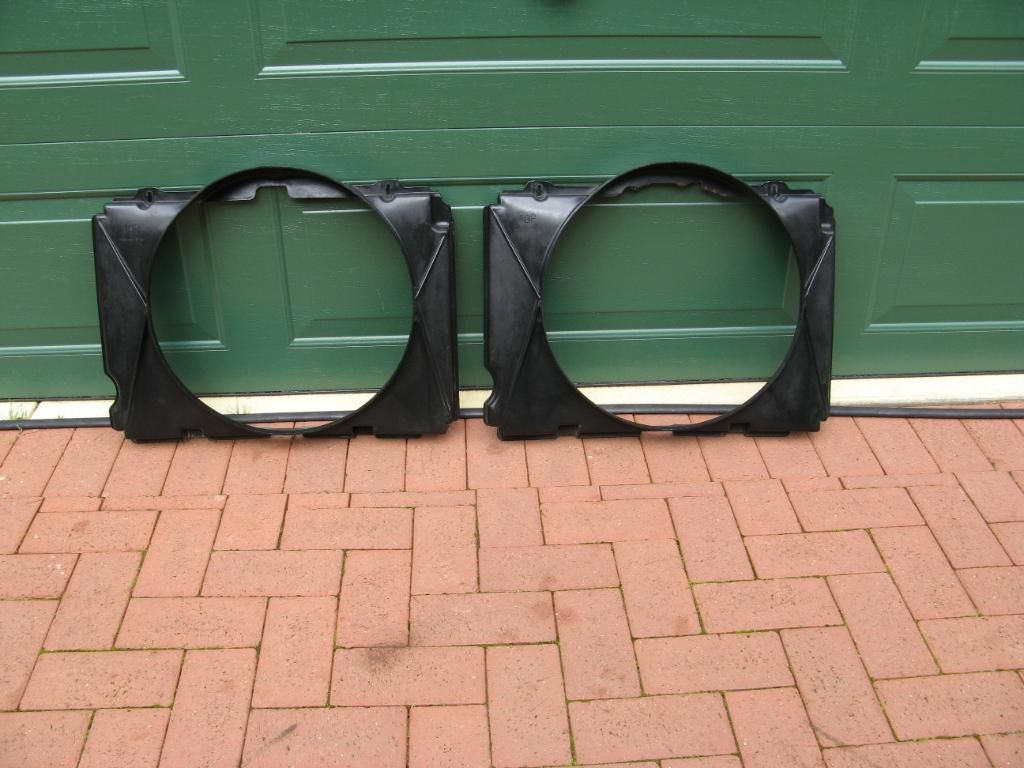 Exhaust system, still need to chase up the collector pipes 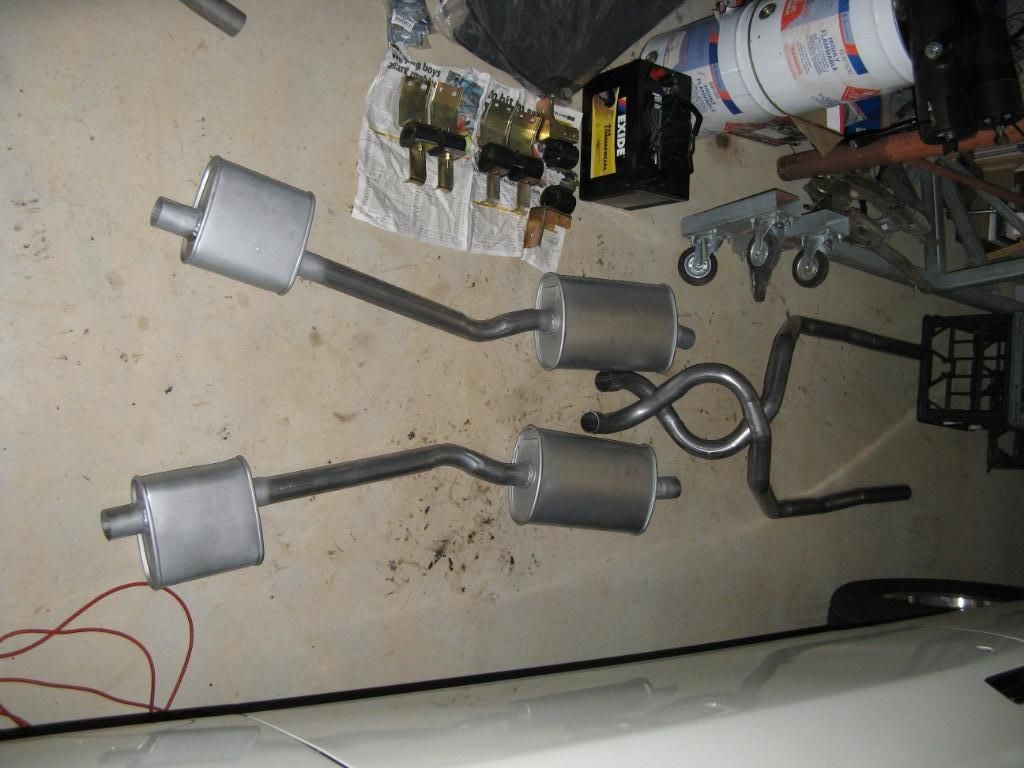 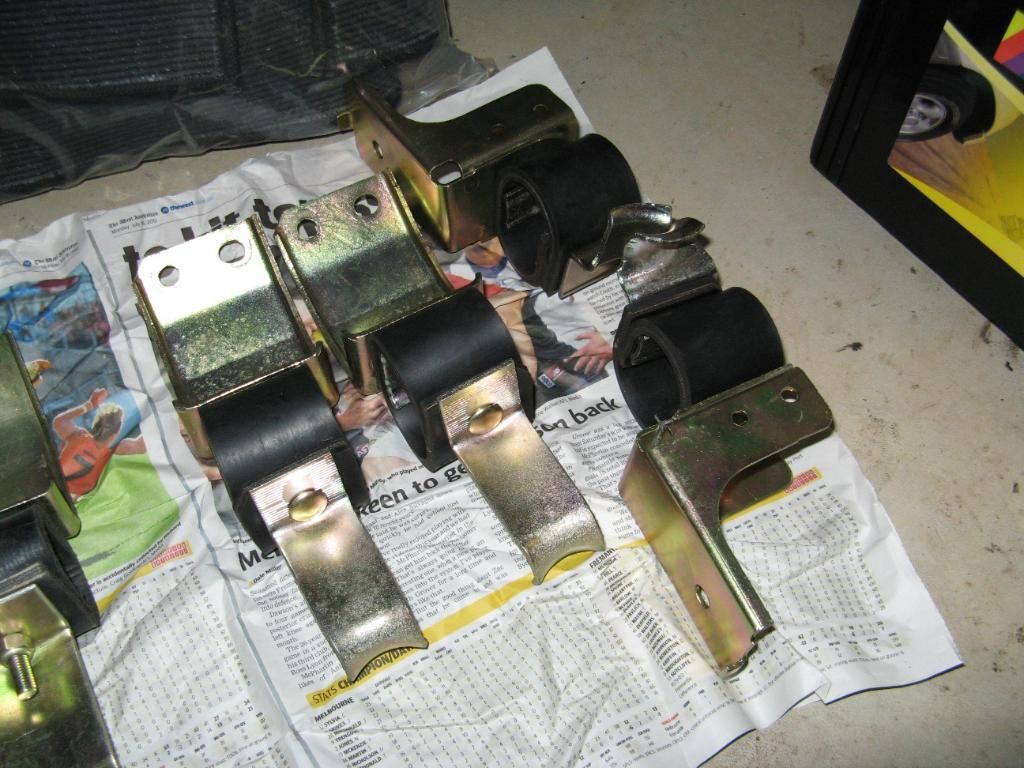 We all love NOS 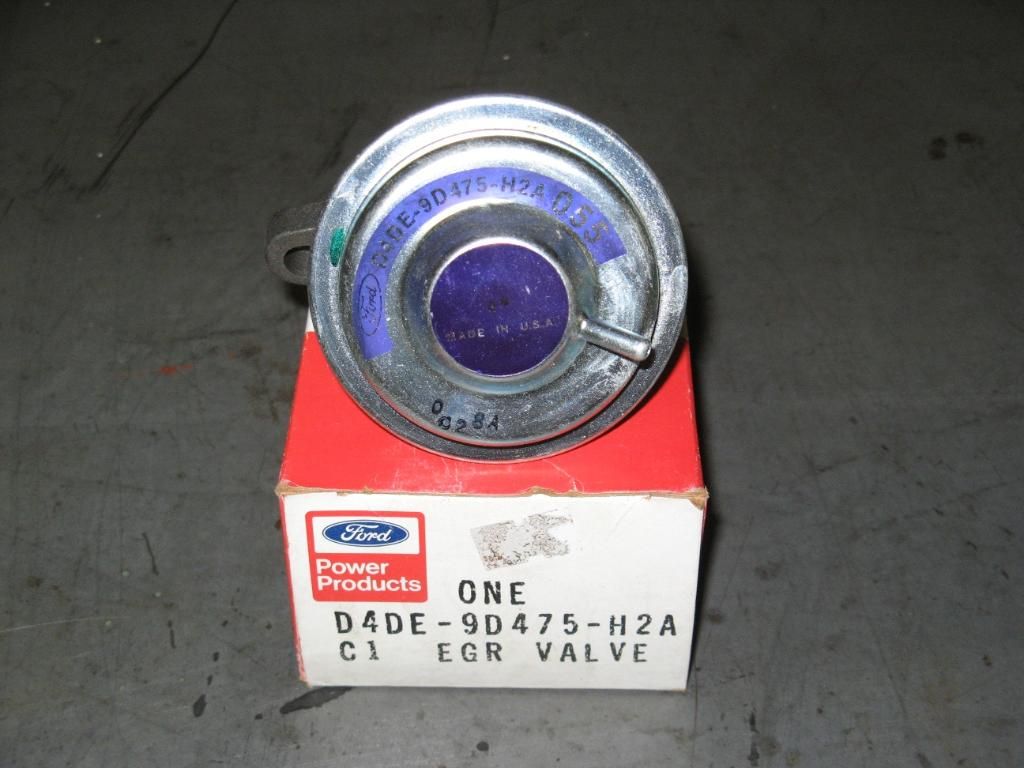 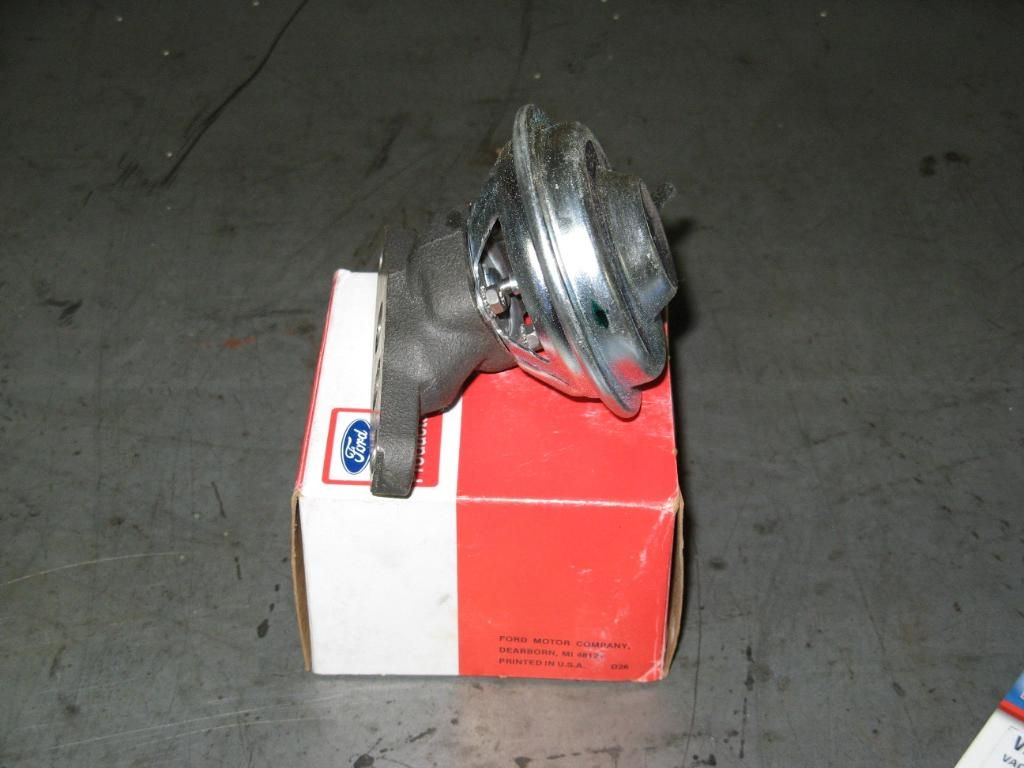 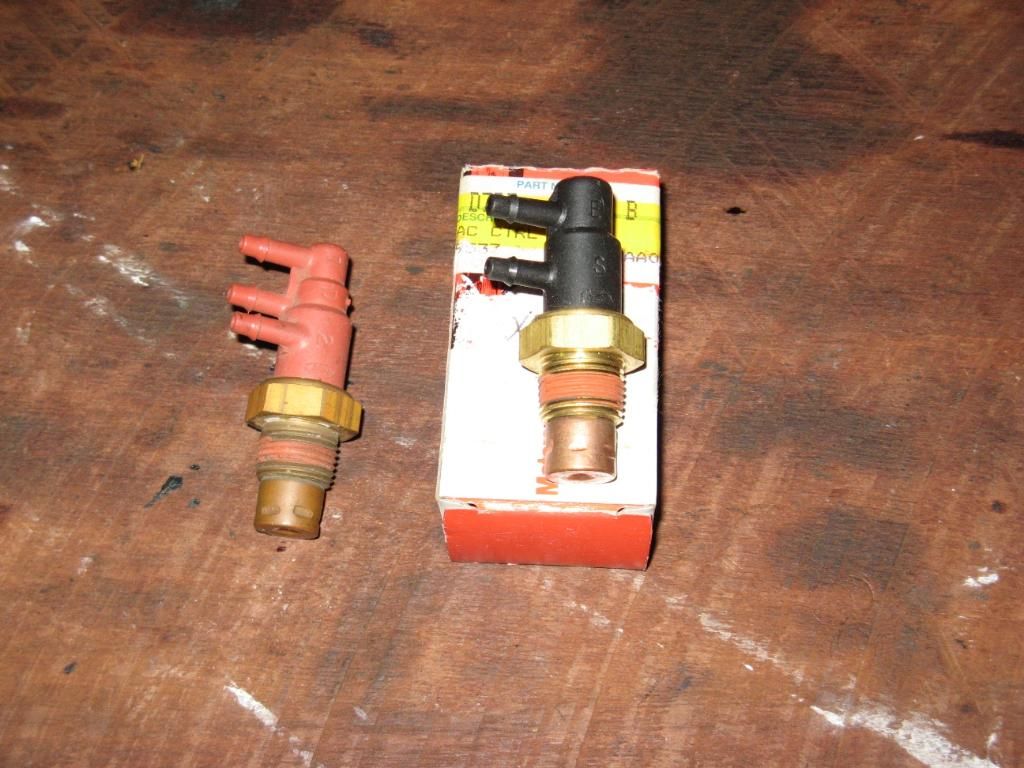 Note to self, always put choke tubes on before installing engine. This is turning out to be a crap job getting these on now 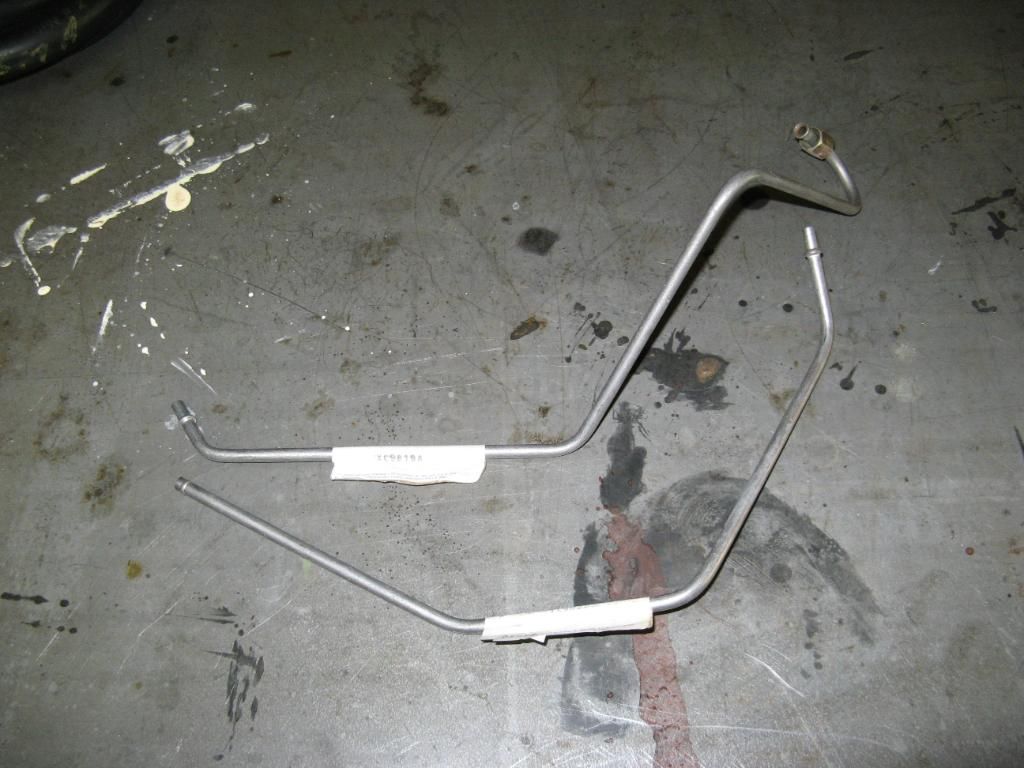 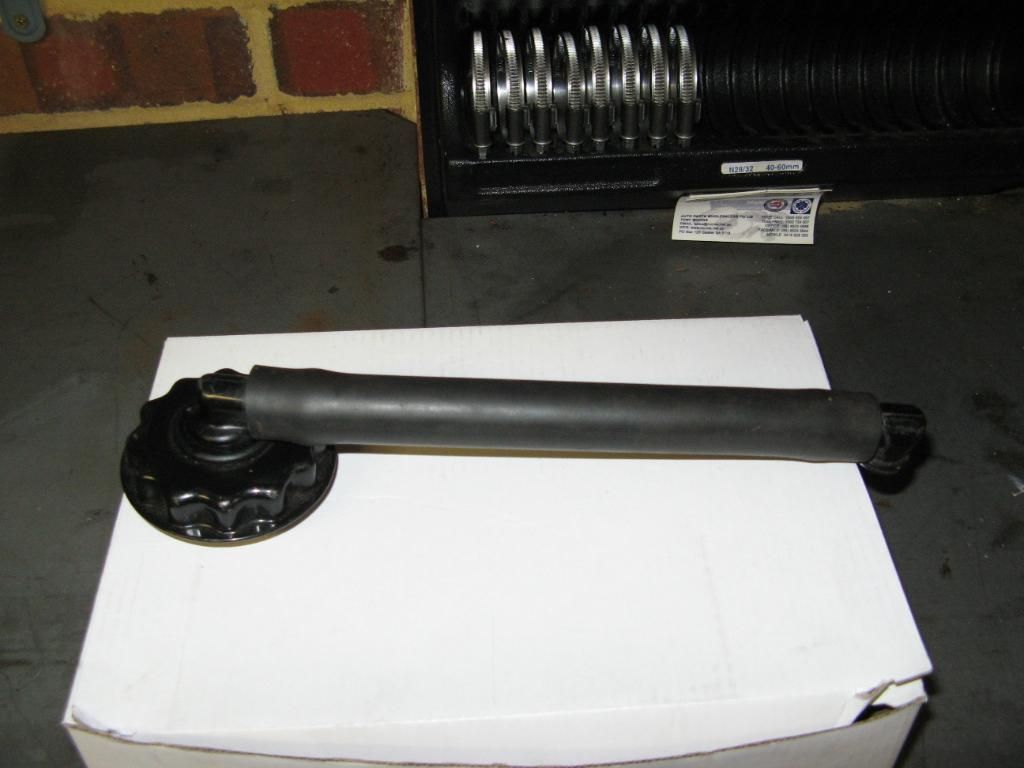 Lucky score here - long range tank NOS fuel sender 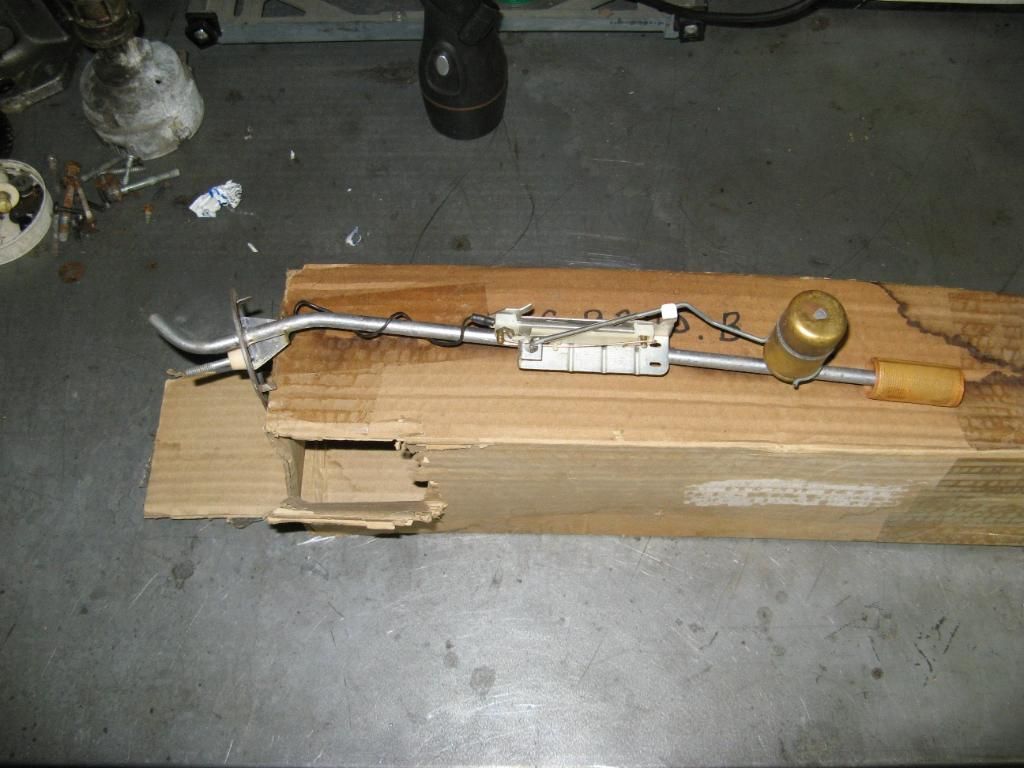 Air conditioning parts New compressor 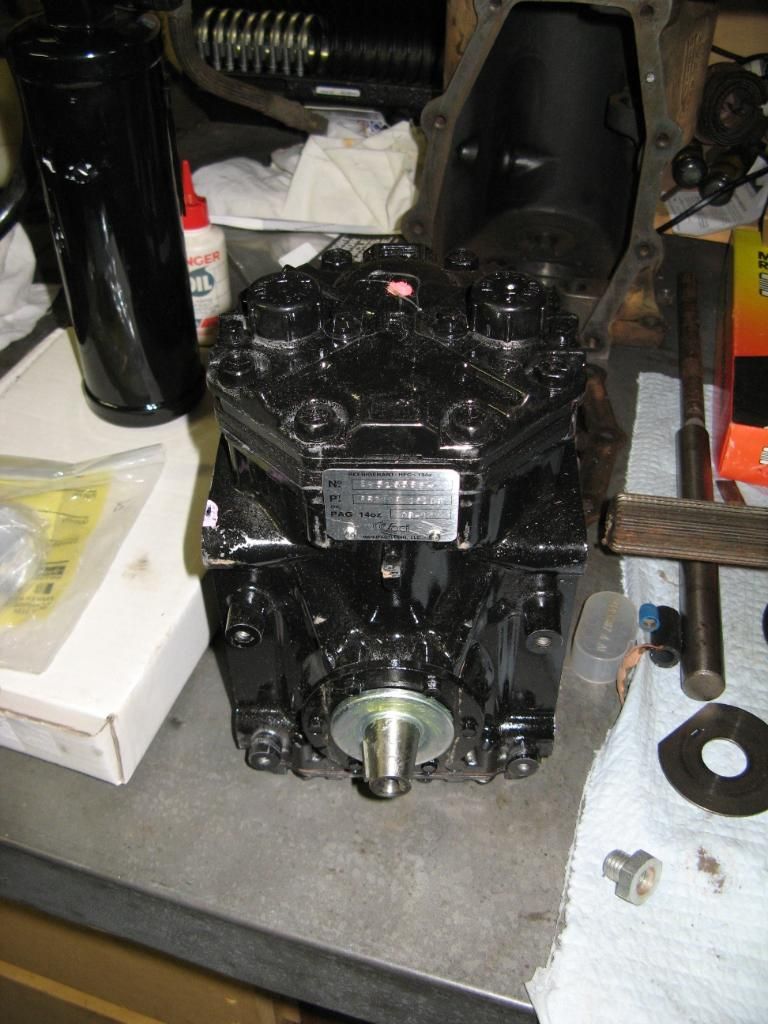 Drier/Receiver 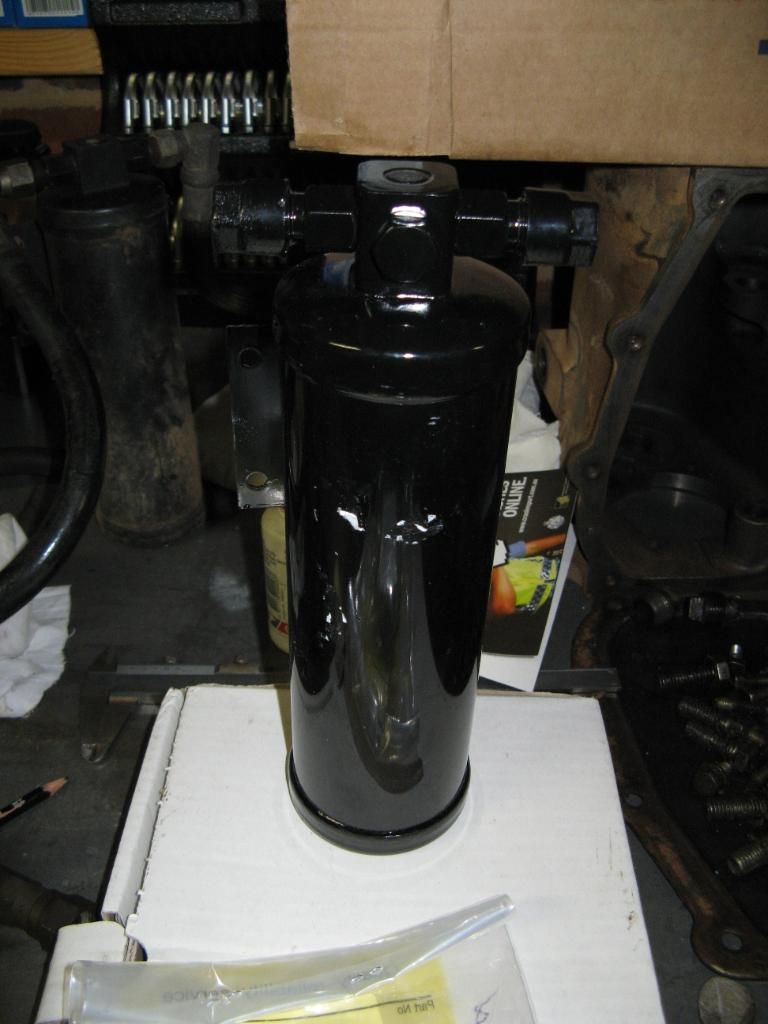 Tx valve 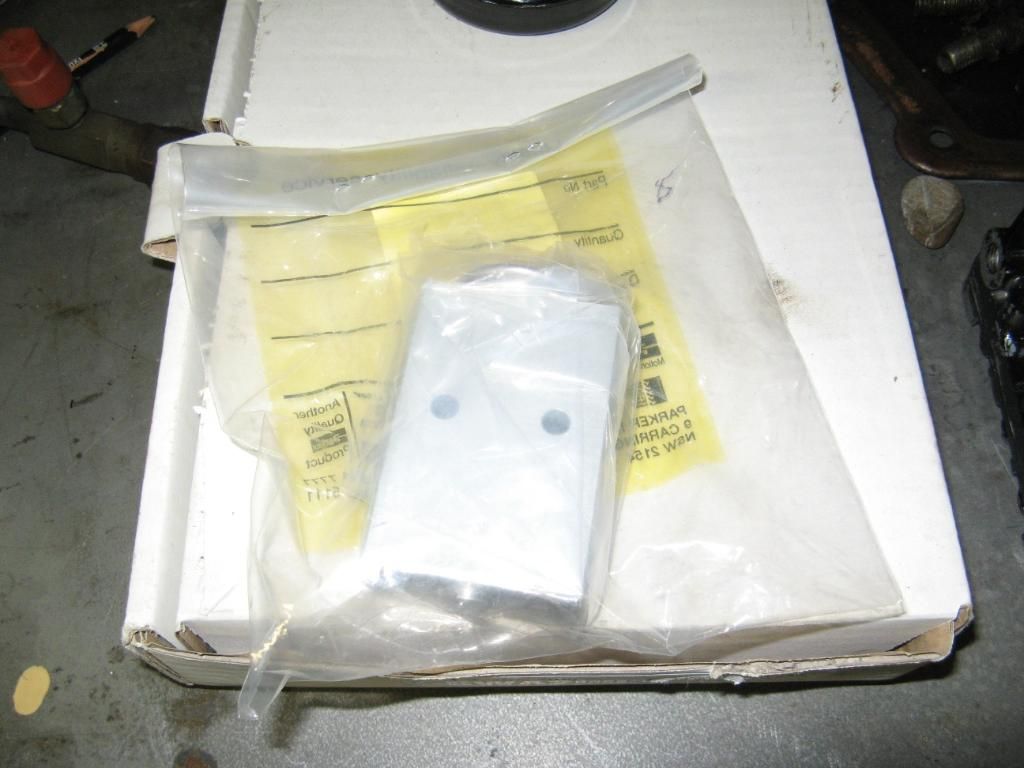 I am currently working on buying all new hoses (plus fittings). The condensor is also being cleaned and pressure tested. Once done, it can go back in along with the radiator, shroud and grille. I have also stripped a few AC compressors so as to get all of the drive pulleys zinced 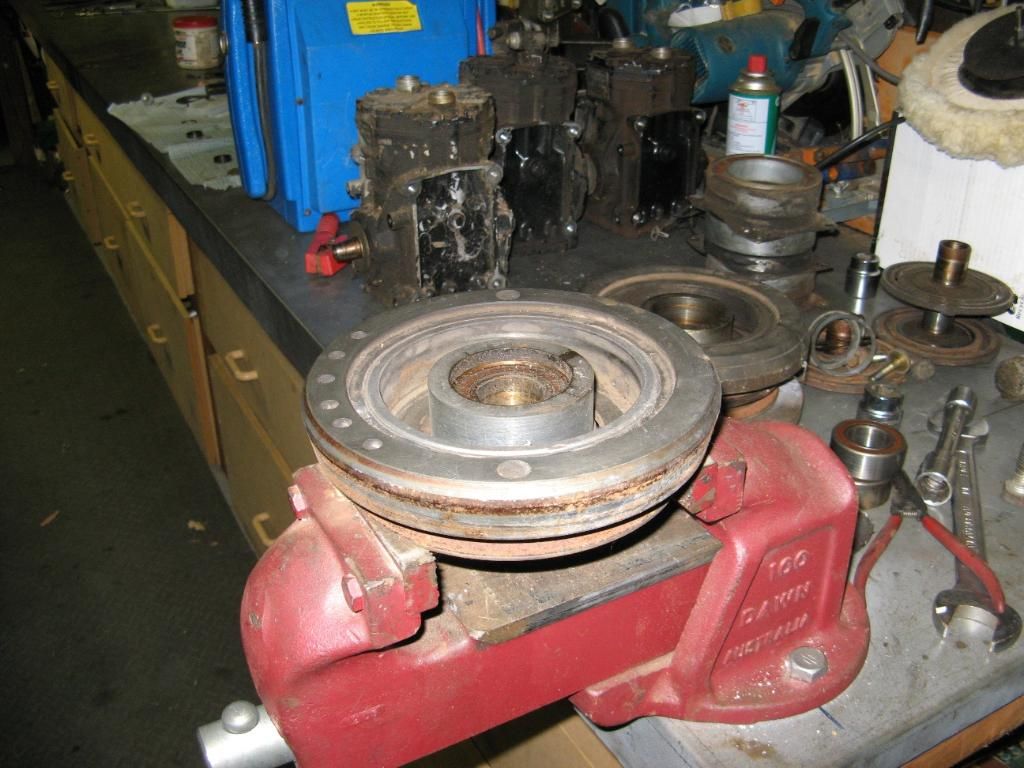 I have asked the question here pertaining to "silver or gold" drive pulleys" I think it is a case of silver, not gold I have tried cleaning up some washer bottles with mixed success Before 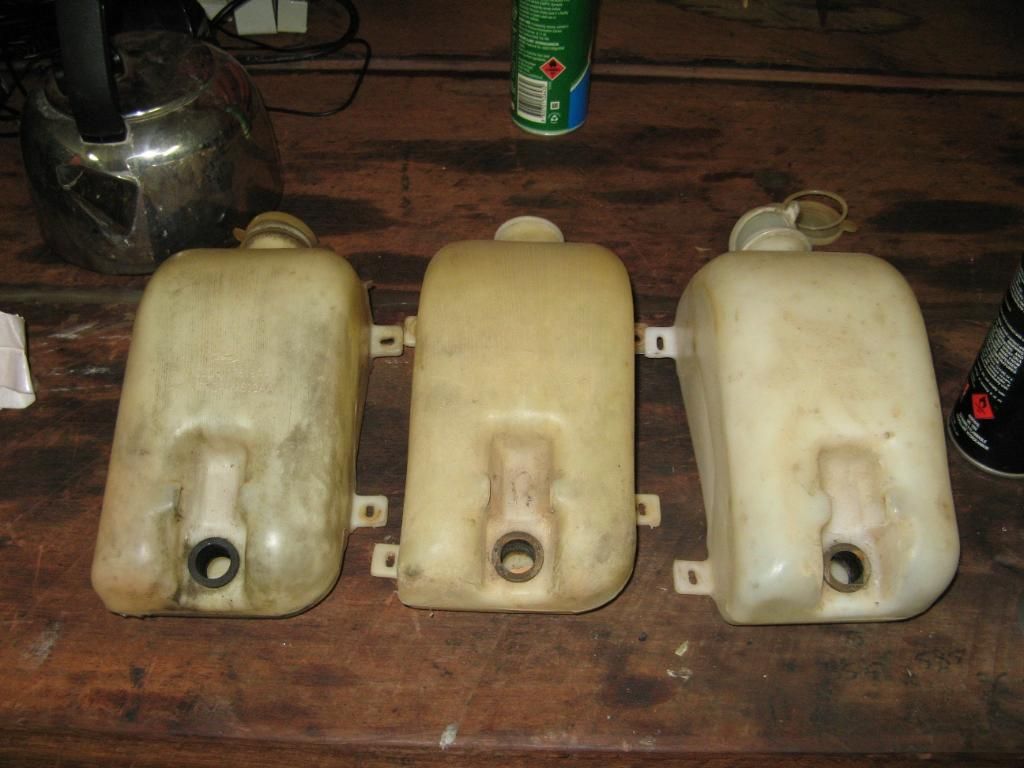 After 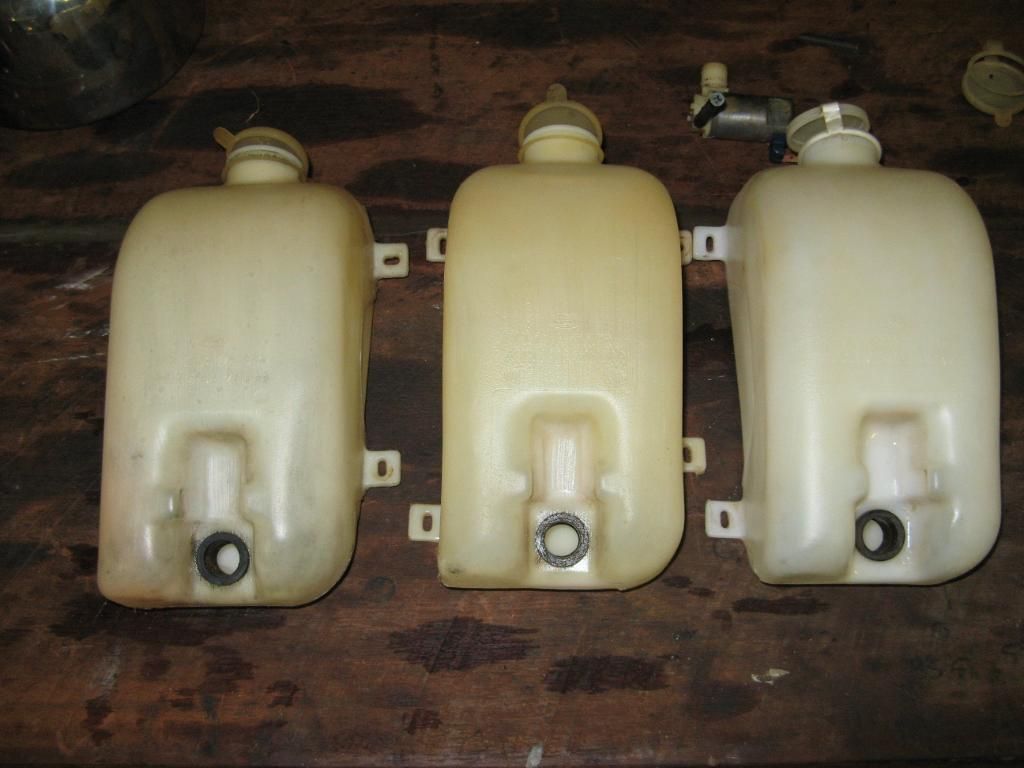 They are clean inside but they are quite yellow on the outside. Will try a few tips from this thread Cleaning washer bottles Hopefully I can get rid of the yellow staining. And a few pics of the engine as it stands now 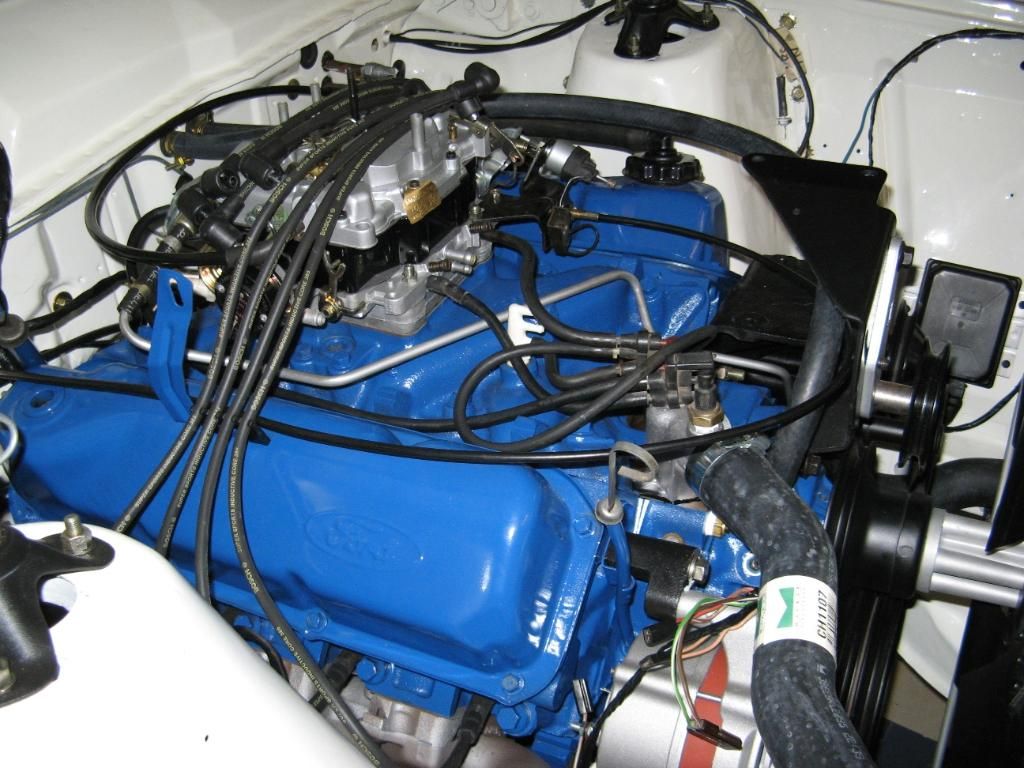 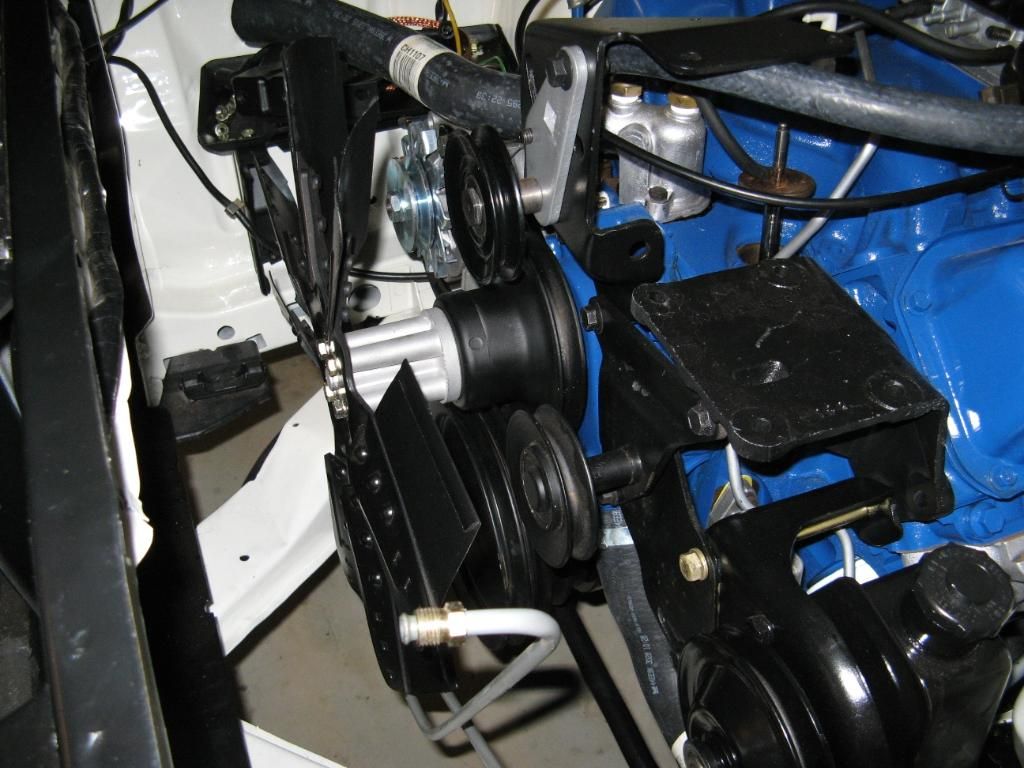
|
||
|
|

|
| This user likes this post: |
|
|
#276 | ||
|
FF.Com.Au Hardcore
Join Date: Sep 2005
Location: Brisbane, Sunny QLD
Posts: 2,377
|
I thoroughly enjoy reading your progress Paull. Thanks for sharing.
__________________
†
|
||
|
|

|
|
|
#277 | ||
|
P6 LTD
Join Date: Feb 2005
Location: Perth
Posts: 3,291
|
A very small update.
I have got the AC hoses back today 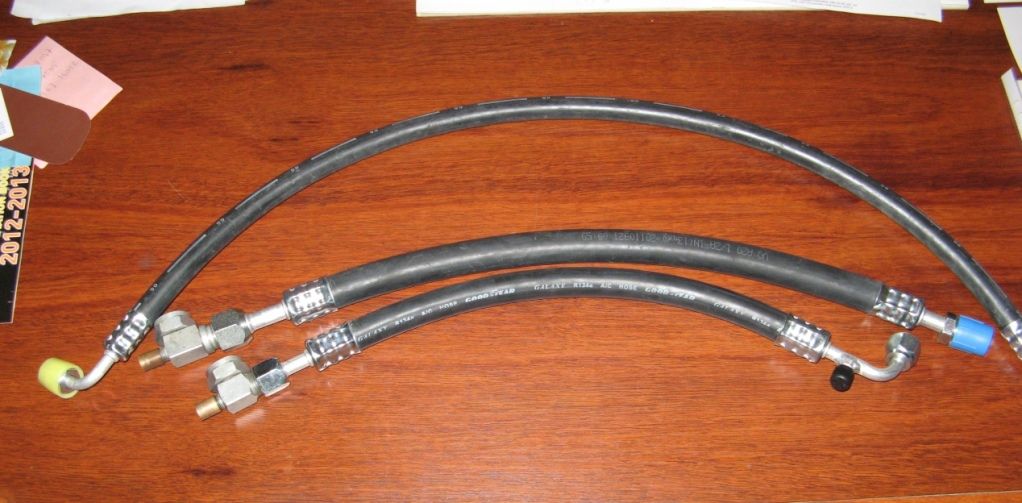 Now I can finish off the engine bay in its entirety. What's interetsing to note is the price of things in the West. After seeing George's Landau thread, I asked how much he paid for his new hoses - $350 in total inclusive of new fittings. I then contacted a local supplier - $880 in total inclusive of new fittings  Fortunately I have a friend in the AC business and the hoses & fittings (only require three as I am going straight from the condenser to to the receiver) was $200. I just can't believe the absolute rip off prices that we are expected to be paying here! |
||
|
|

|
|
|
#278 | ||
|
Donating Member
 Join Date: Jan 2005
Location: Morayfield
Posts: 28,119
|
Did you buy a new TX valve for it and what gas do you plan to run?
__________________
I love Holdens.... |
||
|
|

|
|
|
#279 | |||
|
P6 LTD
Join Date: Feb 2005
Location: Perth
Posts: 3,291
|
Quote:
|
|||
|
|

|
|
|
#280 | ||
|
Donating Member
 Join Date: Jan 2005
Location: Morayfield
Posts: 28,119
|
That's what I am planning too. Where abouts did you buy the TX valve and rotolock connections from? Are the TX valves still available for the lower pressure gas?
Love your work BTW, great job
__________________
I love Holdens.... |
||
|
|

|
|
|
#281 | ||
|
FF.Com.Au Hardcore
Join Date: Apr 2008
Posts: 1,264
|
Awesome Paull, my favourite build. Its only subtle but if you don't get the right lights for the twin headlight grill front, it just doesn't look the right.
|
||
|
|

|
|
|
#282 | |||
|
Regular Member
Join Date: Aug 2011
Location: Perth WA
Posts: 216
|
Quote:
Yes, seems we get ripped off a bit in WA. Every business seems to think they can add a huge margin cos we live in a mining state and we are "booming". It must be this mentality that causes a difference of $530 in your case, as the freight component from the east wouldn't even be close to $530. Then they wonder why we look elsewhere like overseas or eastern states to buy products!
__________________
http://www.fordforums.com.au/showthread.php?t=11351327 |
|||
|
|

|
|
|
#283 | ||
|
FF.Com.Au Hardcore
Join Date: Mar 2008
Location: Melbourne
Posts: 10,838
|
AC hoses is a funny one
I paid $350ish in total but had two more hoses The long power steering one that runs under the car cost me $120 alone $800 is just plain wrong |
||
|
|

|
|
|
#284 | |||
|
FF.Com.Au Hardcore
Join Date: Jan 2009
Location: Perth
Posts: 1,633
|
Quote:
Looks like it is coming along (slowly) nicely mate. Can't wait to see it on the streets of Perth! Mine is actually in getting panelled right now too. |
|||
|
|

|
|
|
#285 | |||
|
P6 LTD
Join Date: Feb 2005
Location: Perth
Posts: 3,291
|
Quote:
|
|||
|
|

|
|
|
#286 | |||
|
P6 LTD
Join Date: Feb 2005
Location: Perth
Posts: 3,291
|
Quote:
|
|||
|
|

|
|
|
#287 | |||
|
P6 LTD
Join Date: Feb 2005
Location: Perth
Posts: 3,291
|
Quote:
|
|||
|
|

|
|
|
#288 | |||
|
FF.Com.Au Hardcore
Join Date: Jan 2009
Location: Perth
Posts: 1,633
|
Quote:
|
|||
|
|

|
|
|
#289 | |||
|
Regular Member
Join Date: Aug 2011
Location: Perth WA
Posts: 216
|
Quote:
I'm the same with Autopro Morley. Always give him the option to beat a price and 70% of time can. It's just on performance parts or specialist parts that he can't come close sometimes.
__________________
http://www.fordforums.com.au/showthread.php?t=11351327 |
|||
|
|

|
|
|
#290 | ||
|
Authorised Tank Commander
Join Date: Feb 2009
Location: Perth Wa
Posts: 136
|
Looking good Paul, I will have to come out soon and check up on it...
__________________
***1978 XC Falcon 500 Rallypack sedan*** ***351, FMX, 9inch*** |
||
|
|

|
|
|
#291 | |||
|
FF.Com.Au Hardcore
Join Date: Apr 2008
Posts: 1,264
|
Quote:
|
|||
|
|

|
|
|
#292 | ||
|
Regular Member
Join Date: Sep 2009
Location: Perth
Posts: 104
|
The old coupe is looking good Paul, very nice rebuild.
 To clean up the water bottles try this trick I use to clean up old yellowed Lego parts. http://www.brothers-brick.com/2009/0...look-new-news/ I don't know what type of plastic the bottle is made of but its worth a go, some parts I have done have taken up to 2 weeks under a light to get clean but the results are amazing.
__________________
XC Fan Boy IWCMOGTVM Club Supporter (I Will Change My Own Gears Thankyou Very Much) Improvise, Adapt, Overcome |
||
|
|

|
|
|
#293 | ||
|
P6 LTD
Join Date: Feb 2005
Location: Perth
Posts: 3,291
|
I took a week off recently and have made some good progress on the car. to start with, as mentioned before, I had bought some NOS head light assemblies off eBay. One of the came with a lamp but the other did not. The issue here was that of the being an old style relfector, the usual H4-7's do not fit. The original lamp fortunately came with part numbers so after a quick google search, I found this page
http://www.donsbulbs.com/cgi-bin/r/b...Cp36t~ece.html At $57 each, I thought, perhaps not! I then further searched eBay and all other sites, to no avail. I then contacted my local car shop and they said that these had not been available for a long time. From the other web page, I had managed to get further information concerning these globes so it was then a case of back to goolge and I found this http://www.cp-lighting.co.uk/H4-12V-60-55W-P36T-463 As can be seen, at a price of £4.62 compared to $57, the choice was pretty obvious. Only problem was postage - $85  Me being me, left it to the last minute and had buy them at any rate. So, I bought 5; 1 for the missing head light and 4 spares. About 1 week later, they turned up and this was the first job for the week off. Me being me, left it to the last minute and had buy them at any rate. So, I bought 5; 1 for the missing head light and 4 spares. About 1 week later, they turned up and this was the first job for the week off.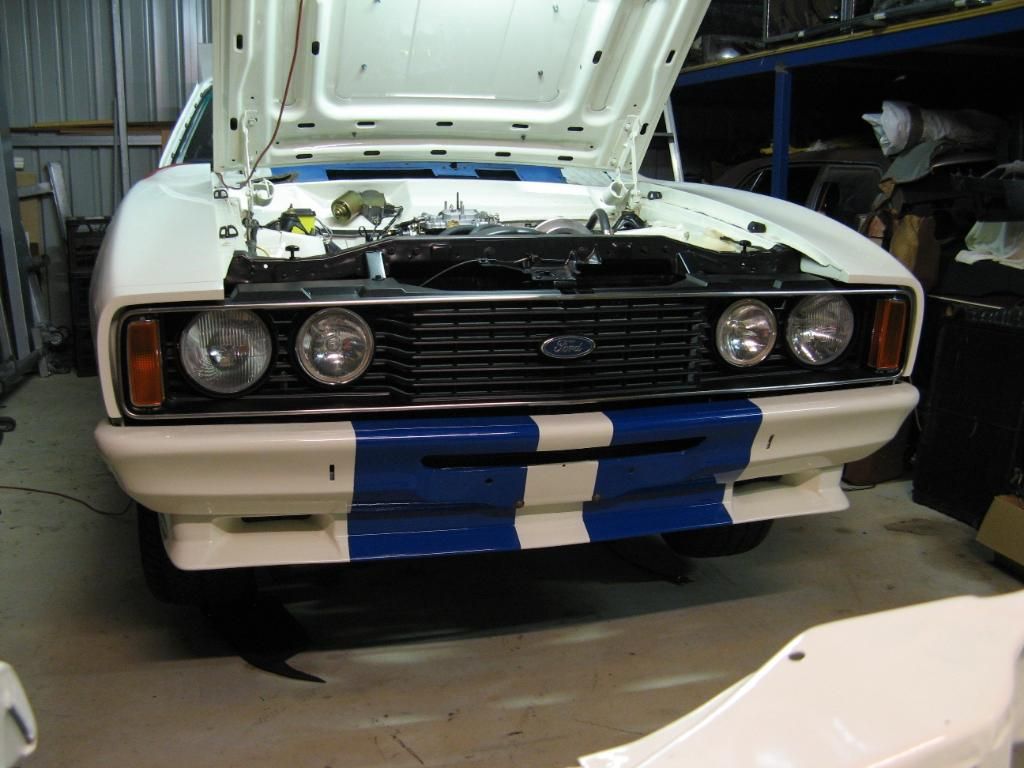 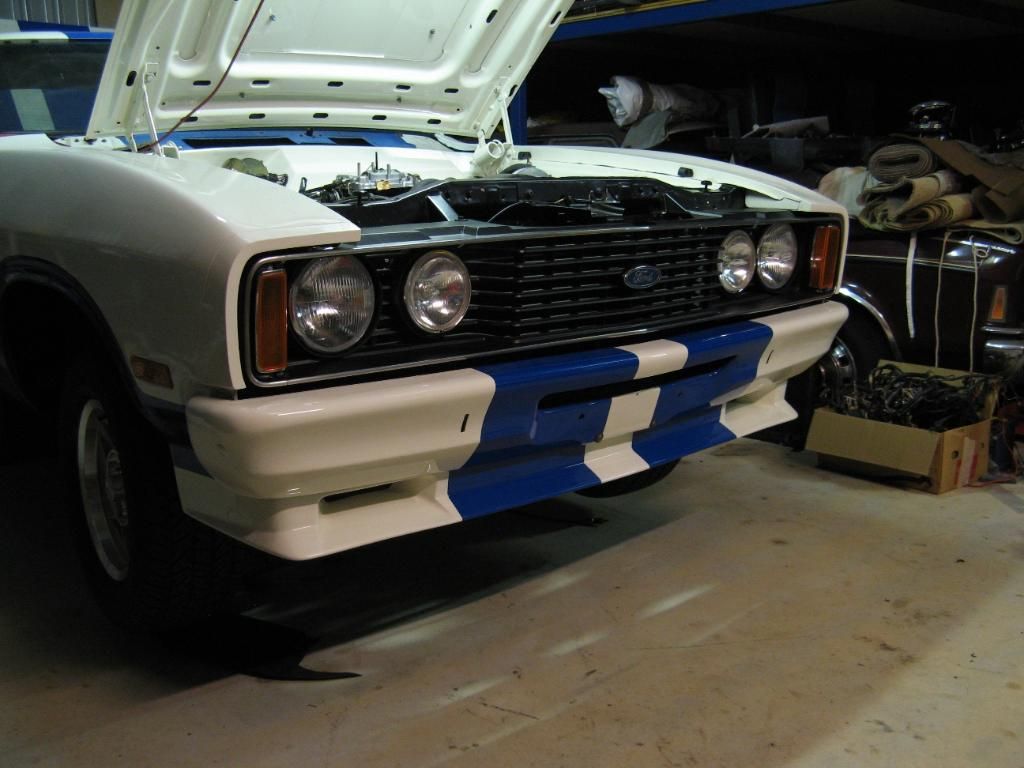 Next was completing the AC compressor.I had also recently got the zinced parts back and the clutch turned out well but the flywheel was not as good as expected. When I spoke with them at pick up time, they had said that they blast the flywheels first. I think that this is part of the problem. The face of the metal is not as you would normally see with blasting but I think next time, I would get the flywheels plastic media blasted first. 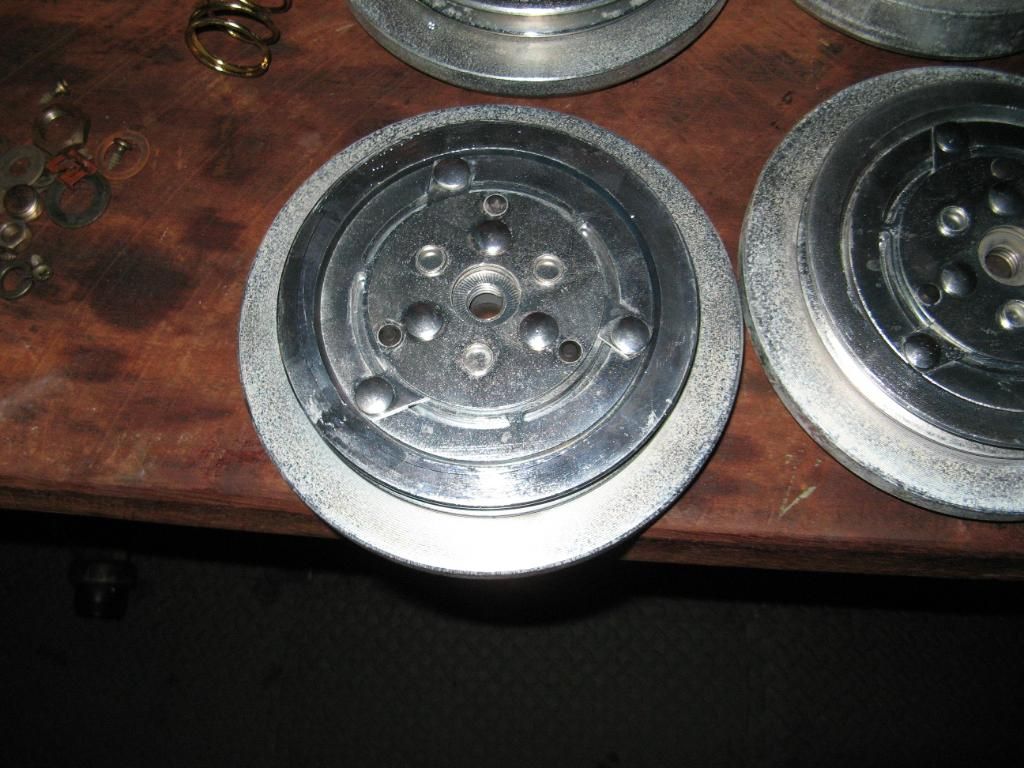 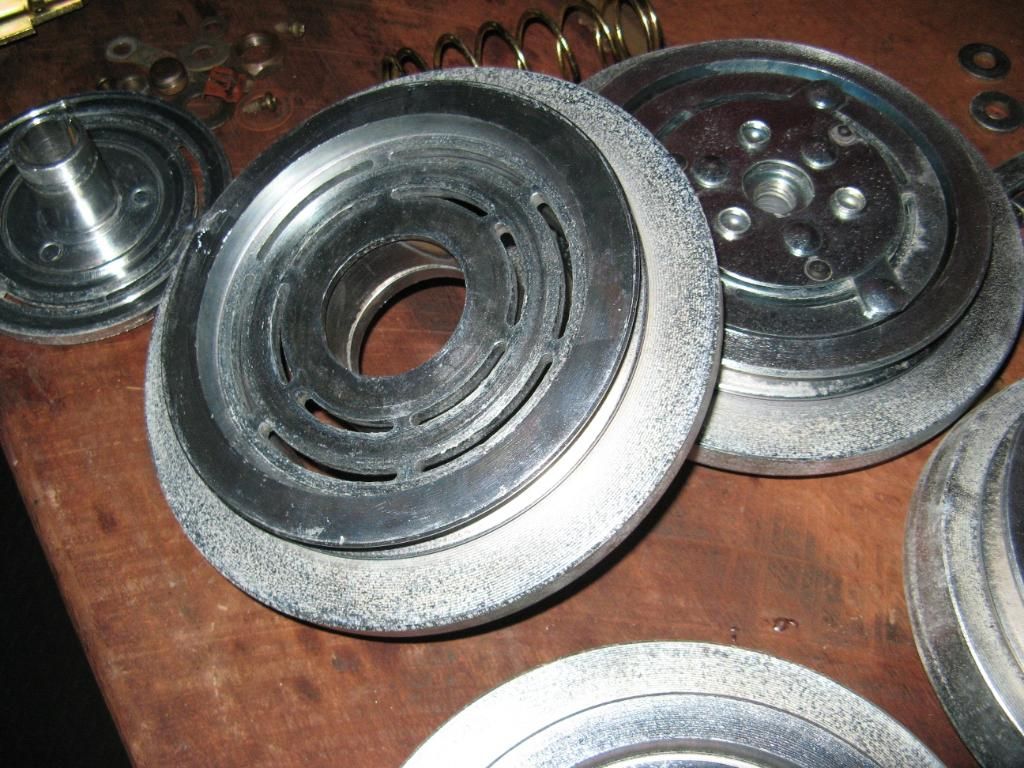 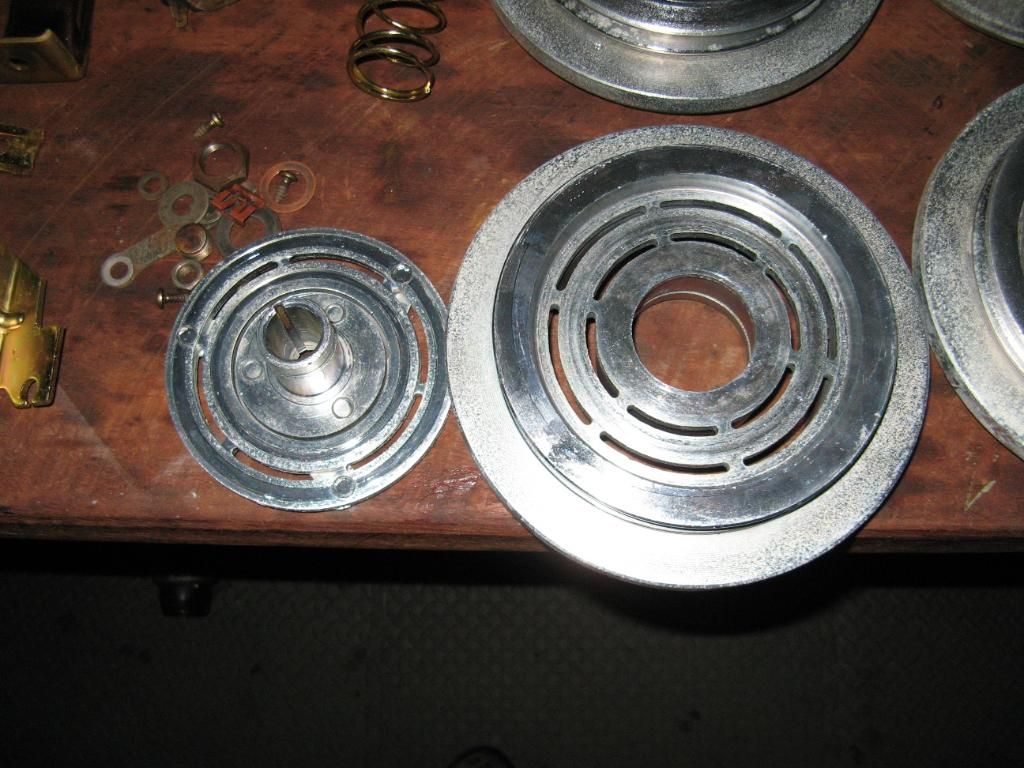 At any rate, as it had to be assembled and I had bought the bearings, it was then re-assembled. 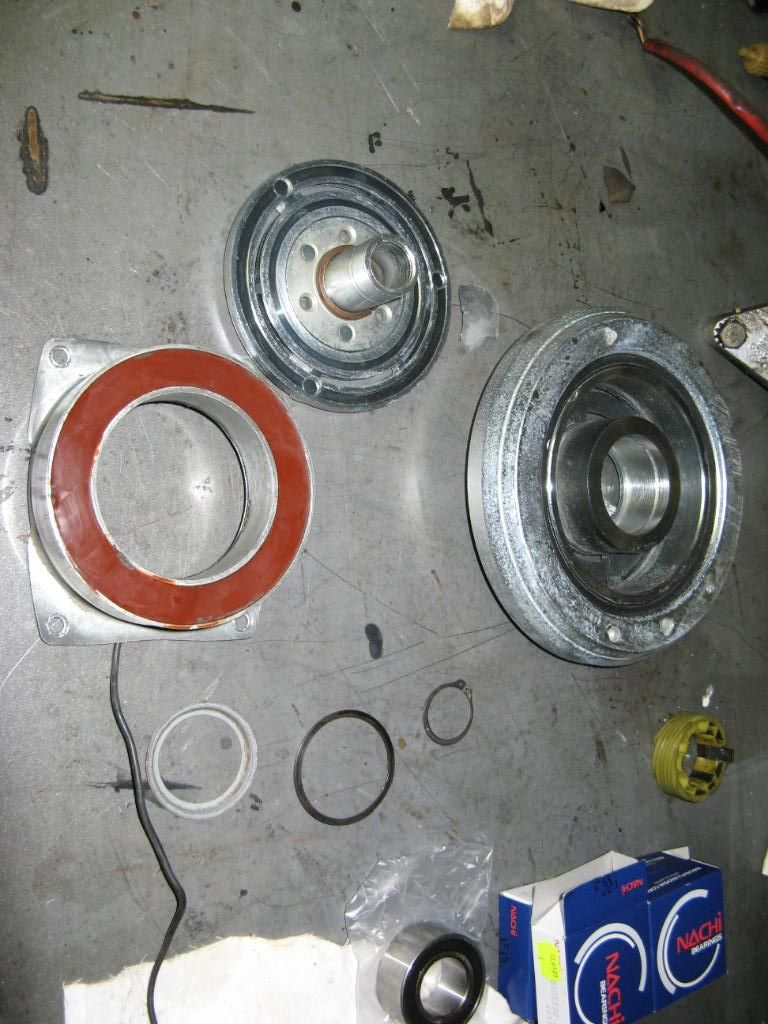 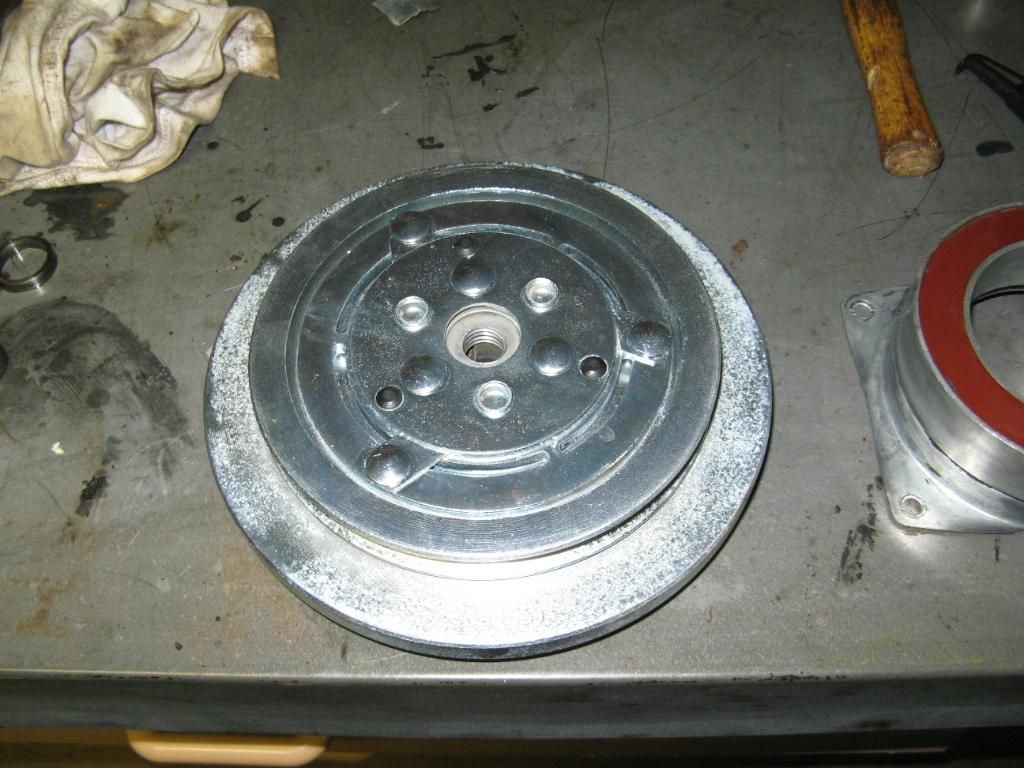 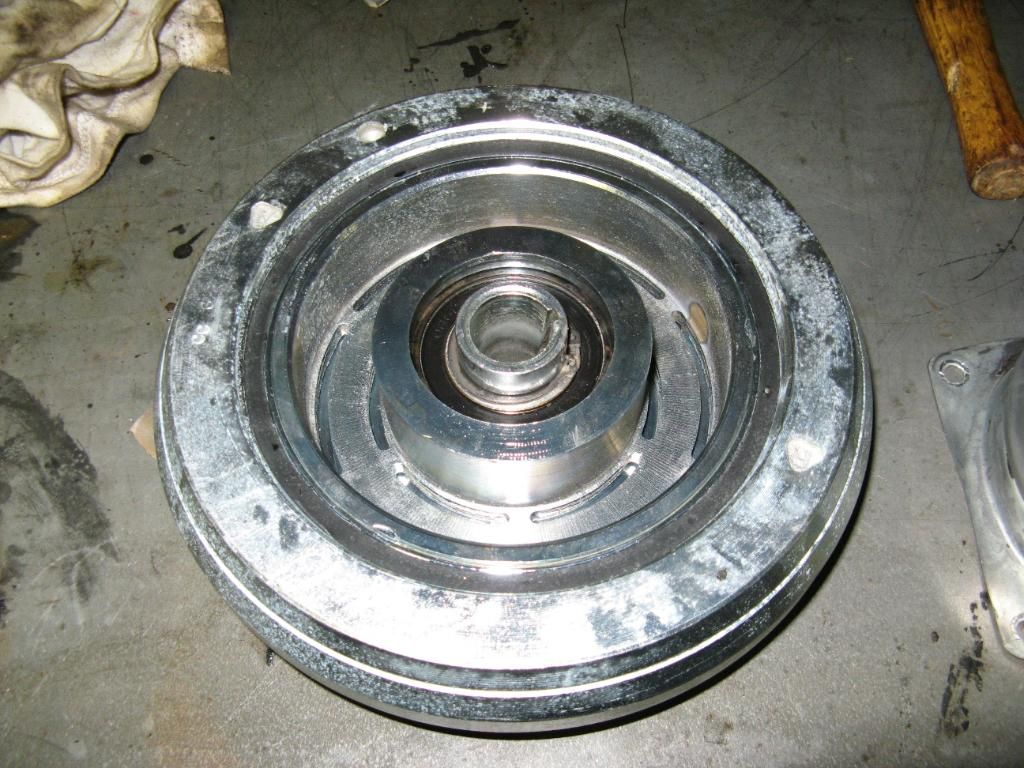 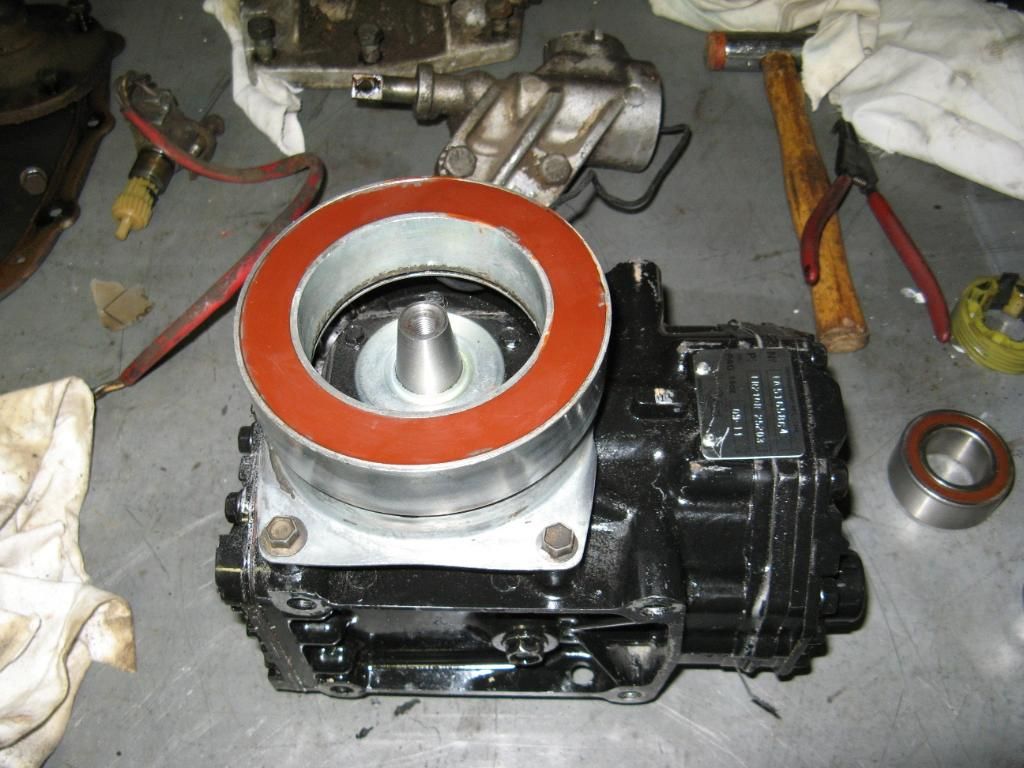 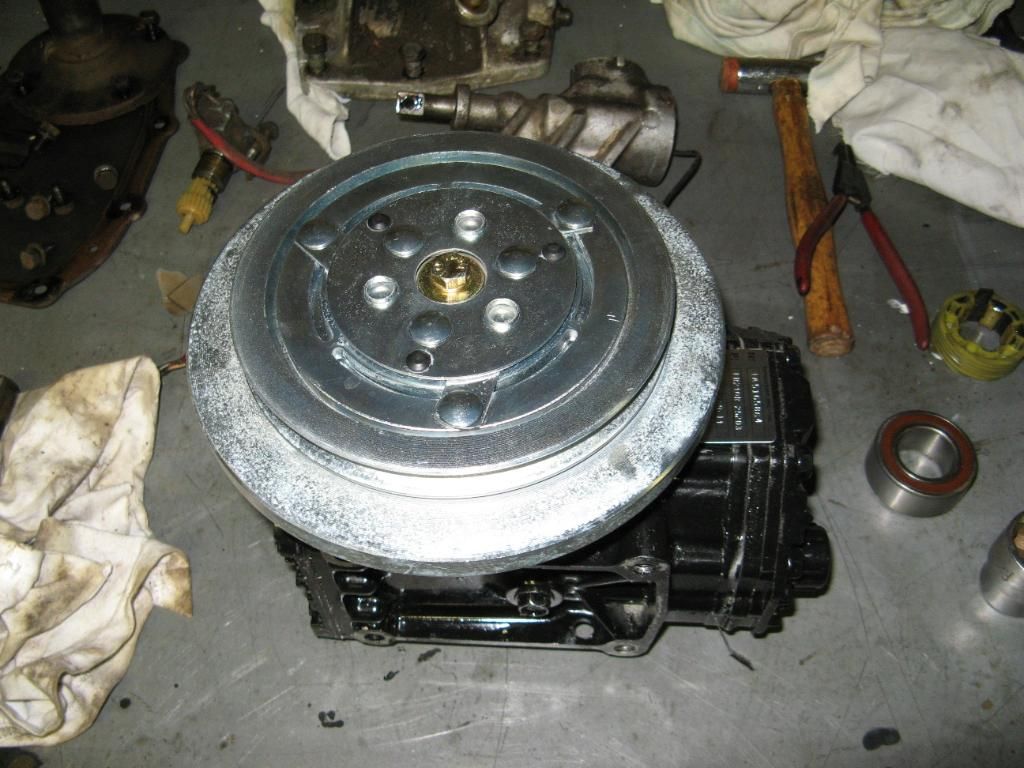 Giving it a quick test and was working well 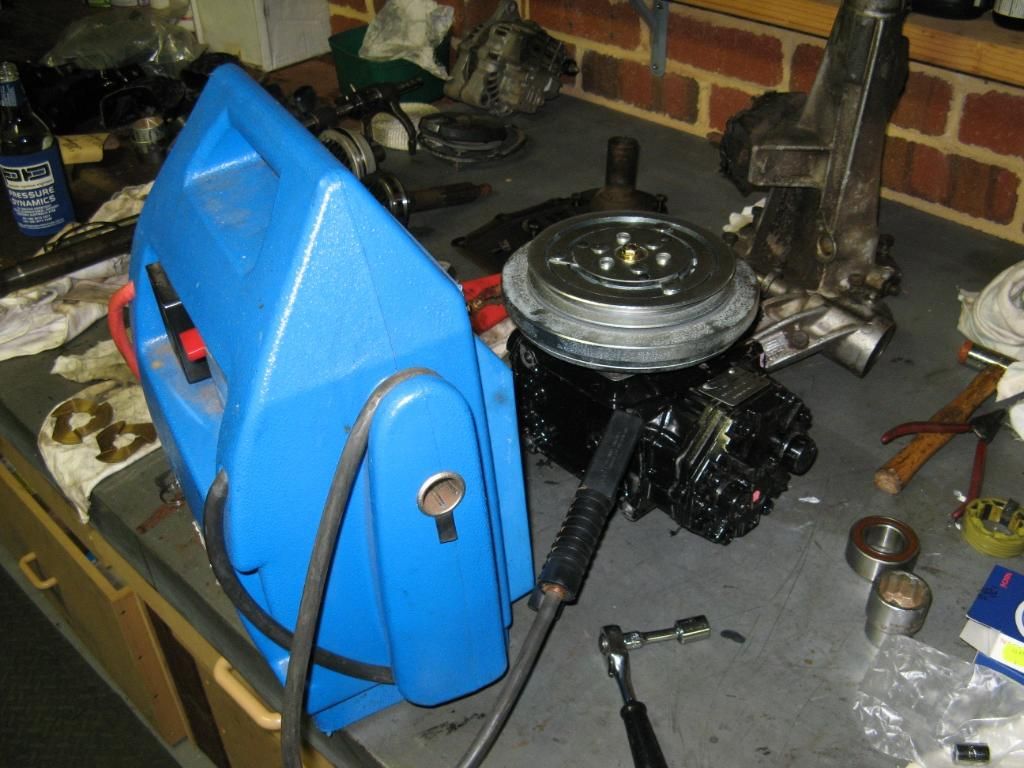 And all completed 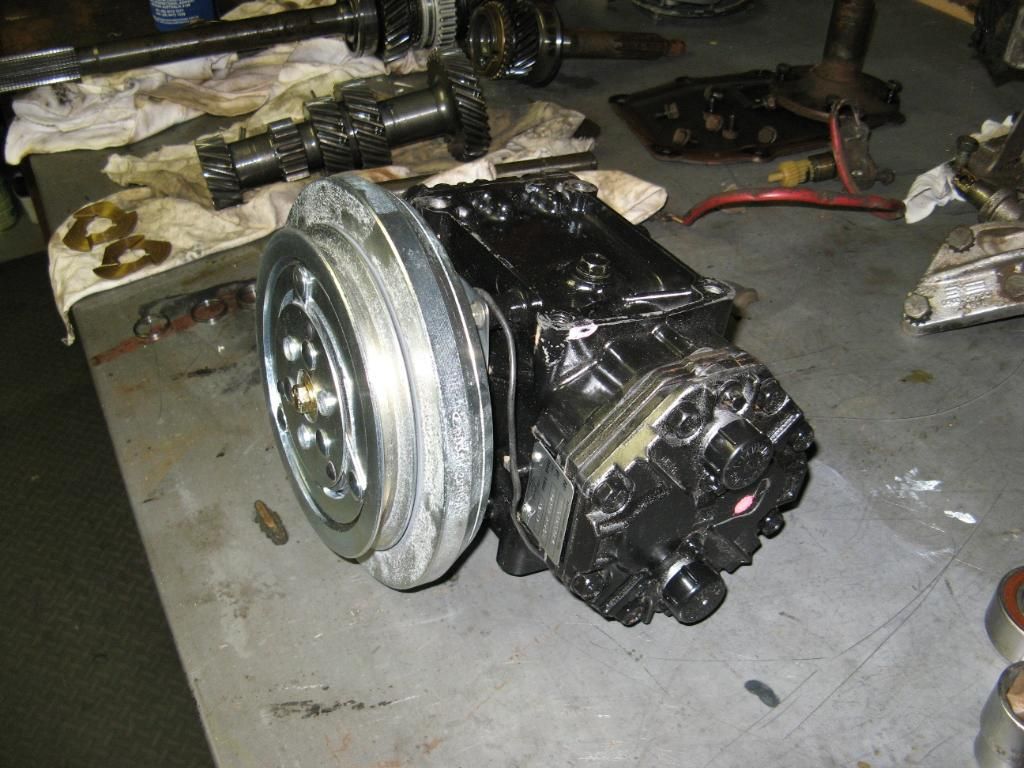
|
||
|
|

|
|
|
#294 | ||
|
P6 LTD
Join Date: Feb 2005
Location: Perth
Posts: 3,291
|
The next job was to finish off all of the items remaining in the engine bay. That is, radiator and shroud, AC condensor, washer bottle, engine bay wiring and testing, AC receiver and test fit of hoses to compressor & Tx valve, timing of the engine and then followed up with the distributor & leads and then checking that all bolts, belts etc were tightened to the required torque.
Don't mind the oversized battery (and dodgey wiring), this is just there to test all electrics (power windows and interior as well), plus also run up the engine when ready. 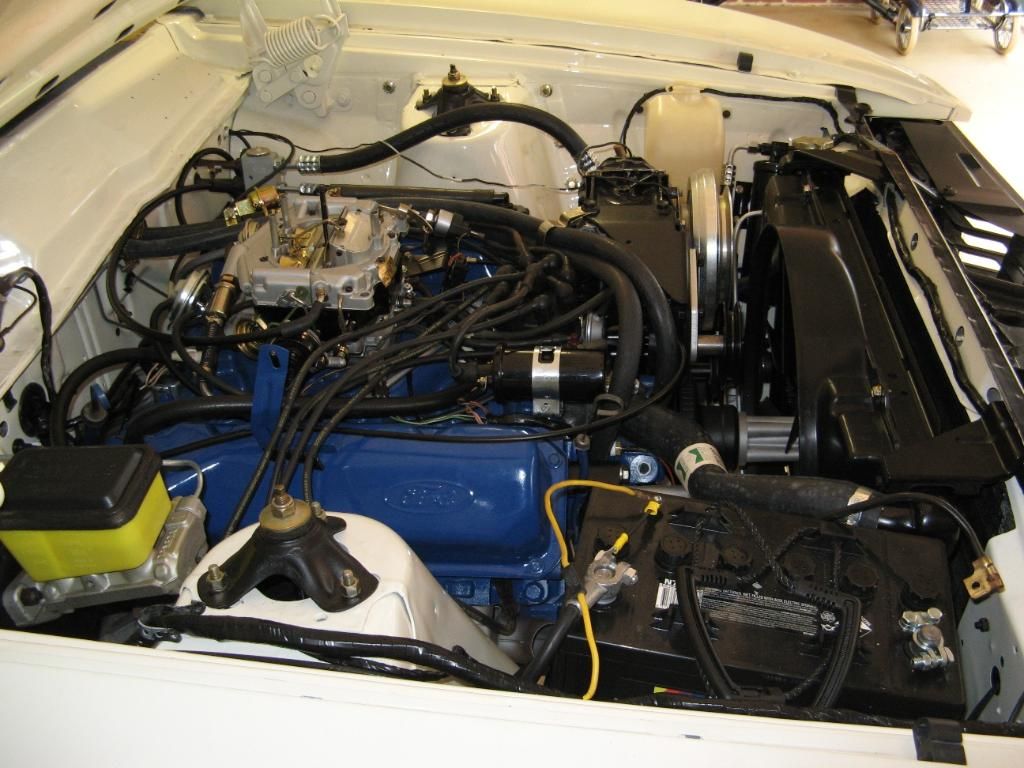 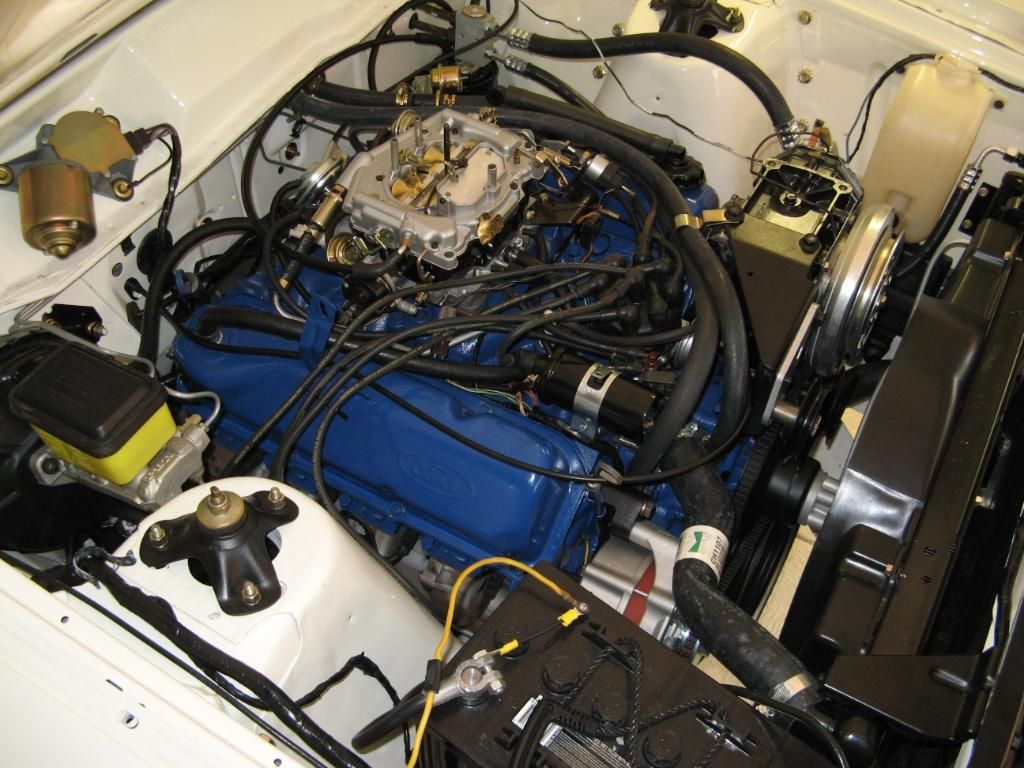 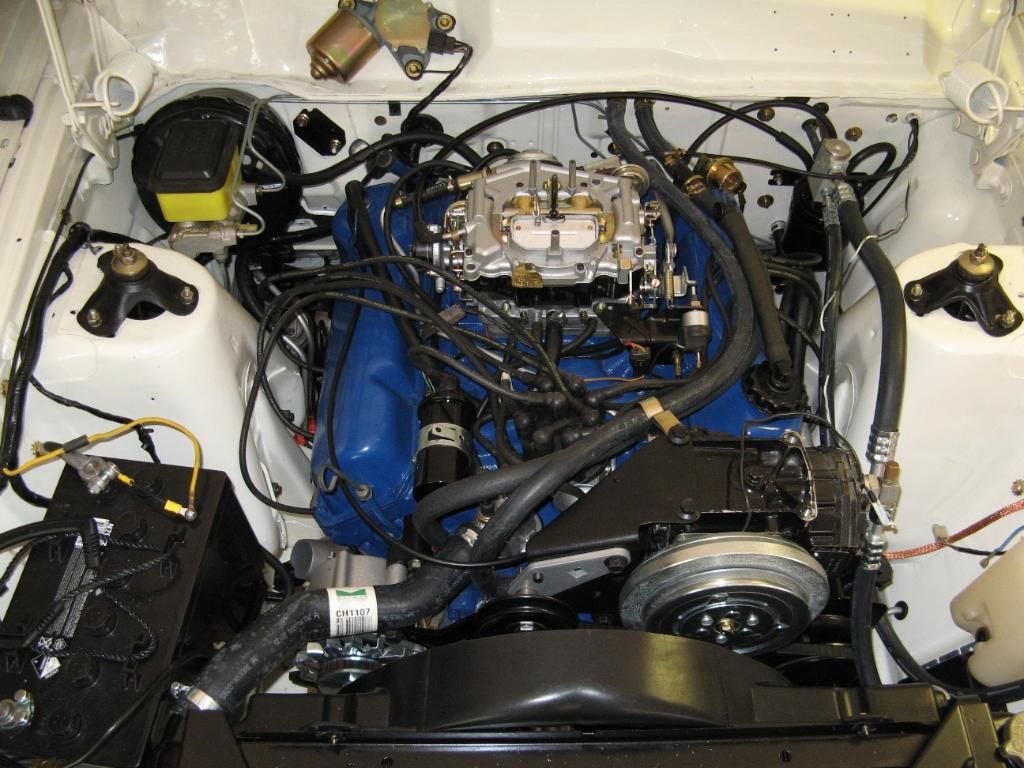 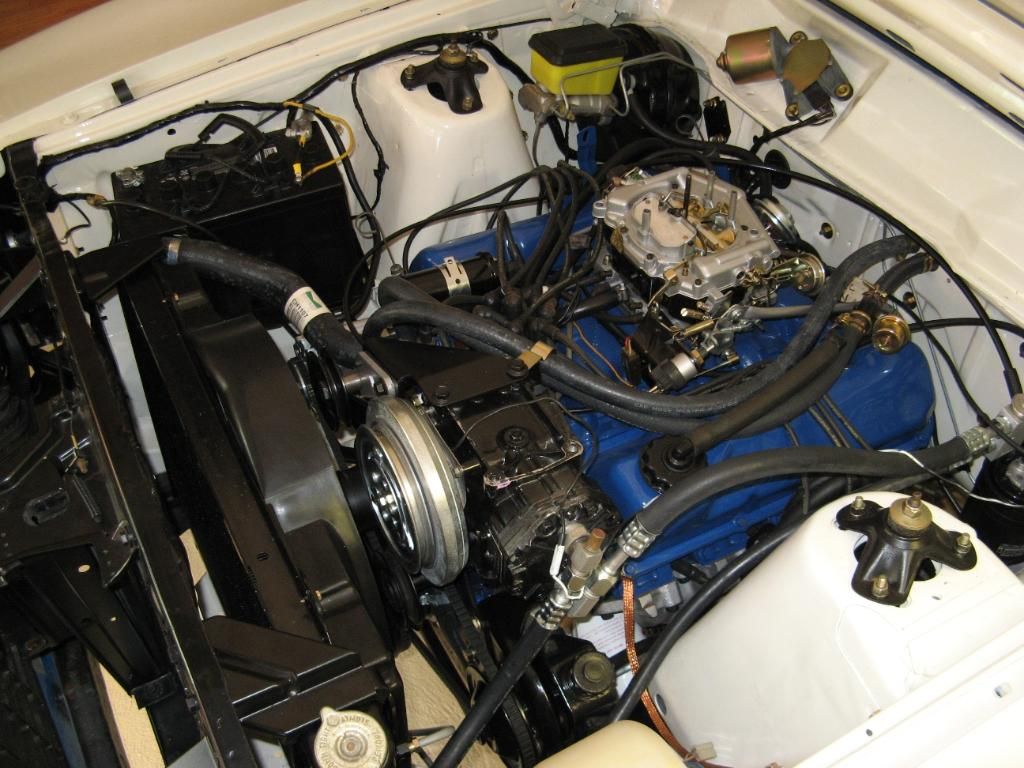 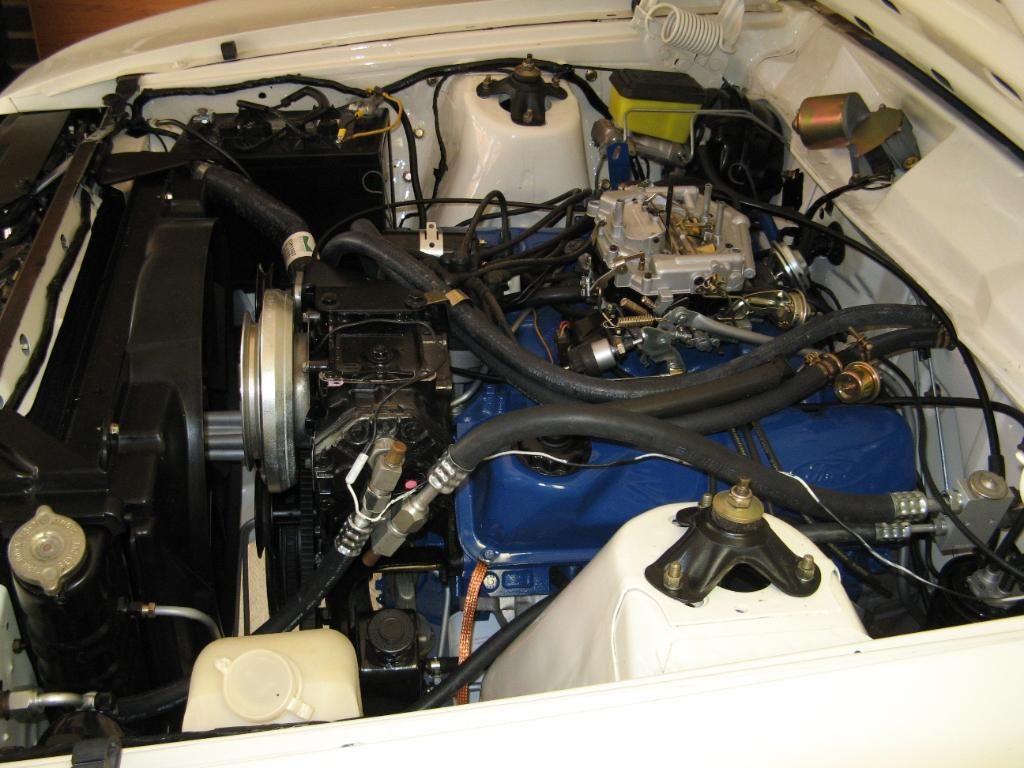 With that done, I then put the exhaust on. I am not even going to show photos of this as it is a complete mess - nothing is correctly lined up but it can be fixed. I had bought the resonator/muffler sections from one supplier and the 2 manifold pipes from another (Oldschool Mufflers). The problem here was that I could not get the front 2 pipes from the original supplier. I am thinking that most if not all people put extractors on Clevelands, not the factory exhaust manifolds. In hindsight, what I should have done was to have bought this directly from Oldschool Mufflers http://www.ebay.com.au/itm/FORD-FALC...item27c668c610 Live and learn. I was just keen to keep the standard setup namely the resonators. Once I get the car going, it will have to get the exhaust system completely re-done. |
||
|
|

|
|
|
#295 | ||
|
P6 LTD
Join Date: Feb 2005
Location: Perth
Posts: 3,291
|
The final job for my time off was that of the interior. As usual, nothing was easy and what was expected to take 1 day, took 2 1/2 days. It's never fun trying to line up bolt/screw holes with new carpet, but I finally got there. There was also the issue of fitting the screws in for the console (front). I think that this job is best done with the complete dash out of the car. This is where the flexible drive drill chucks, plus a very helpful wife, come in very handy. The trimmer had also put all of the seat bases on the wrong way so they had to be changed over. As imagined, the B pillar pinch weld and trims were a complete pr!ck of a job. At least the kick panels and scuff plates weren't too bad.
I have also put the door cards on now, just for trial fitting as they will have to come off again when the car goes back to to the spray painter for finishing works. Same applies to the front and rear arm rests. And now for some pics 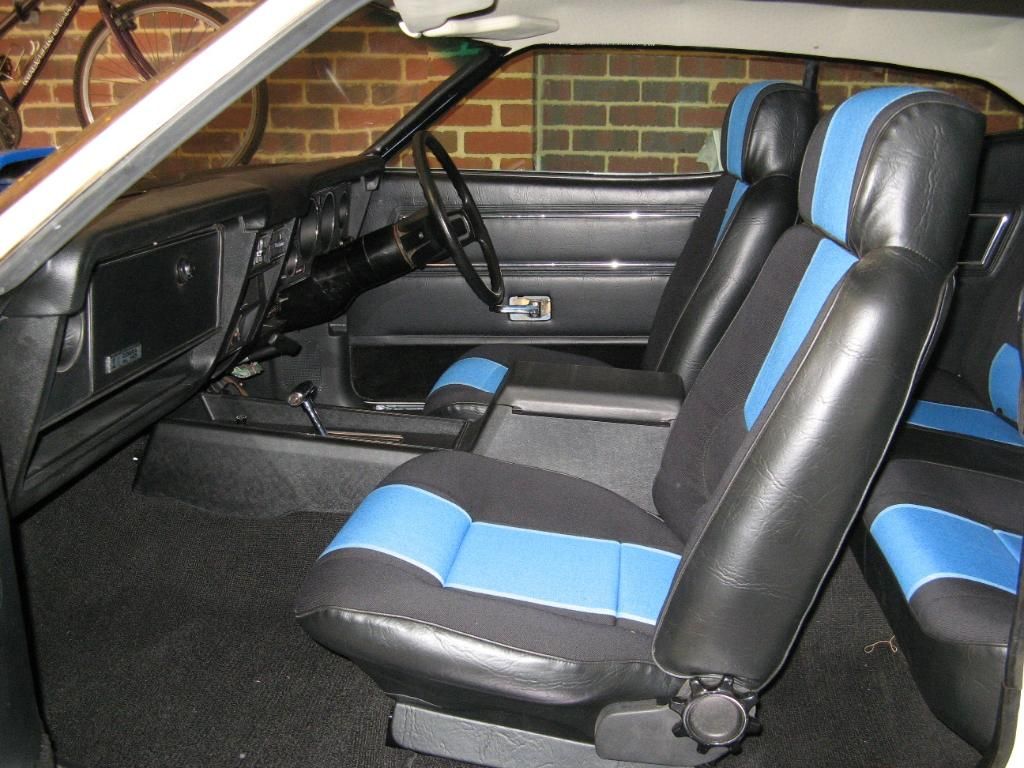 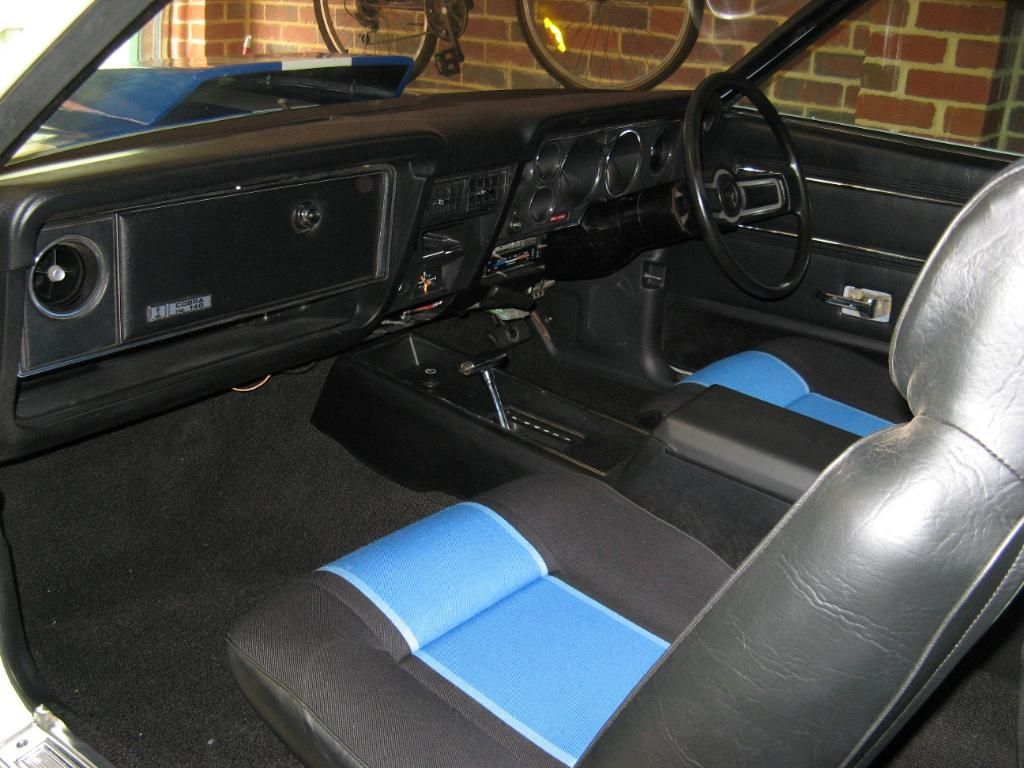 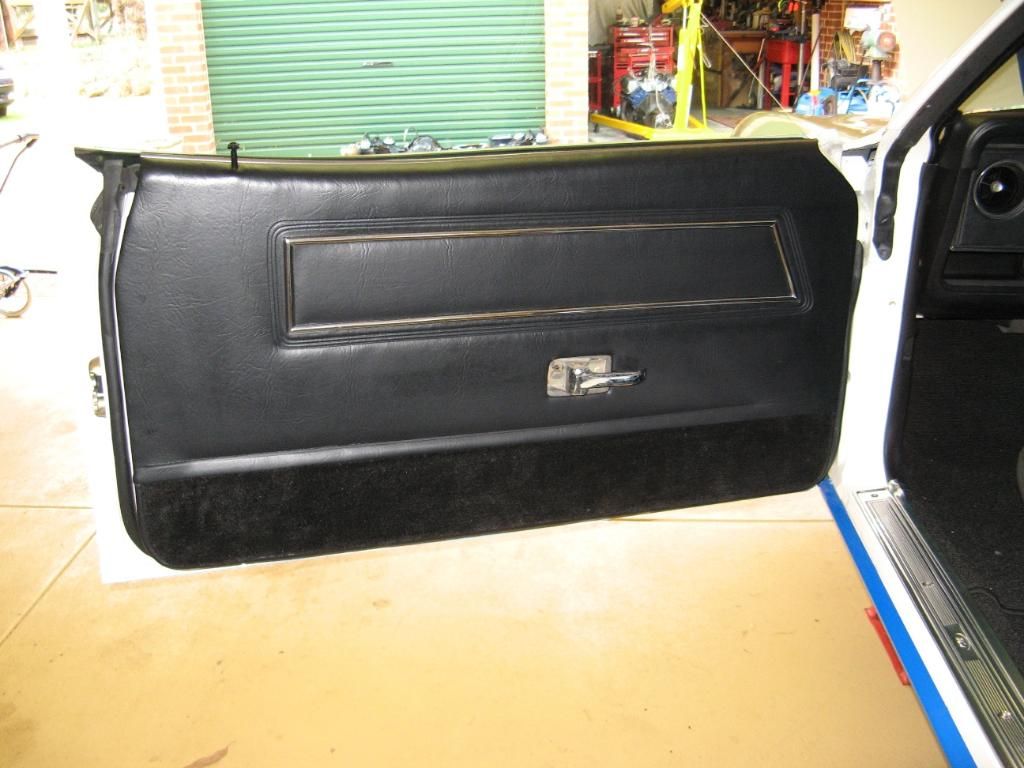 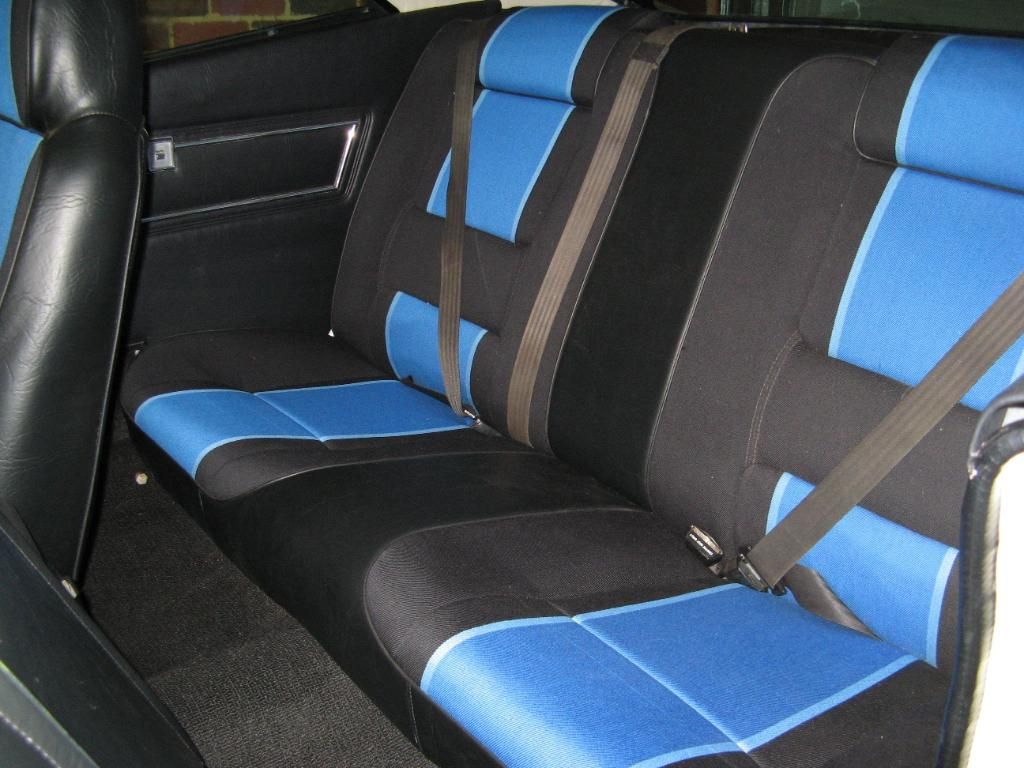 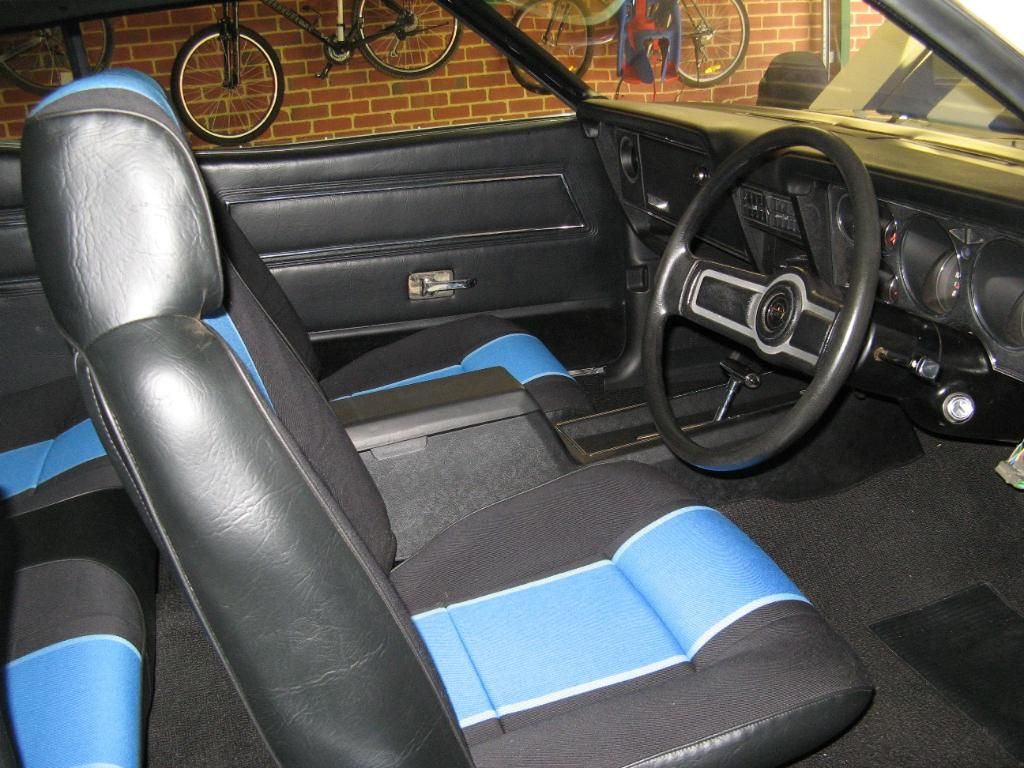 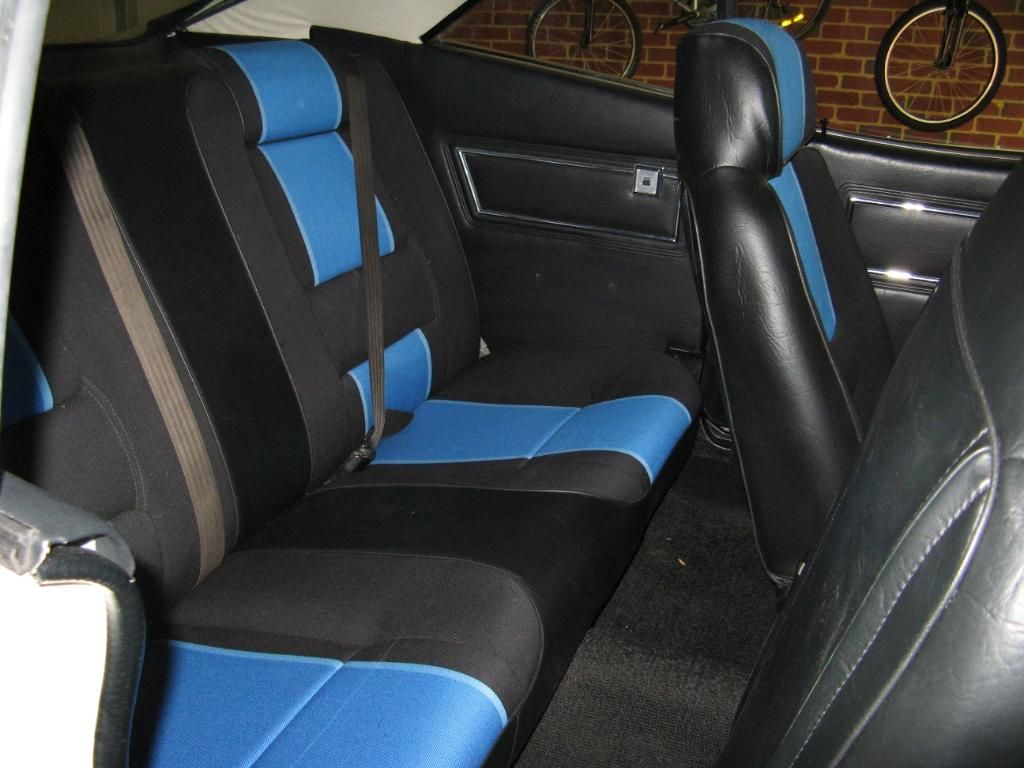 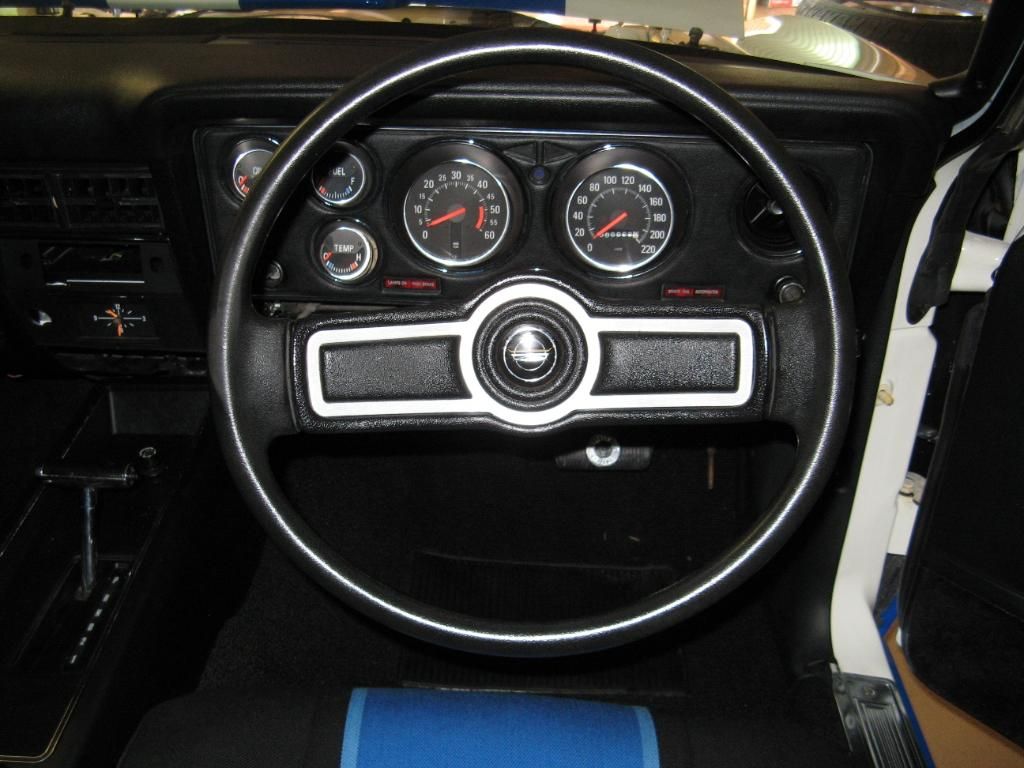 There are still quite a number of items yet to be done but work is progressing so I am hoping to be able to get the car to the spray painter by the end og the year - here's hoping. |
||
|
|

|
|
|
#296 | ||
|
FF.Com.Au Hardcore
Join Date: May 2010
Posts: 1,869
|
hi paull i just tried to pm you but you must have too many messages! i may have something you need. regards
|
||
|
|

|
|
|
#297 | |||
|
P6 LTD
Join Date: Feb 2005
Location: Perth
Posts: 3,291
|
Quote:
|
|||
|
|

|
|
|
#298 | |||
|
P6 LTD
Join Date: Feb 2005
Location: Perth
Posts: 3,291
|
Quote:
|
|||
|
|

|
|
|
#299 | |||
|
P6 LTD
Join Date: Feb 2005
Location: Perth
Posts: 3,291
|
Quote:
|
|||
|
|

|
|
|
#300 | ||
|
FF.Com.Au Hardcore
Join Date: Oct 2010
Location: Mid North Coast
Posts: 6,443
|
Awesome build and car.
If it overheats once up and running consider getting the correct length fan spacer to put the engine fan in the right spot, it's way to deep in the shroud, only about 1/3rd of the fan should be inside the shroud and 2/3rd outside for maximum air movement through the radiator. Your fan will tend to cavitate air and restrict air slow through the radiator
__________________
The Daily Driver : '98 EL Falcon, 5 Speed , 3.45 lsd The Week End Bruiser : FPV BF GT 40th Anniversary, 6 Speed Manual, 6/4 Brembo and lots of Herrod goodies Project 1 : '75 XB GS 351 Ute, Toploader, 9" with 3.5's Project 2 : '74 XB GS Big Block Coupe, Toploader, 9" with 4.11's In Storage : '74 XB GS 351 Fairmont Sedan XB Falcon Owners Group Mike's Man Cave |
||
|
|

|