
|
|
 |
|
|
|
Welcome to the Australian Ford Forums forum. You are currently viewing our boards as a guest which gives you limited access to view most discussions and inserts advertising. By joining our free community you will have access to post topics, communicate privately with other members, respond to polls, upload content and access many other special features without post based advertising banners. Registration is simple and absolutely free so please, join our community today! If you have any problems with the registration process or your account login, please contact us. Please Note: All new registrations go through a manual approval queue to keep spammers out. This is checked twice each day so there will be a delay before your registration is activated. |
|
|||||||
 |
|
|
Thread Tools | Display Modes |
|
|
#211 | ||
|
P6 LTD
Join Date: Feb 2005
Location: Perth
Posts: 3,291
|
The engine is now mostly complete. I still have to clean up the rocker covers and then it will be ready for paint.
From the start Upon arrival at home last week - block, heads and crank 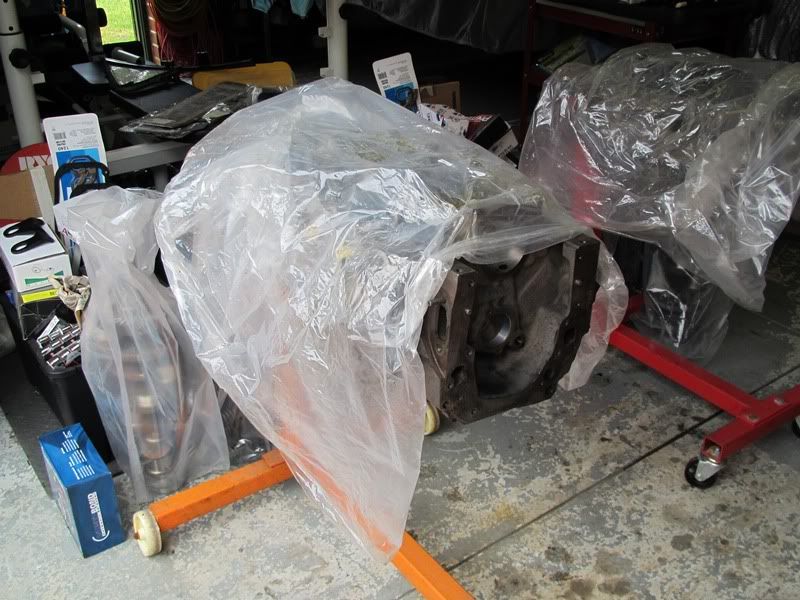 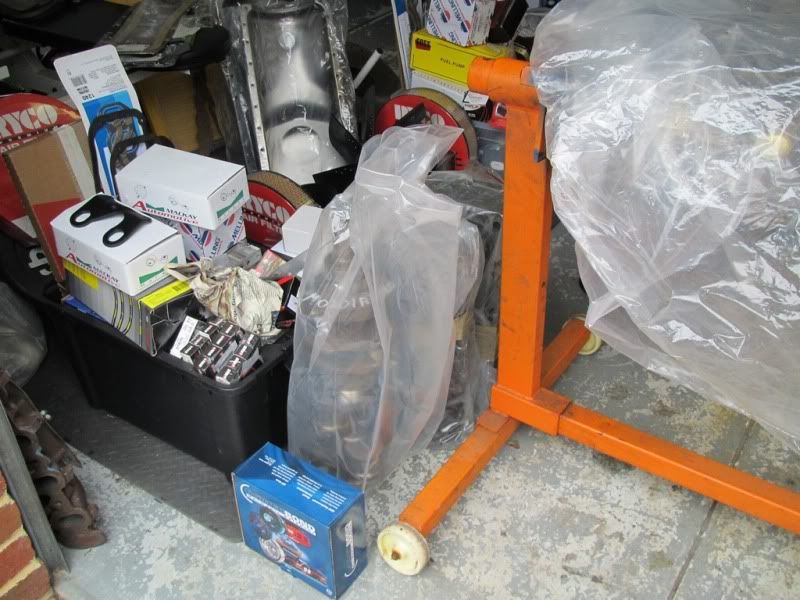 Getting everything ready 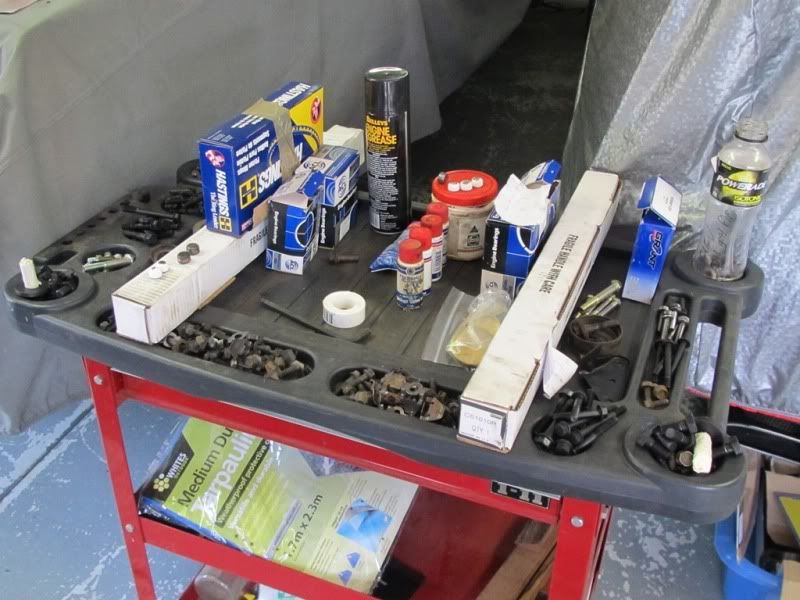 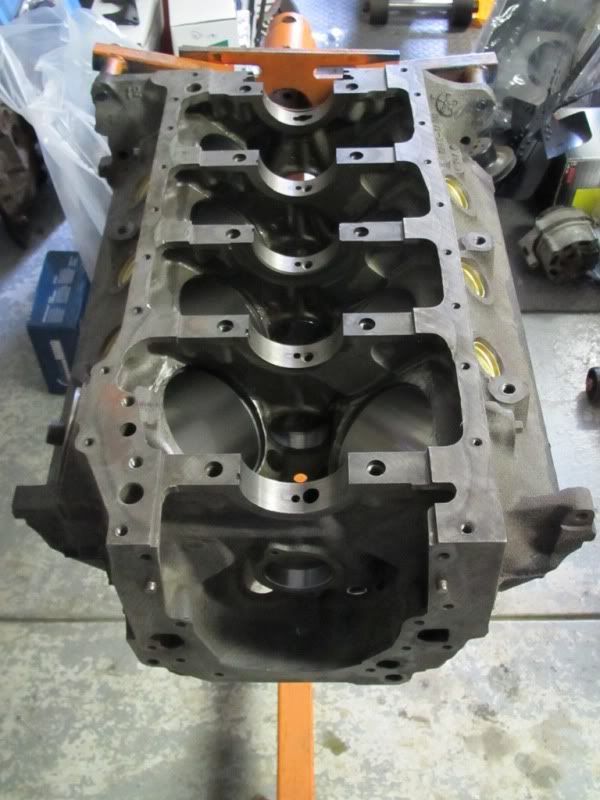 And before the rest of the pics, here are some detailed shots of the block. When the block was stripped, I noticed that number 5 cylinder had a hole in the bore, not happy! Anyways, after having the block acid bathed, it was found that both number 1 and number 5 cylinder had sleeves fitted. I am not knowing when this was done but obviously, number 5 had to be removed. It was agreed that both 1 & 5 would be sleeved and the rest (currently at 0.030") would be taken out to 0.040". However, upon machining, it was seen that the cylinders were no cleaning up. Soooooooo, all 8 cylinders had to be re-sleeved, an expensive deal. However, I think it worth it so as to keep the car as original as possible. Here are the pics of the sleeves 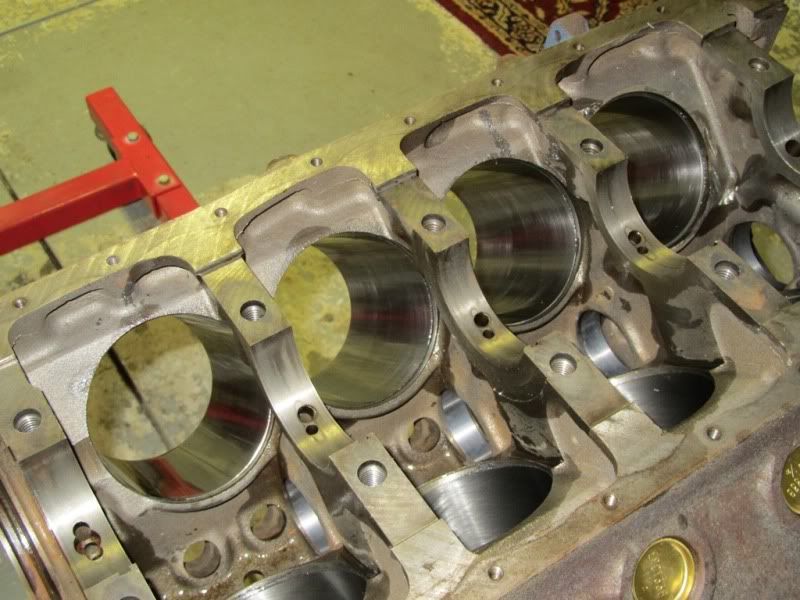 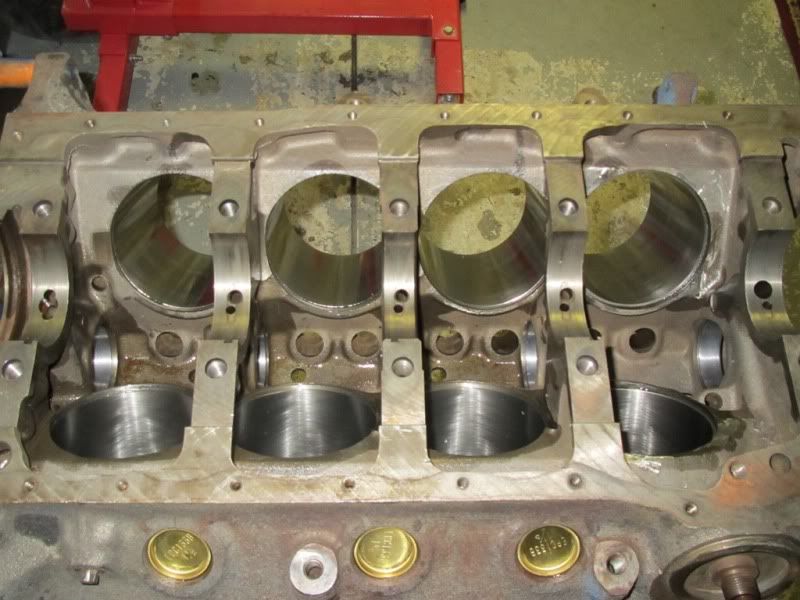 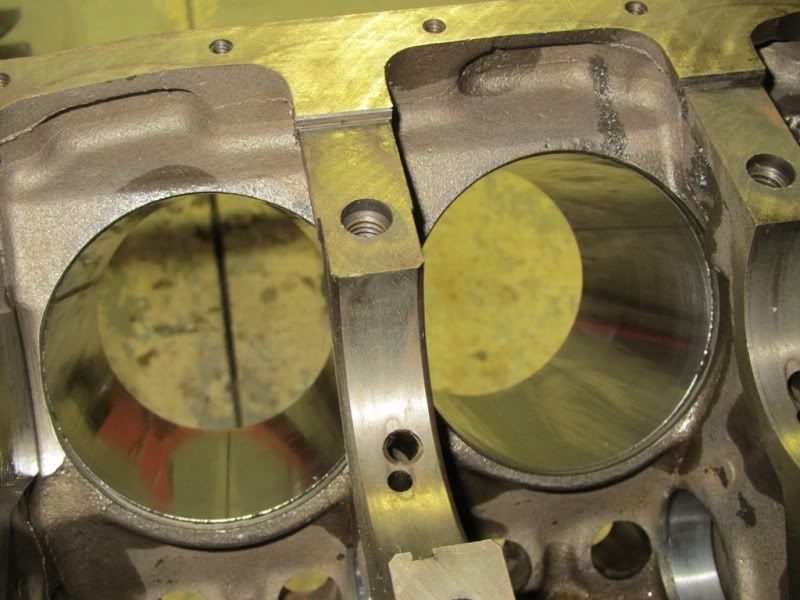 Moving along, camshafts ready to go (two there as I was doing the XD 351 at the same time) 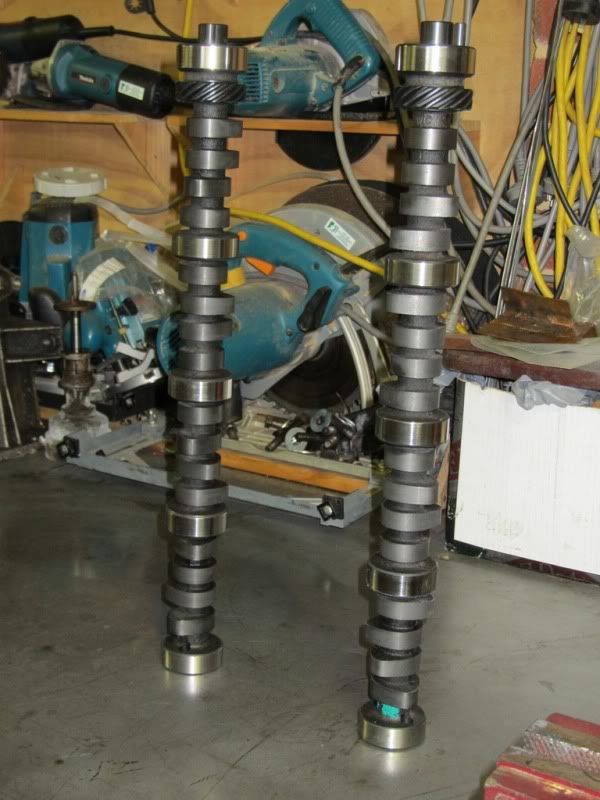 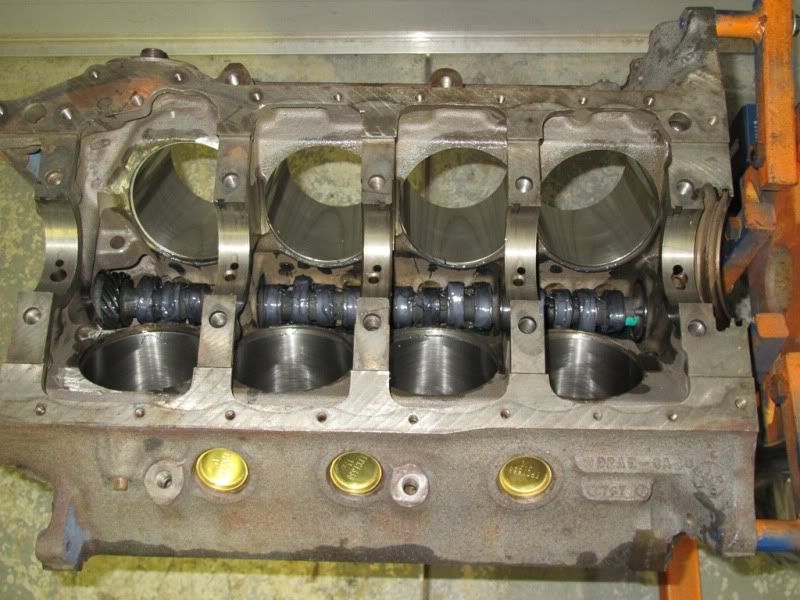 Crank is ready to go 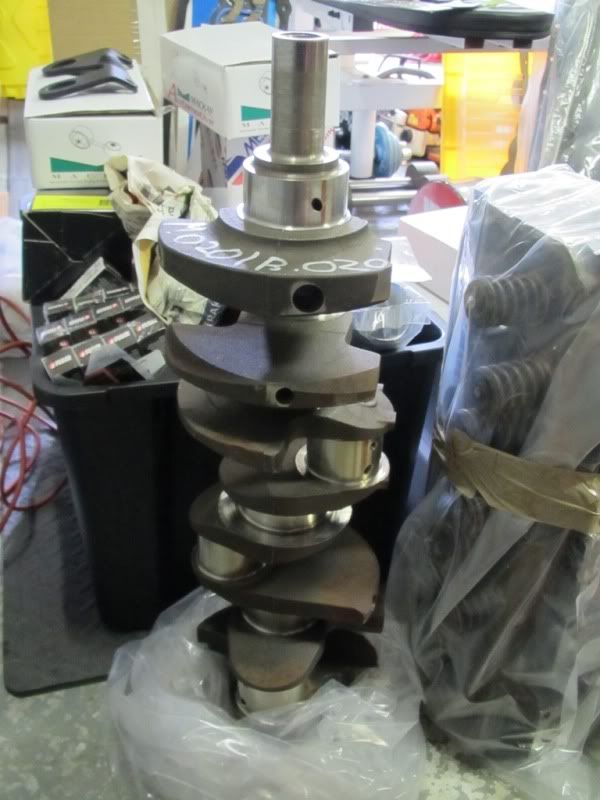 And the bearings 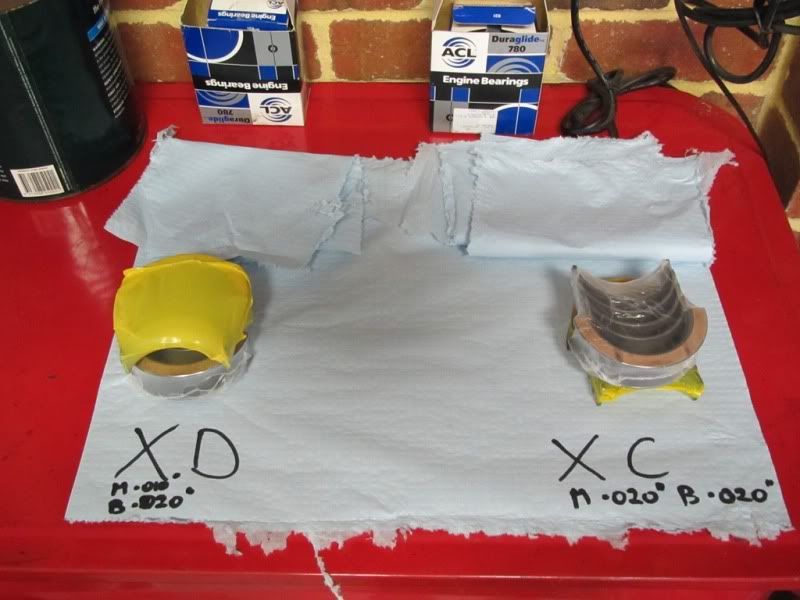 And in she goes 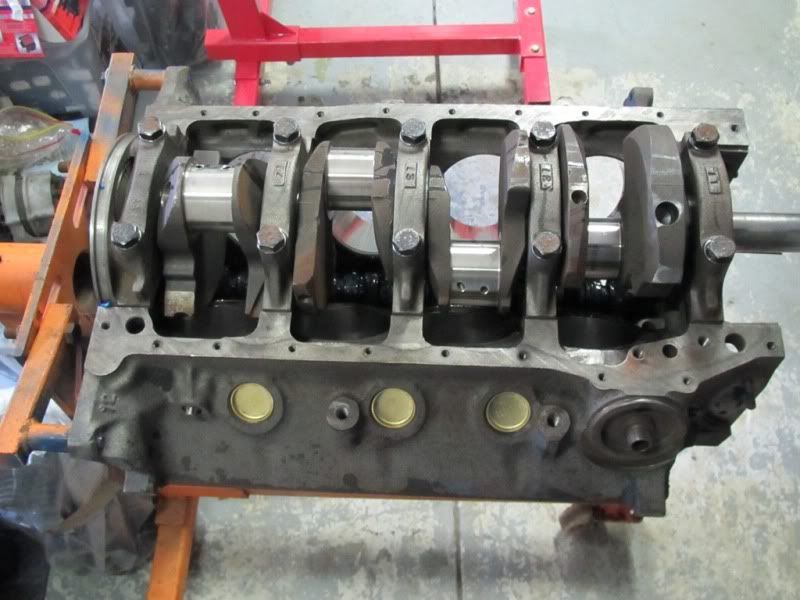 Next was getting the pistons and rings ready. Both the XD and the XC had to have some of their rings filed so as to make necessary clearance so this added a lot of time to getting this part done. 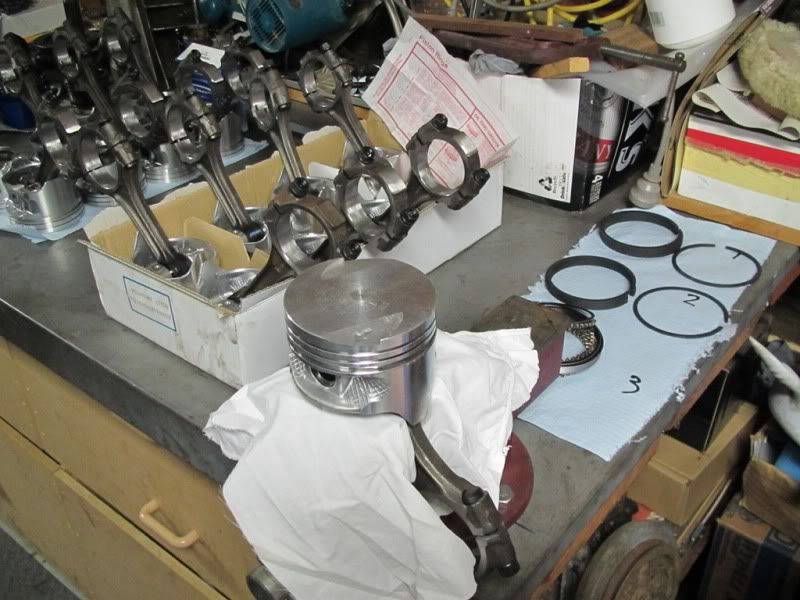 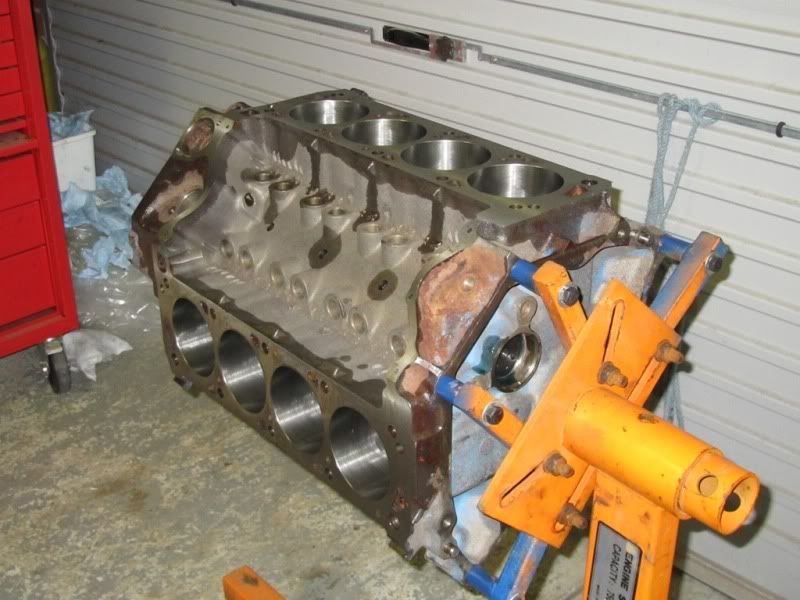 First piston going in 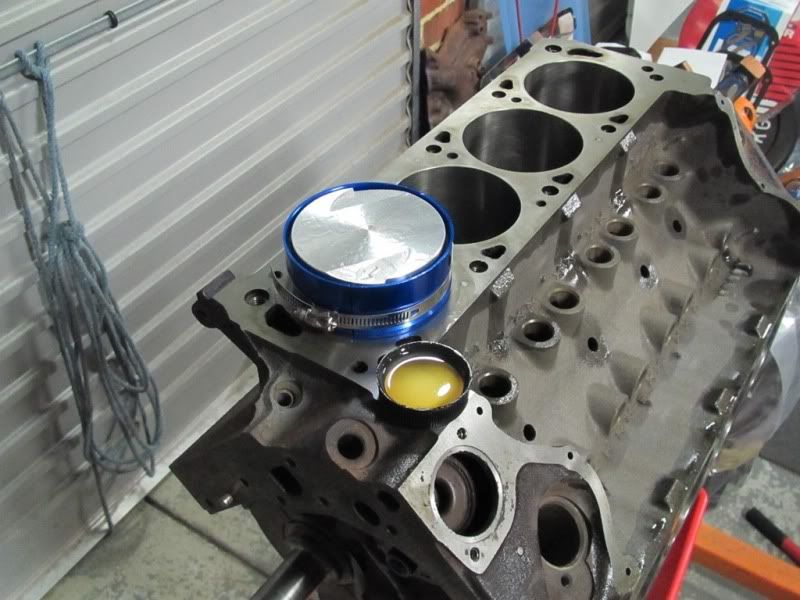 With the first bank in 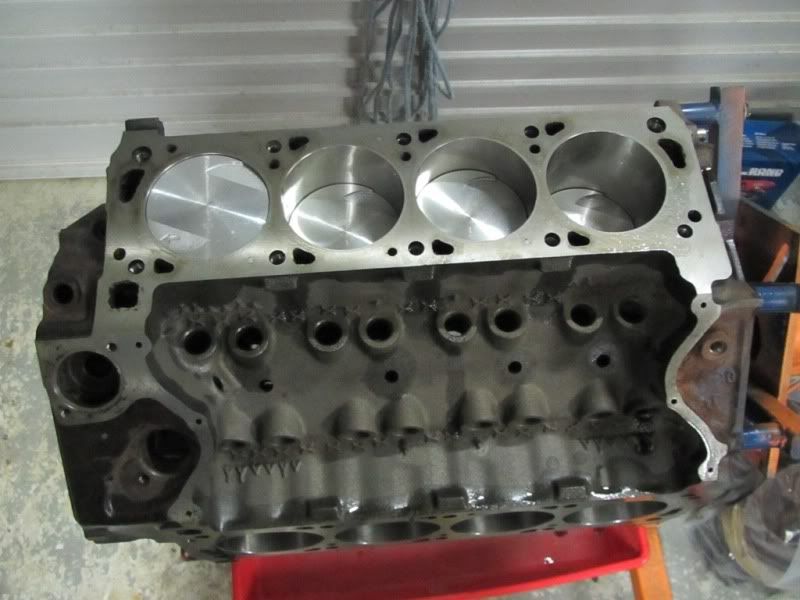 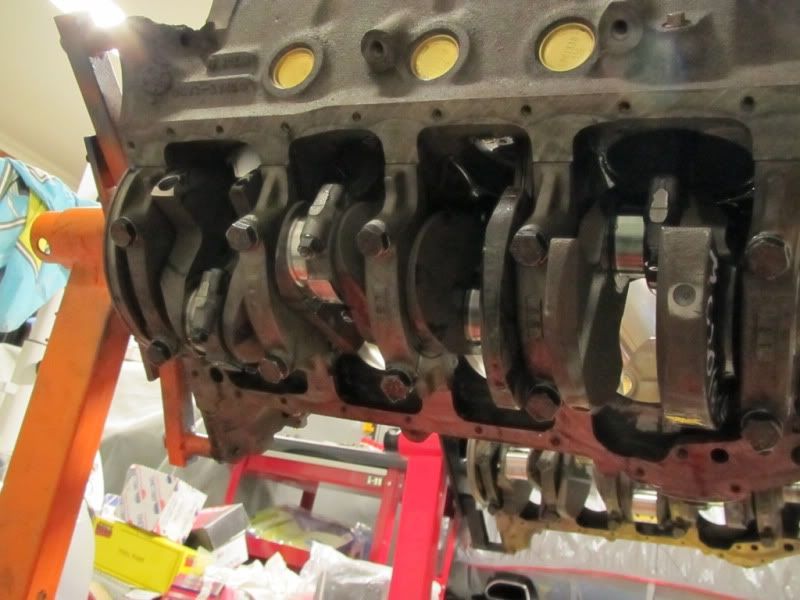 And now with the rest of the pistons in 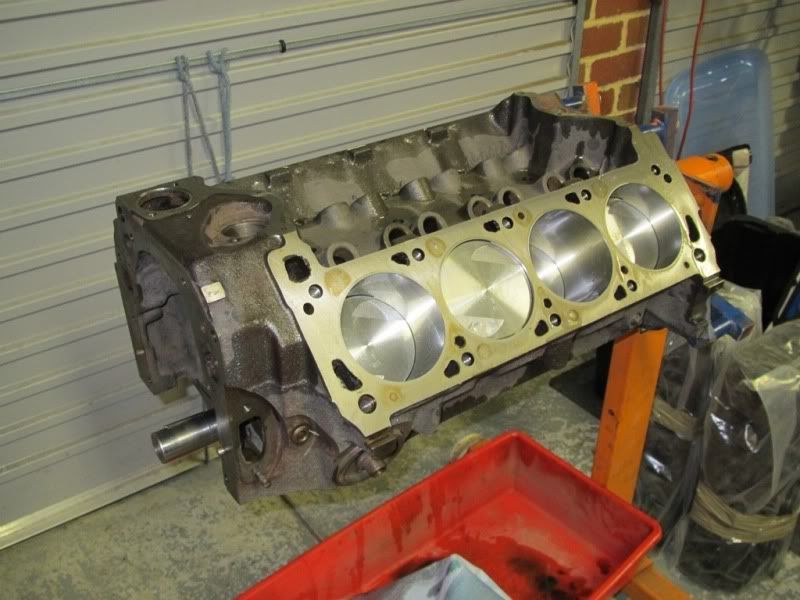 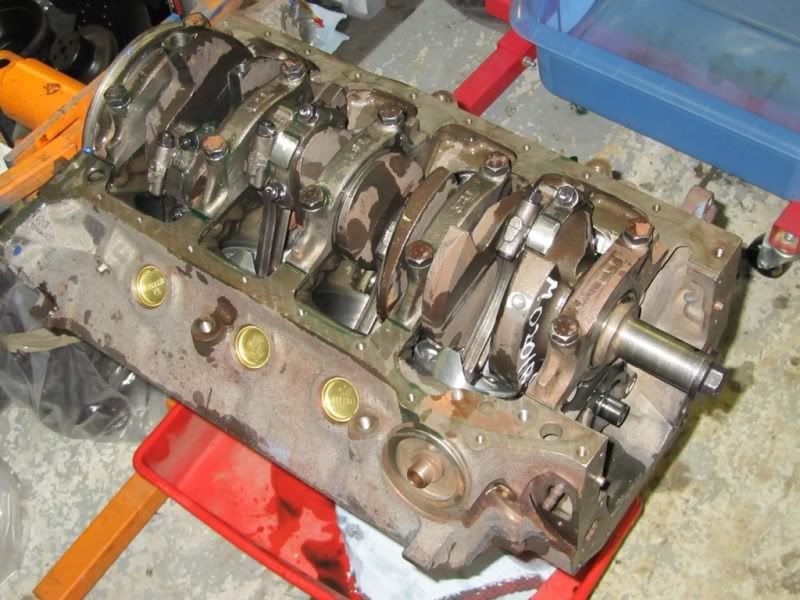 And now getting ready for the timing gear/cover and water pump 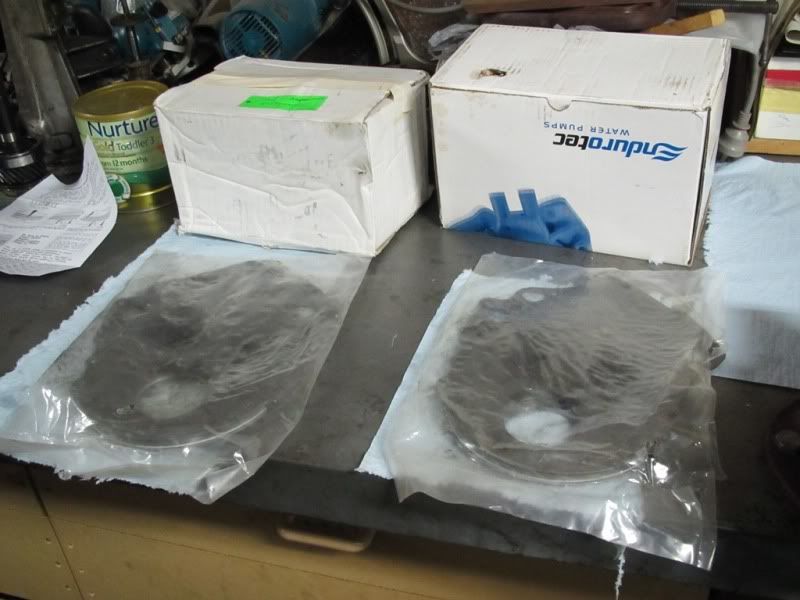 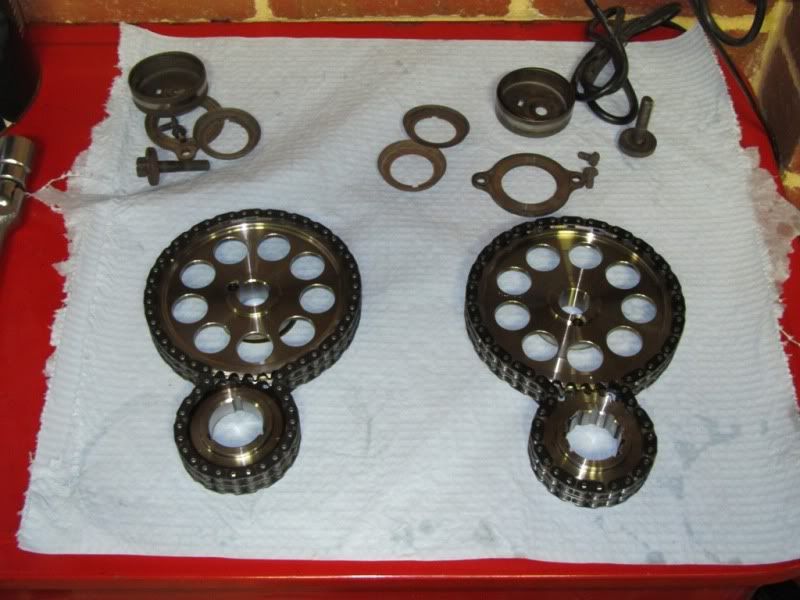 And tapping out the three new holes as well. 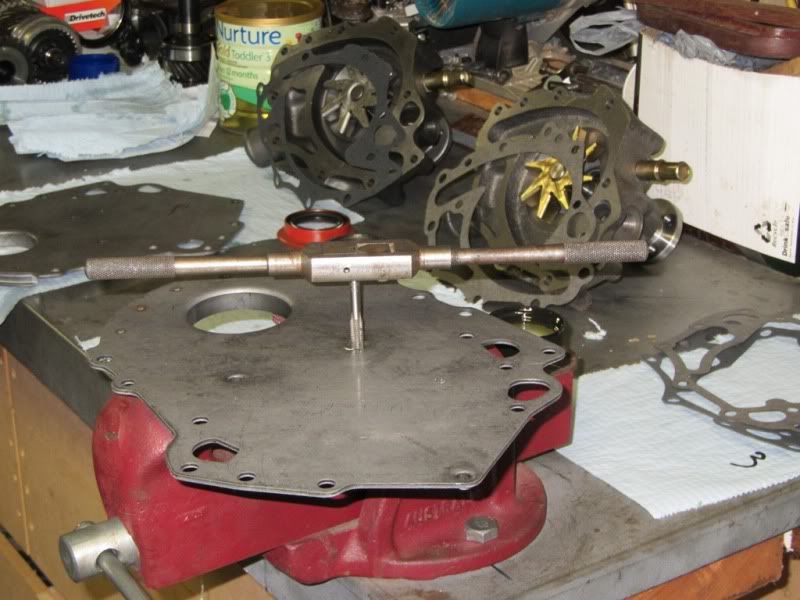 Timing gear in 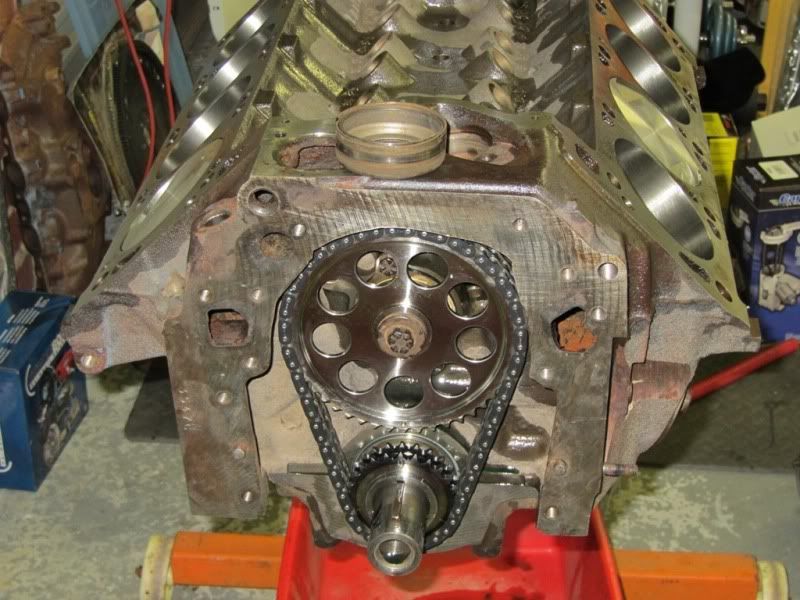 And water pump on 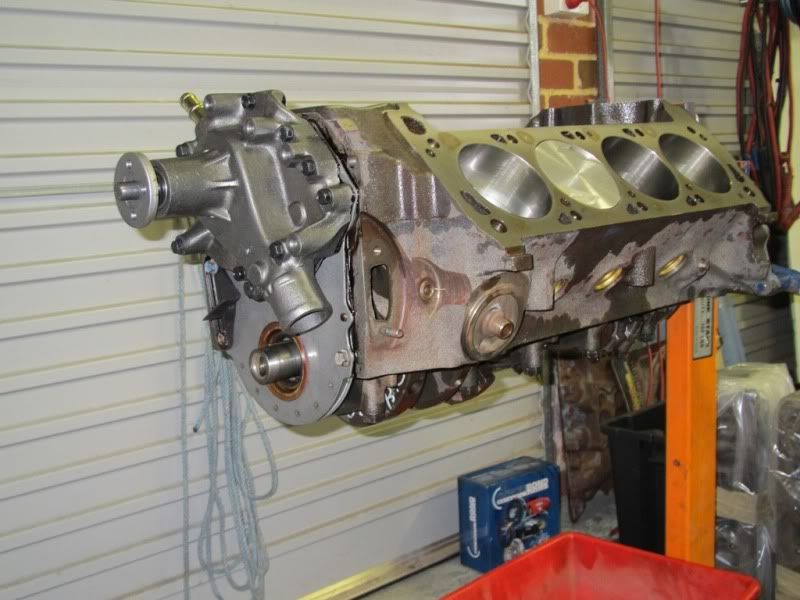 Bottom end mostly done and ready for the oil pump 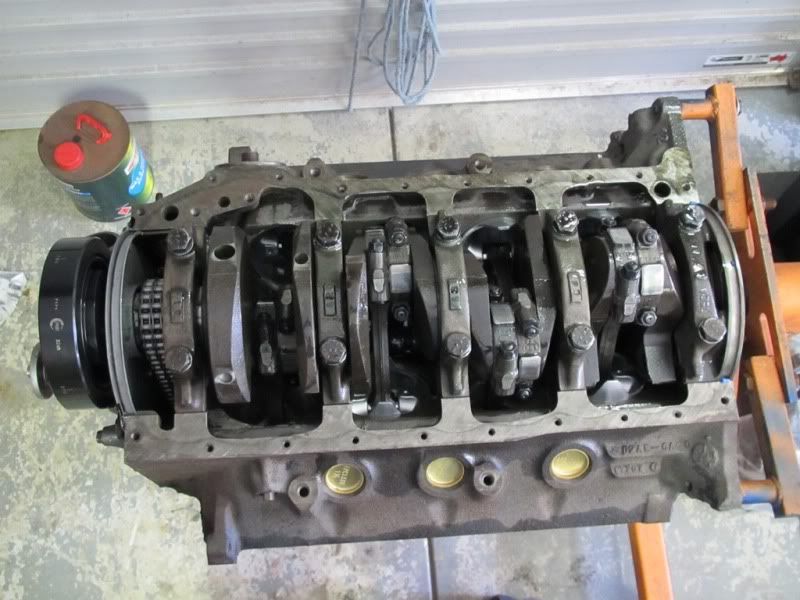 Oil pumps, pick ups and drives ready 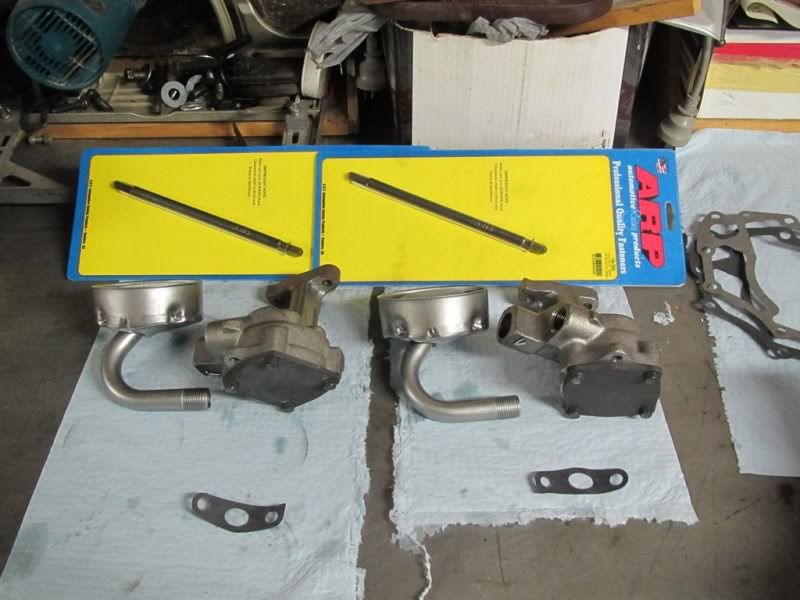 And on she goes 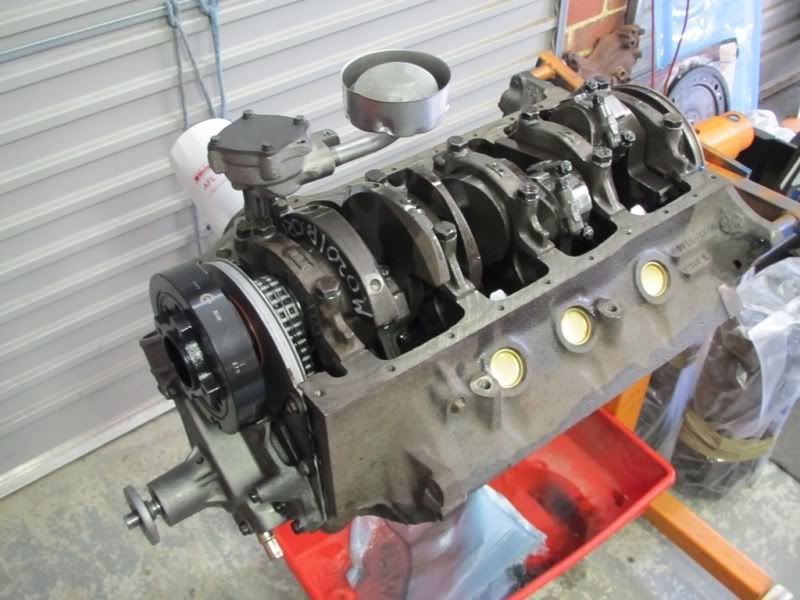 Followed by the sump 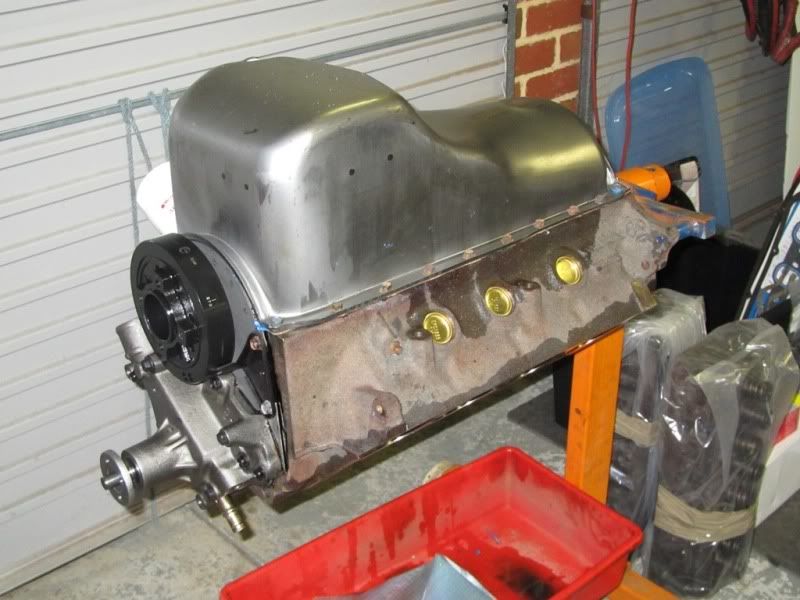 And now for the heads 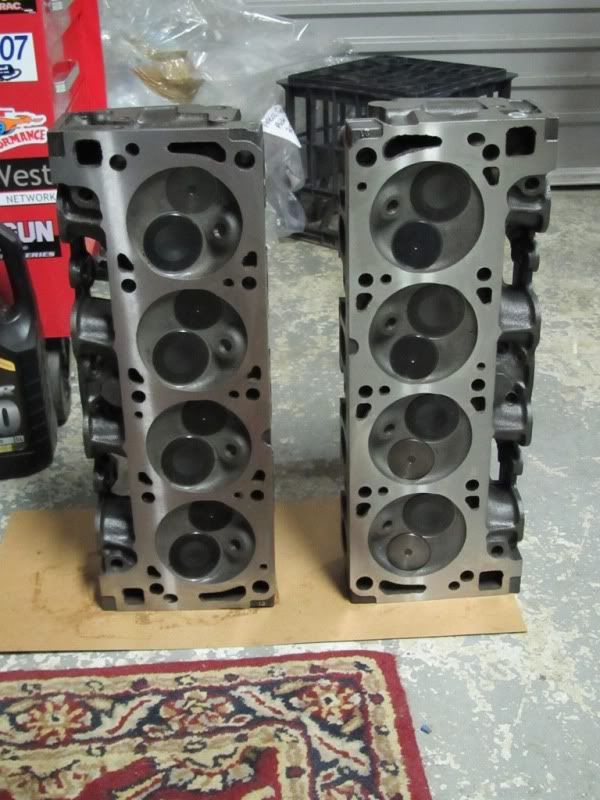 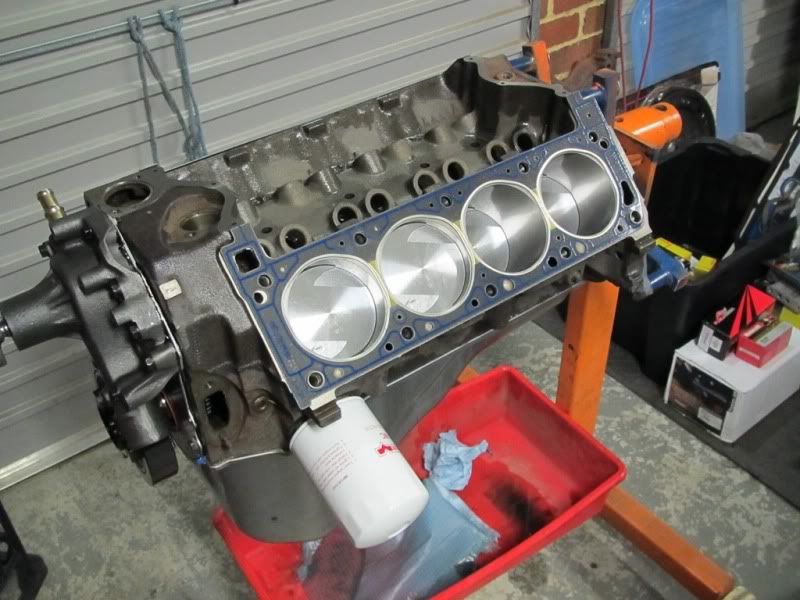 Heads on 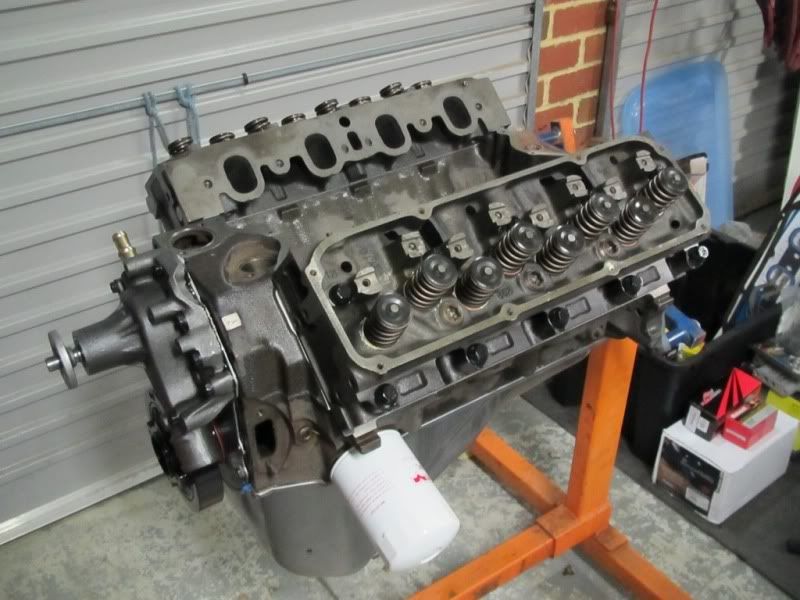 With rocker gear 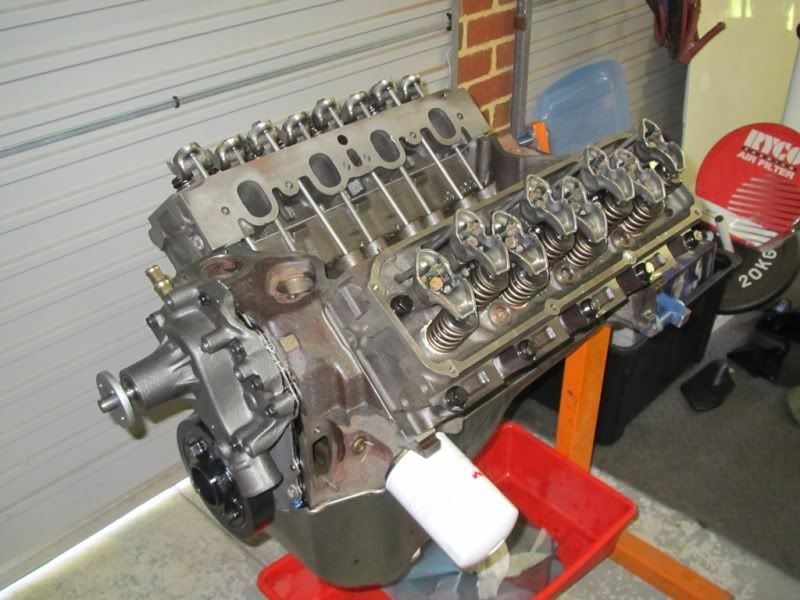 And lastly for the inlet manifold. 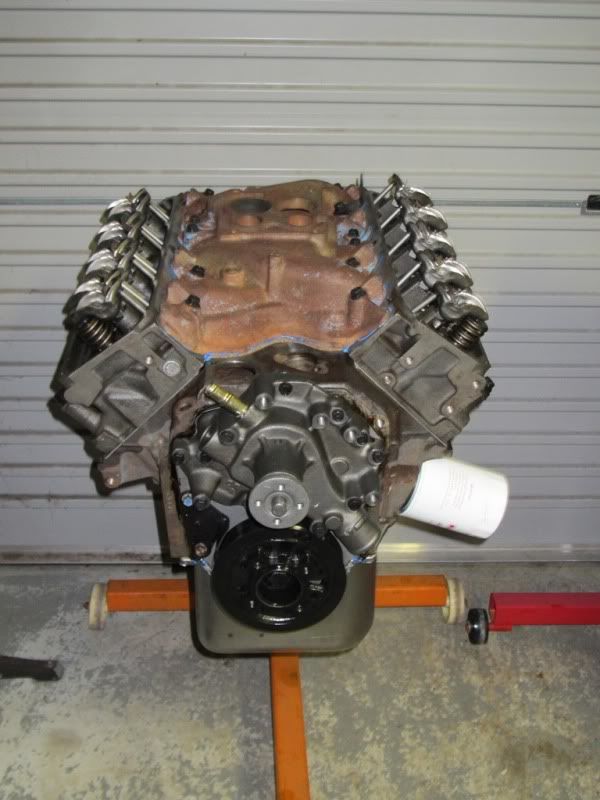 This is as far as I have gotten as I now need to get the rocker covers on and it will then be painted. Speaking of which.... |
||
|
|

|
|
|
#212 | ||
|
P6 LTD
Join Date: Feb 2005
Location: Perth
Posts: 3,291
|
I got some paint stripper on the air cleaners and rocker covers this afternoon but they may need to doing again. At any rate, they will be cleaned up and then painted accordingly.
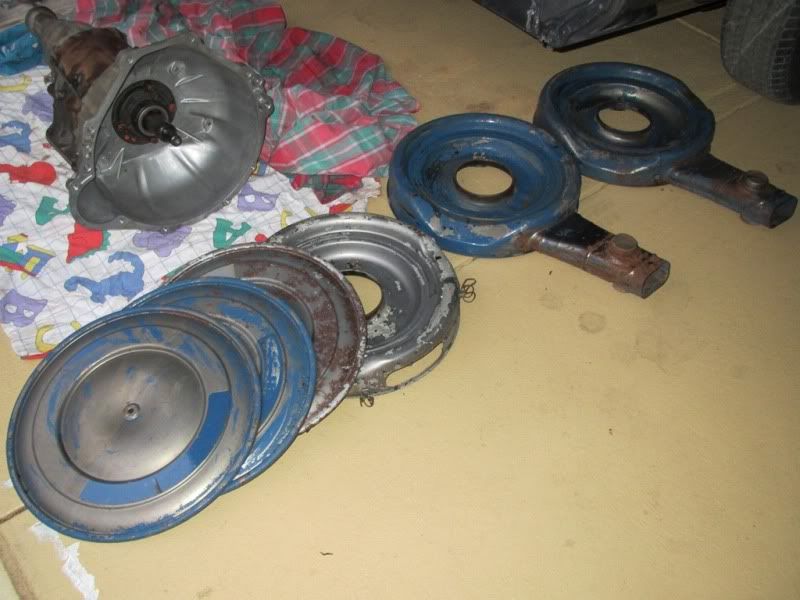 I have also had all of the exhaust manifolds sand blasted as well 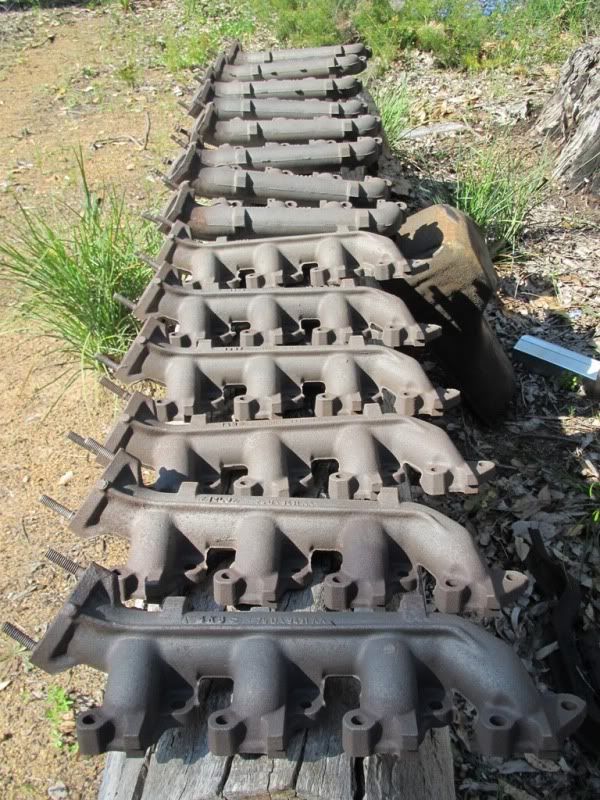 And then painted 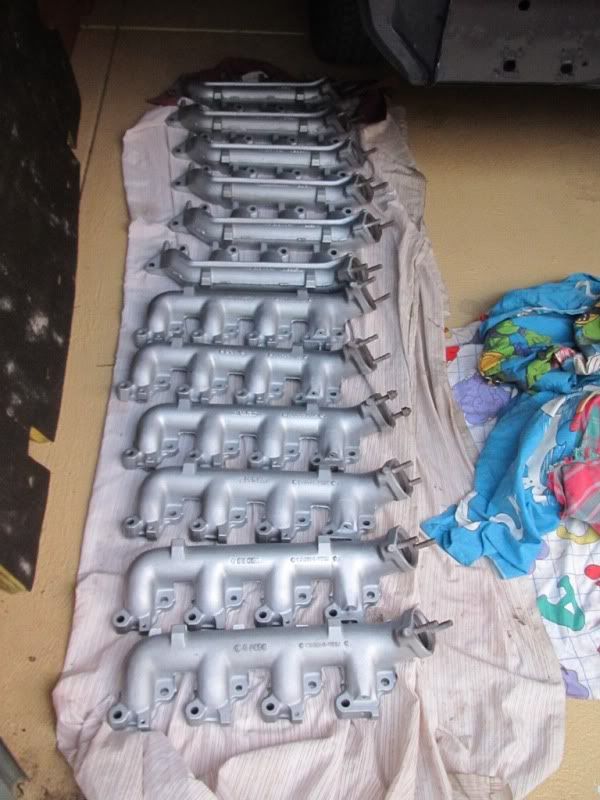 I also managed to buy some bearings for the Ac idler pulleys, will be interesting to see if these can be repaired. 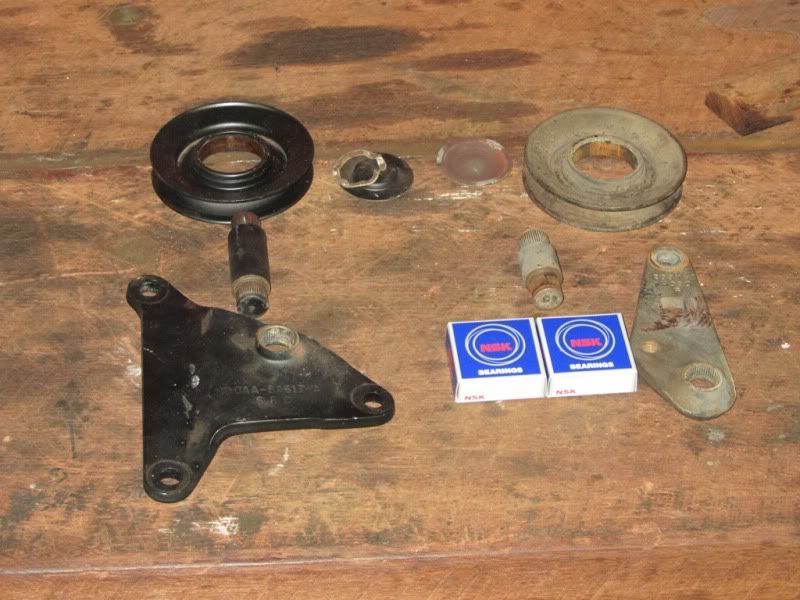 The FMX is also home too. It will be painted as well. More pics to follow. |
||
|
|

|
|
|
#213 | ||
|
P6 LTD
Join Date: Feb 2005
Location: Perth
Posts: 3,291
|
Clinton, manifold????????
|
||
|
|

|
|
|
#214 | ||
|
Regular Member
Join Date: Sep 2008
Posts: 252
|
Hey Paul, you know tyres life spans are only recommended for 7 years?
.[/QUOTE] Hi Paul looking good mate, I dont think I would worry to much about the age of the tyre, I think its just tyre companies trying to increase sales. I just got a new set of tyres for my car on Friday and they said the ones on the car were on it since 1984! I had it for 10 years now and the only reason I got new ones is I saved some loose change for a year and I went a bit fatter otherwise they could have lasted another 10 years. Good thing also is there seems to be lots of places you can buy the old size tyres now. Keep up the good work
__________________
Cobras Rock |
||
|
|

|
|
|
#215 | ||
|
FF.Com.Au Hardcore
Join Date: Mar 2008
Location: Melbourne
Posts: 10,839
|
Love the detail Paul.
Especially how methodical you are with your engine build. Like a surgeon! Keep it up mate. Nearly there |
||
|
|

|
|
|
#216 | ||
|
FF.Com.Au Hardcore
Join Date: Jun 2005
Posts: 5,193
|
Top stuff on the engine rebuild....There is something I'm going to try very soon. Does not seem overly difficult if doing just a stock rebuild.
Well done keep it up! |
||
|
|

|
|
|
#217 | ||
|
Excessive Fuel Ingestion
Join Date: Dec 2004
Location: Central Queensland Coast
Posts: 1,586
|
A/C pulleys rebuild quite easy. A little bit of loctite & a couple of centre-pops just to make sure, and they'll be sweet!
Ed 
__________________
Recommended Forum Traders: RSGerry, trimmaster, 51OAU, EB-92, adxr8, my67xr, RG, ZA-289, kruptor, gassa, Felony, RNXR, Rhino 351, Anchor, Smoke Pursuit, Mr. FPV (through E-Bay), |
||
|
|

|
|
|
#218 | |||
|
FF.Com.Au Hardcore
Join Date: Feb 2007
Location: Perth
Posts: 7,236
|
Quote:
I'd be ringing a professional tyre shop to make sure.
__________________
jaydee351 4DV8 |
|||
|
|

|
|
|
#219 | ||
|
P6 LTD
Join Date: Feb 2005
Location: Perth
Posts: 3,291
|
The rear seat is in, well kind of. I need to get some more pinch weld for the B pillar and once that is done, hopefully the seats can go in.
  Steering box is also in as well. Had to wait a while to get it but all is good now   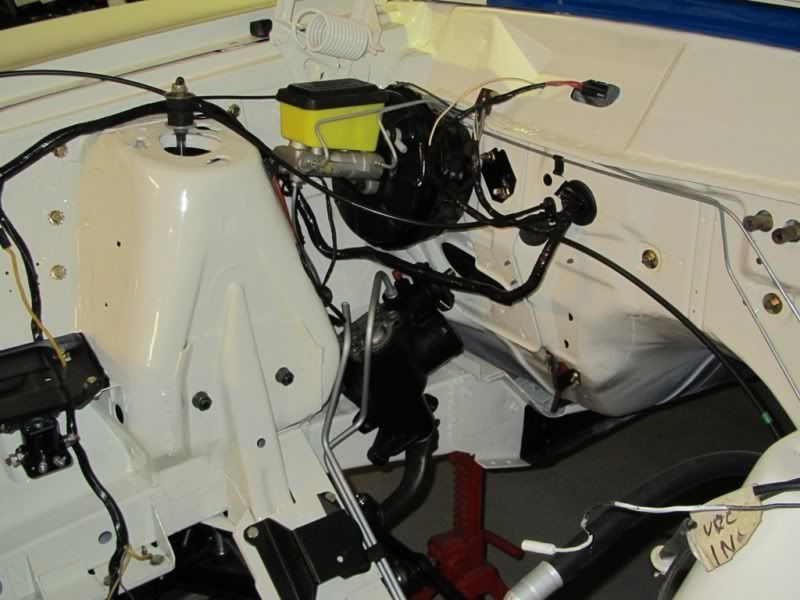 FMX is also now ready as well. I had to come up with a way of painting the whole assembly and thought, "this should work" 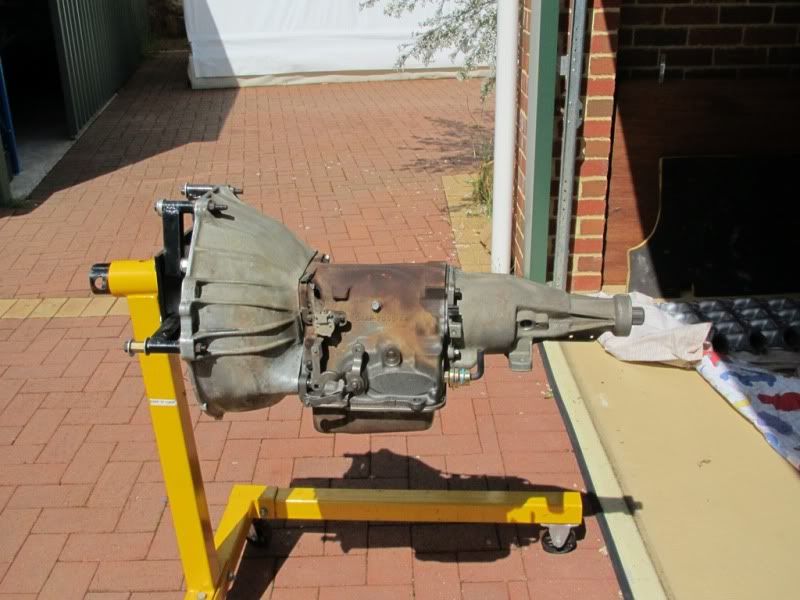 Masking up for the centre section 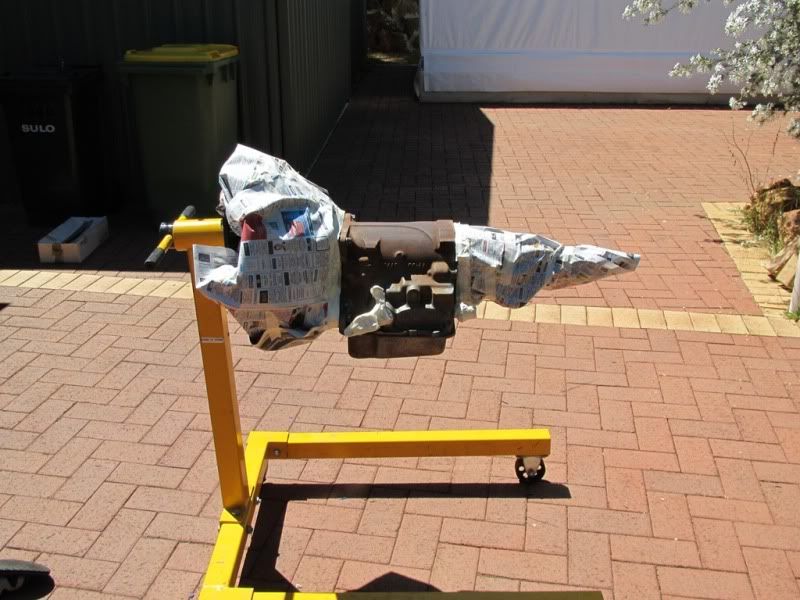 And painted 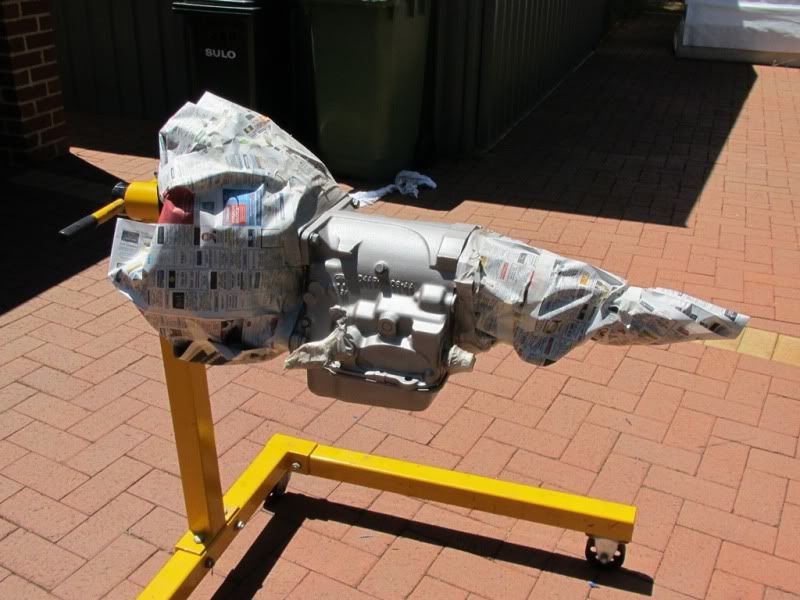 Same again for the bell housing and extension housing 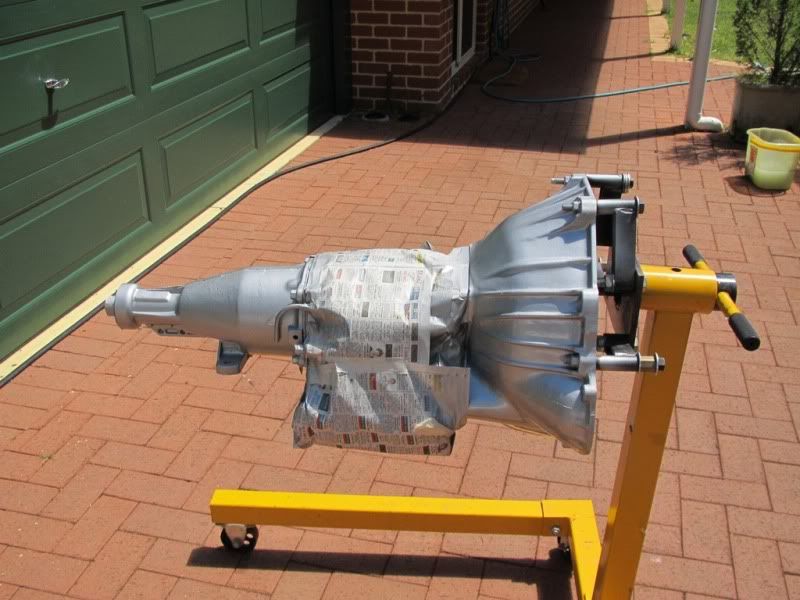 And painted 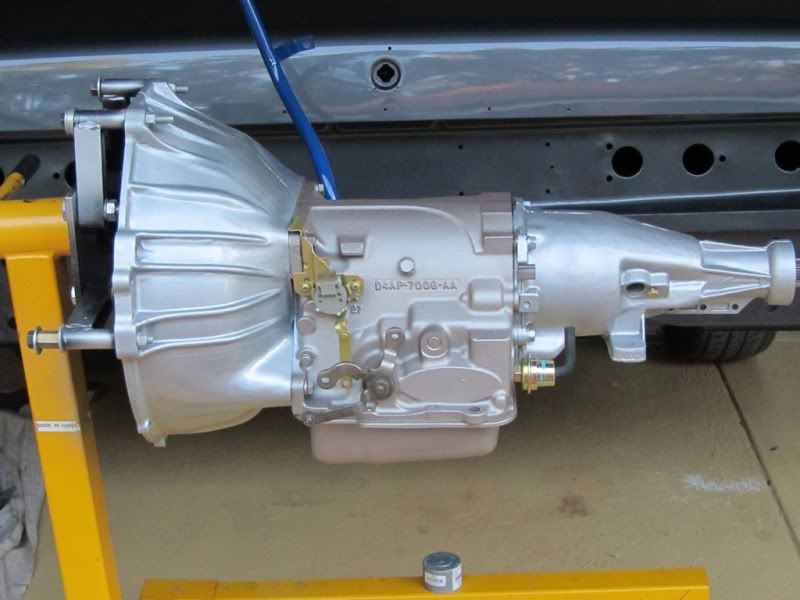 Engine is now also complete. Last things remaining were the exhaust manifolds and lifting brackets 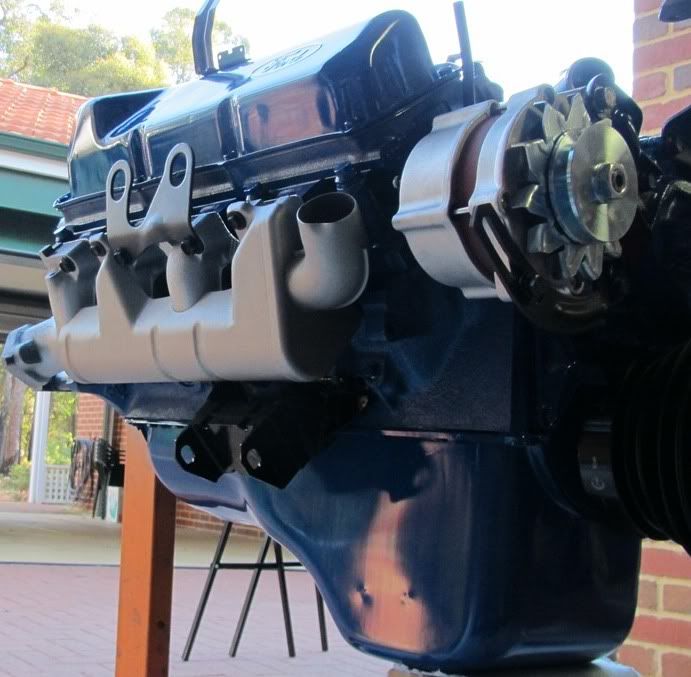 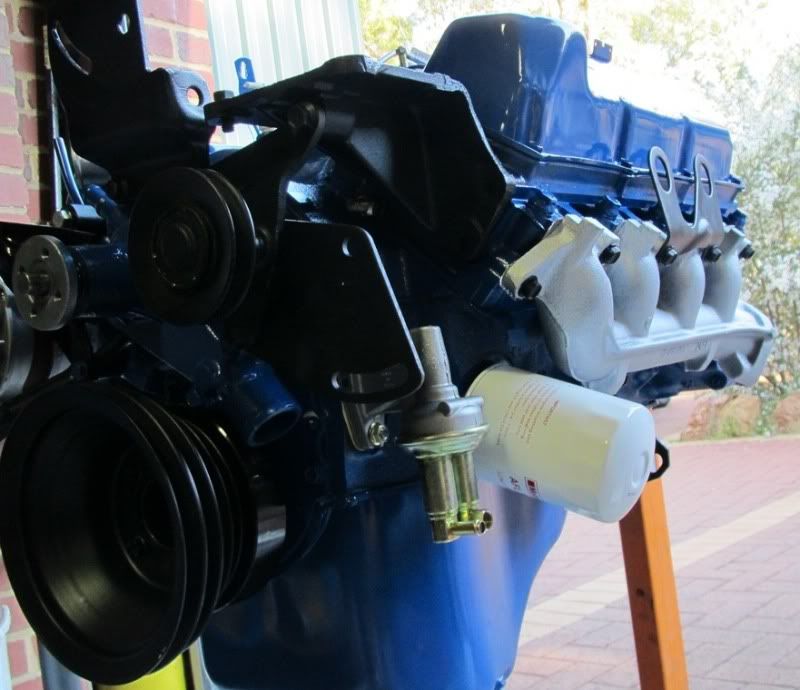 And ready to come off the engine stand 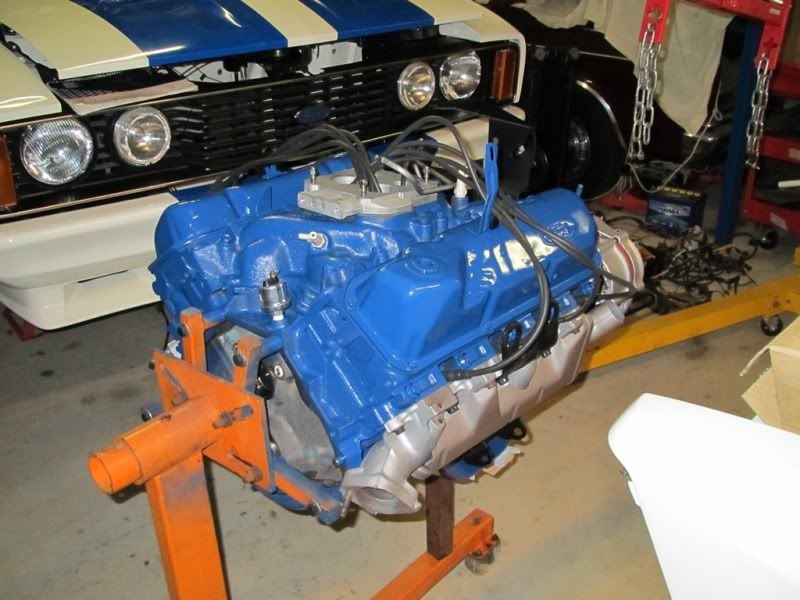 And this is where it sits now. I have put in the rear oil gallery plugs as well as the camshaft core plug followed by the sandwich plate and flex plate 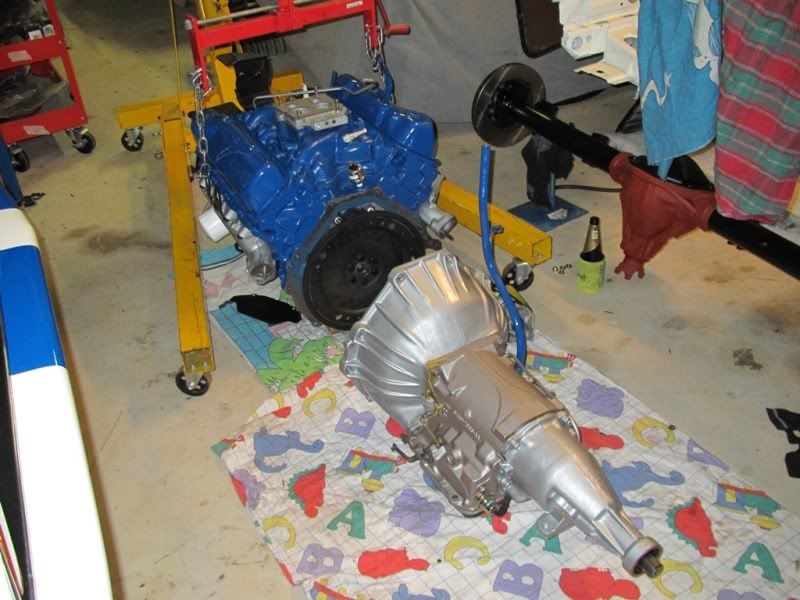 A nice NOS emissions cannister has also gone in as well  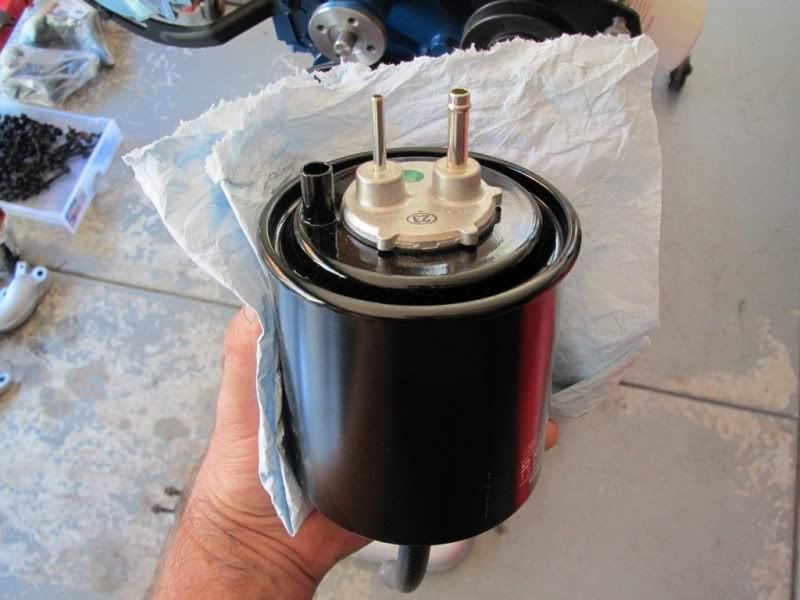 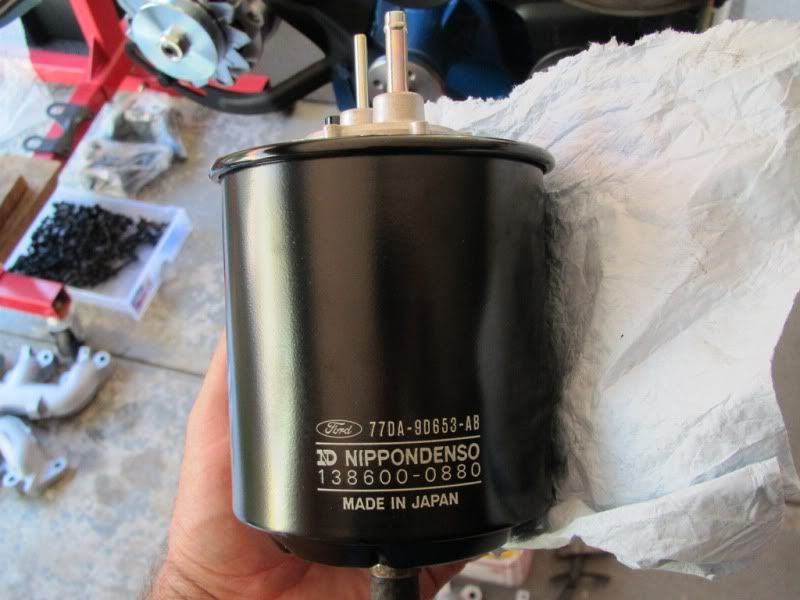 And lastly, one small problem - "old versus new" new stuff. I bought a couple of engine mounts quite some time ago and they have sat in the draw up until now. Recently, I bought another two sets, all Mckay products. See if you can spot the difference (which are the old new ones and which are the new new ones???) 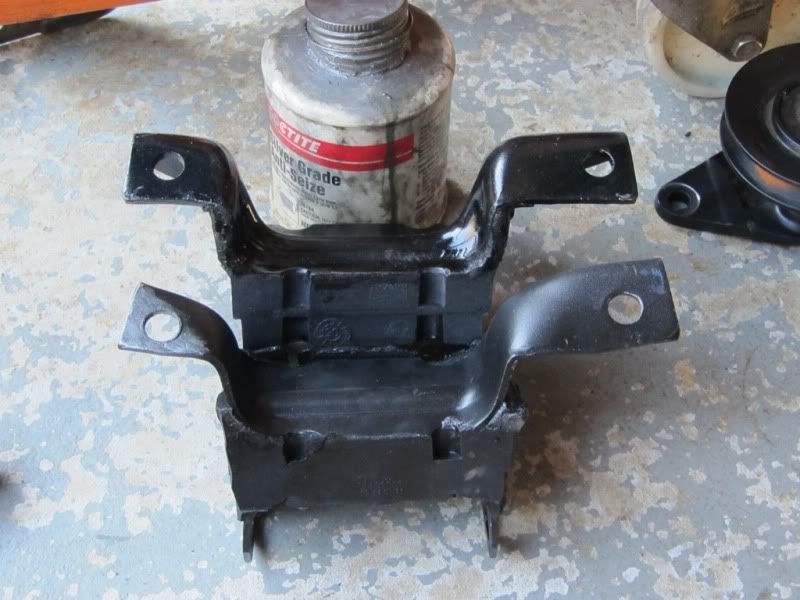 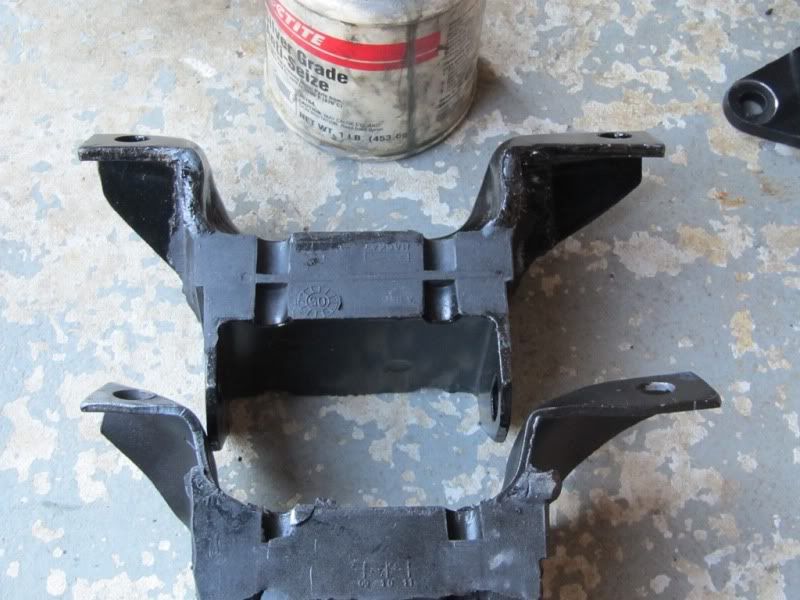 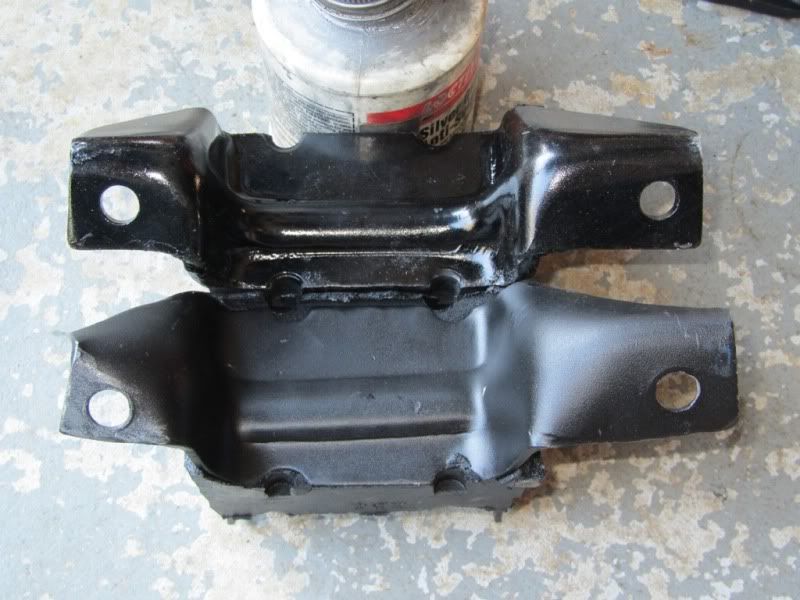
|
||
|
|

|
|
|
#220 | ||
|
Banned
Join Date: Mar 2009
Posts: 688
|
The lower ones are the new new ones.
|
||
|
|

|
|
|
#221 | ||
|
Awesome
Join Date: Oct 2007
Location: In my own little world..Everyone here knows me :)
Posts: 9,401
|
Exactly what I was going to say.
__________________
|
||
|
|

|
|
|
#222 | |||
|
P6 LTD
Join Date: Feb 2005
Location: Perth
Posts: 3,291
|
Quote:
I went into Superoo today and i was speaking with one of the guys there: he made mention that he too had also had problems with them. Will now try and get Kelpro ones to see if they are any better. |
|||
|
|

|
|
|
#223 | |||
|
P6 LTD
Join Date: Feb 2005
Location: Perth
Posts: 3,291
|
Quote:
Last edited by Paull; 21-10-2011 at 05:39 PM. |
|||
|
|

|
|
|
#224 | |||
|
P6 LTD
Join Date: Feb 2005
Location: Perth
Posts: 3,291
|
Quote:
   
|
|||
|
|

|
|
|
#225 | ||
|
FF.Com.Au Hardcore
Join Date: Jan 2009
Location: Perth
Posts: 1,633
|
Hey Paul, looking good as always. Top job yet again. Do your rear door trims have the spots for the seatbelt buckle bitties or do you still need to drill/secure these to the trims? Or are the holes there and I am blind? I assume you bought the NOS carbon canister recently off Ebay like me?
|
||
|
|

|
|
|
#226 | ||
|
FF.Com.Au Hardcore
Join Date: Mar 2008
Location: Melbourne
Posts: 10,839
|
Love the Charcoal Canister!
If only it would fit my landau I would buy one. This has connections top and bottom. Mine only has them on top :( Last edited by gcg2503; 21-10-2011 at 11:07 PM. |
||
|
|

|
| This user likes this post: |
|
|
#227 | ||
|
Awesome
Join Date: Oct 2007
Location: In my own little world..Everyone here knows me :)
Posts: 9,401
|
We had a copy of that Engine rebuild book but lost it. Trying to track down another one now. It is definitely the bible for engine rebuilds.
__________________
|
||
|
|

|
|
|
#228 | |||
|
P6 LTD
Join Date: Feb 2005
Location: Perth
Posts: 3,291
|
Quote:
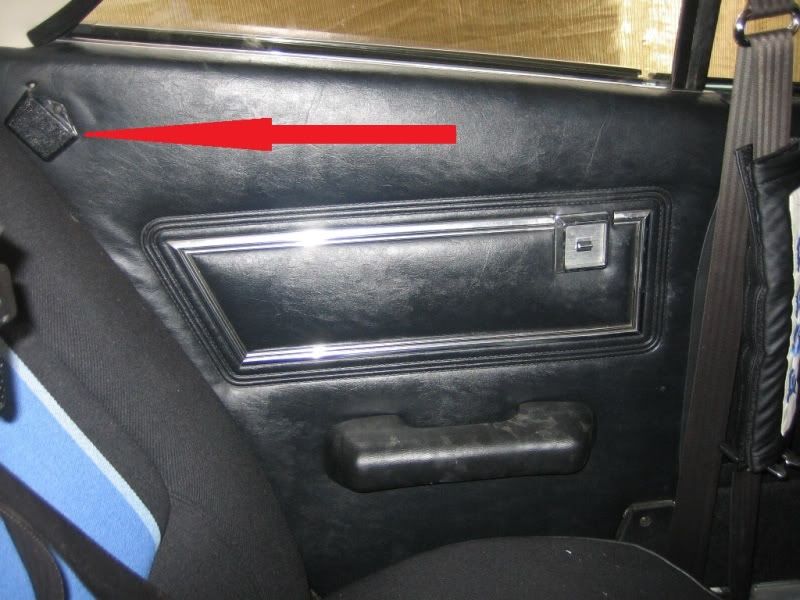 I have actually fitted P6 LTD rear 'retractable' seat belts so I wont be using those buckle receptacles. And no, the door trims did not come with them nor did I ask for them. |
|||
|
|

|
|
|
#229 | |||
|
P6 LTD
Join Date: Feb 2005
Location: Perth
Posts: 3,291
|
Quote:
 I am now trying to source some Kelpro ones to see if they are any better. |
|||
|
|

|
|
|
#230 | |||
|
P6 LTD
Join Date: Feb 2005
Location: Perth
Posts: 3,291
|
Quote:
 The engine and gearbox are now together awaiting fitting to the car 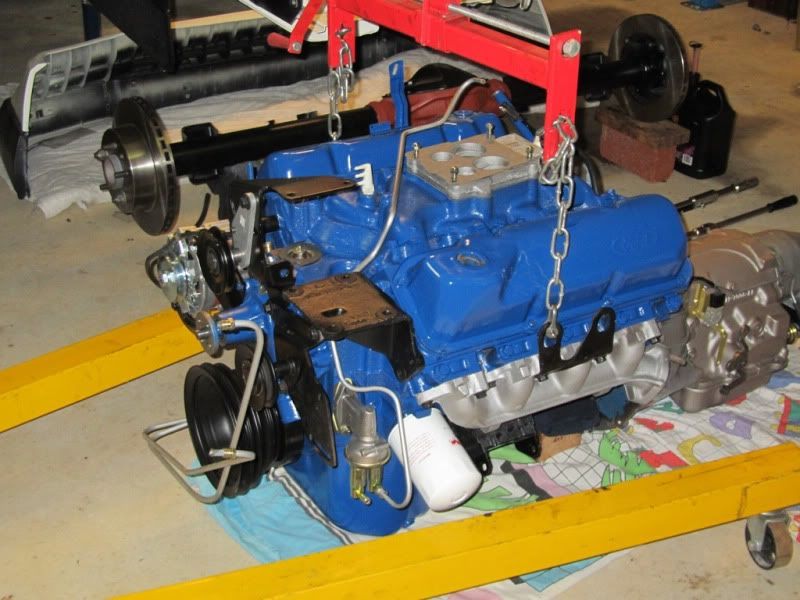 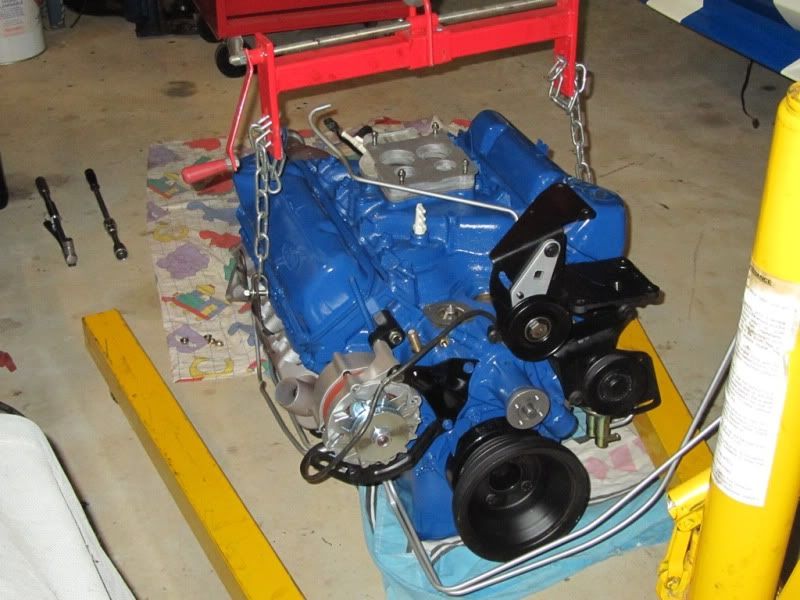 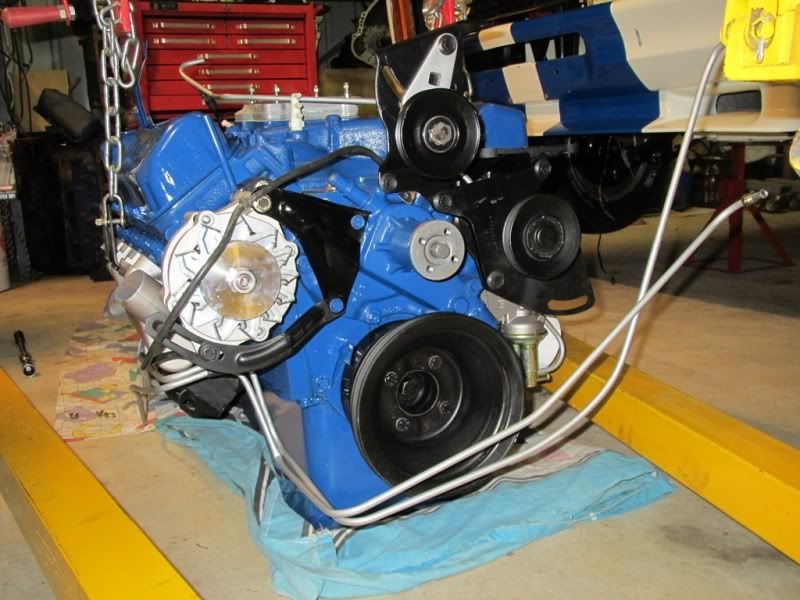 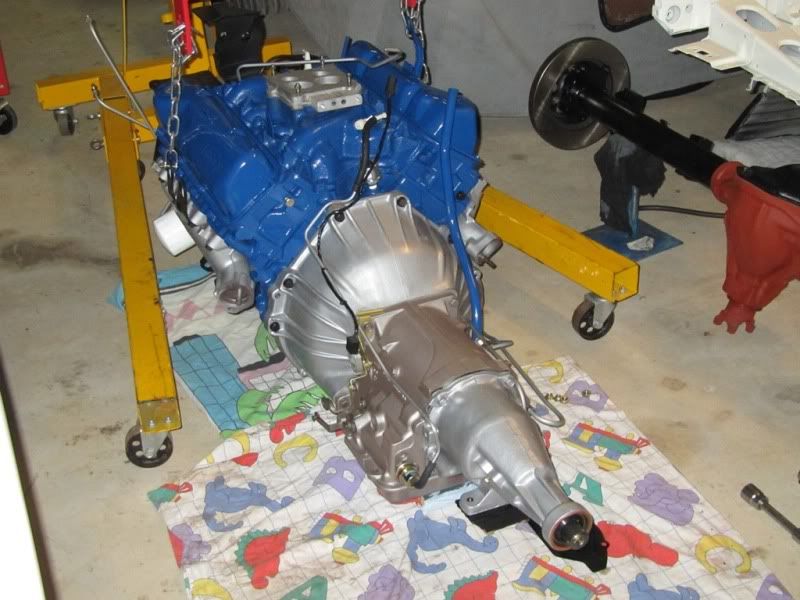 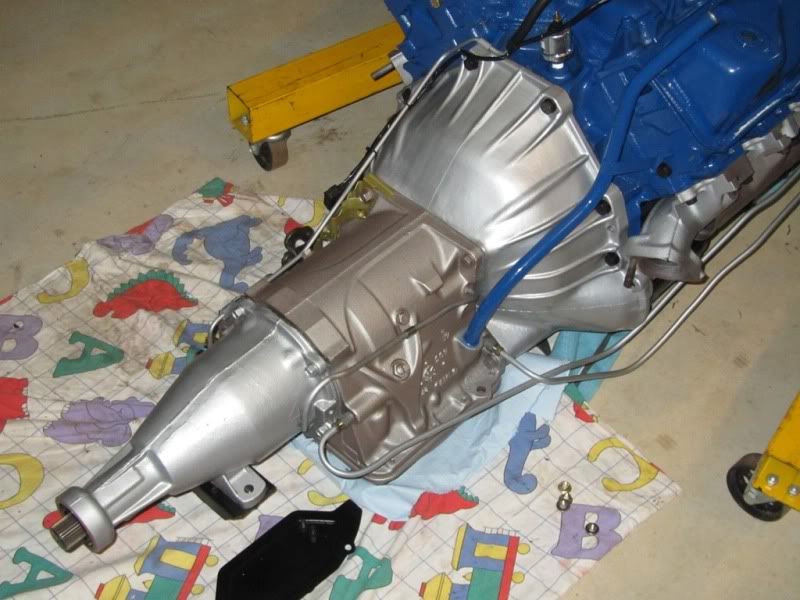 There are a few more items that need to be fitted; - Active cable to RH engine mount - AC evaporator drain hose - Power steering return line - Earth strap - Window wiper motor - Fire wall grommets - 2 brake line clips plus the speedo cable and brake line clip - Hand brake assembly (2 nuts on the fire wall, much easier to get to whilst the engine is out) - Steering coloumn and rag joint coupling bolts to be done up 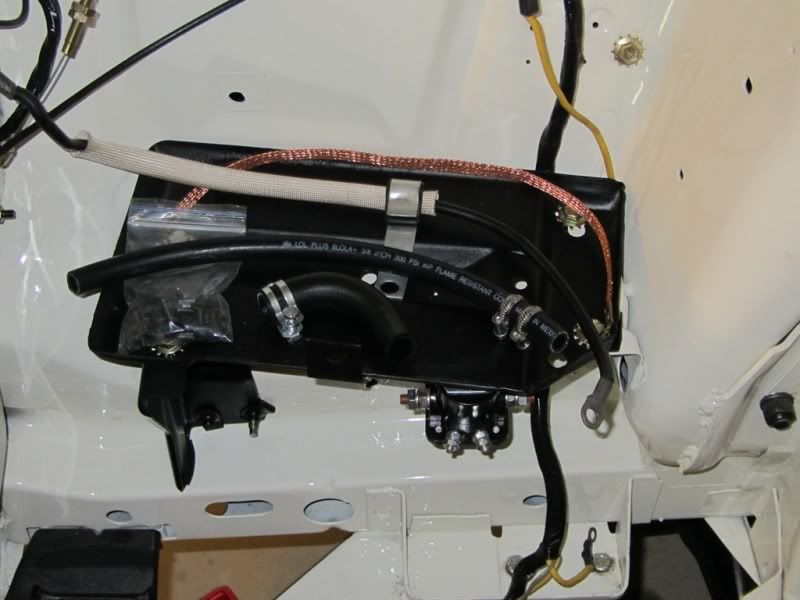 Tomorrow will be doing all of the last minute fiddly bits and all going well, engine and gearbox will go in on Sunday. |
|||
|
|

|
|
|
#231 | |||
|
P6 LTD
Join Date: Feb 2005
Location: Perth
Posts: 3,291
|
Quote:
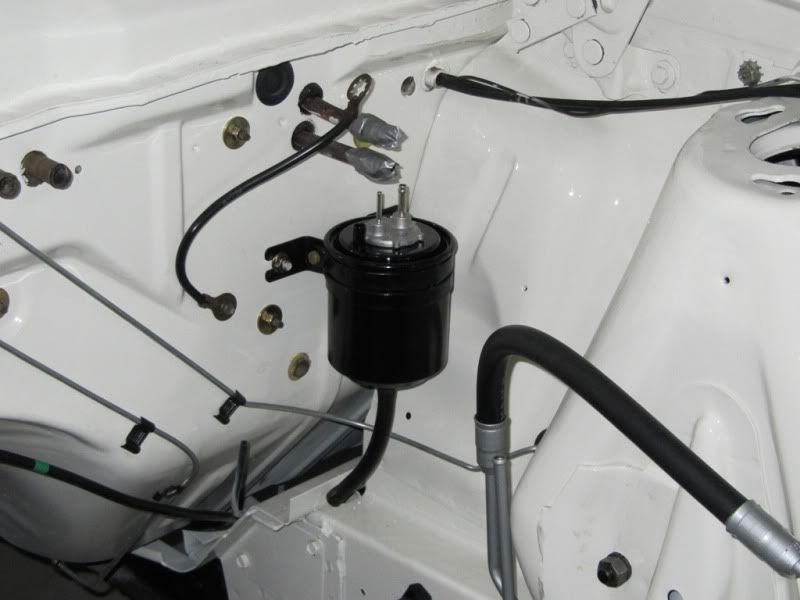
|
|||
|
|

|
|
|
#232 | |||
|
P6 LTD
Join Date: Feb 2005
Location: Perth
Posts: 3,291
|
Quote:
|
|||
|
|

|
|
|
#233 | |||
|
P6 LTD
Join Date: Feb 2005
Location: Perth
Posts: 3,291
|
Quote:
|
|||
|
|

|
|
|
#234 | |||
|
Regular Member
Join Date: Sep 2008
Posts: 171
|
Quote:
Geez Louise, try this link for the manual, different cover but same author! http://www.penguin.com.au/products/9...engines-used-f |
|||
|
|

|
|
|
#235 | ||
|
FF.Com.Au Hardcore
Join Date: Jan 2009
Location: Perth
Posts: 1,633
|
Man, she is almost ready to turn the key! You gotta be getting excited now?
She is looking real good mate. Love the way you are keeping the original look with the engine, A/C and P/steer set ups etc. |
||
|
|

|
|
|
#236 | |||
|
P6 LTD
Join Date: Feb 2005
Location: Perth
Posts: 3,291
|
Quote:
|
|||
|
|

|
|
|
#237 | ||
|
FF.Com.Au Hardcore
Join Date: Jun 2005
Posts: 5,193
|
WOW
   Fantastic!!!! |
||
|
|

|
|
|
#238 | ||
|
BOOST is Good
Join Date: Oct 2009
Location: Gunners
Posts: 103
|
cant wait to see it completed. great photos
__________________
1967 XR Ute G6E Turbo in Blue Steel |
||
|
|

|
|
|
#240 | ||
|
Awesome
Join Date: Oct 2007
Location: In my own little world..Everyone here knows me :)
Posts: 9,401
|
Jack used that book the first time he put together his 460 BB. Went together like a dream. Really need to track down another copy.
Thanks for the brilliant updates Paull. 
__________________
|
||
|
|

|
| This user likes this post: |