
|
|
 |
|
|
|
Welcome to the Australian Ford Forums forum. You are currently viewing our boards as a guest which gives you limited access to view most discussions and inserts advertising. By joining our free community you will have access to post topics, communicate privately with other members, respond to polls, upload content and access many other special features without post based advertising banners. Registration is simple and absolutely free so please, join our community today! If you have any problems with the registration process or your account login, please contact us. Please Note: All new registrations go through a manual approval queue to keep spammers out. This is checked twice each day so there will be a delay before your registration is activated. |
|
|||||||
 |
|
|
Thread Tools | Display Modes |
|
|
#1 | ||
|
Regular Member
Join Date: Mar 2007
Location: Sydney
Posts: 340
|
XB Fairmont GS 351 auto JG67NE52694K
Just like an old soldier with a leg blown off you dont put him down, he is a survivor and deserves a break for the rest of his life. Oh well.... some one has to save it from the crusher! Its been under my house for the last 4 years and now is the time to start a restoration. When I purchased it in 2007 the last rego paper was 1994 the last owner had. This will keep me busy for a long time so I will do it in stages. Im a little way into it now so i will put a few pics up to show the restoration. The Boot lid was first Paint striped, repaired and then I found a better one and swapped it.  Paint stripped it all again and a few minor repairs needed before putting it under Epoxy. 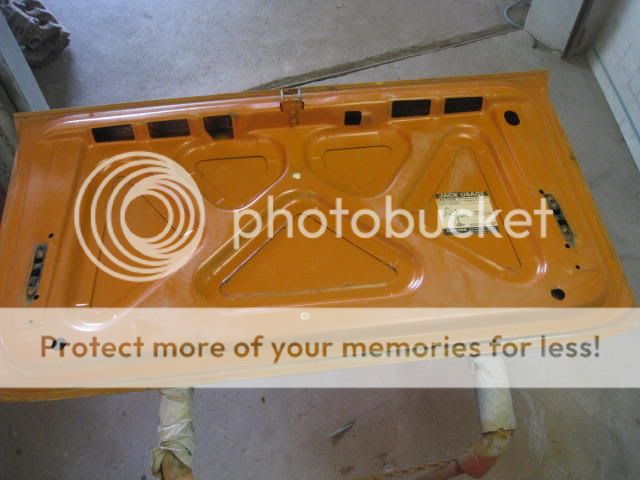 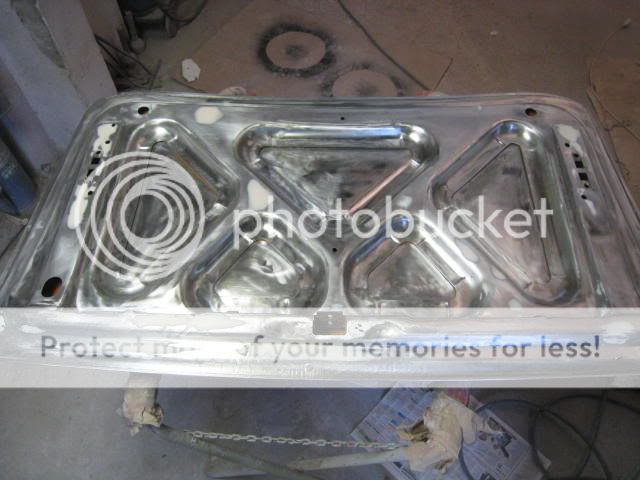 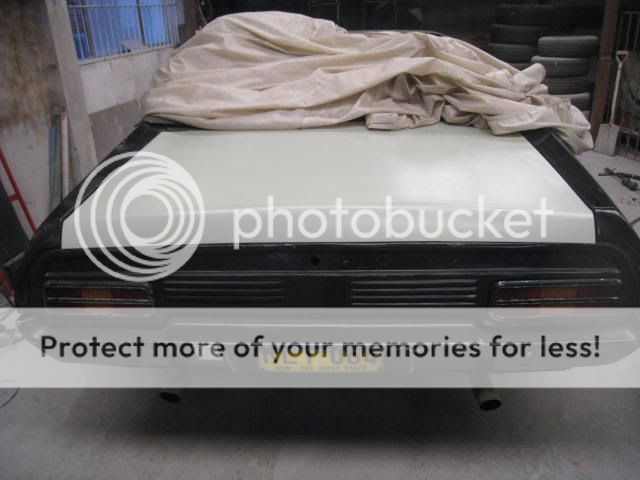 Drivers door next It appears to have opened to wide and dented the skin big time so it was previously fill with filler . Rust in the usual places in the door. 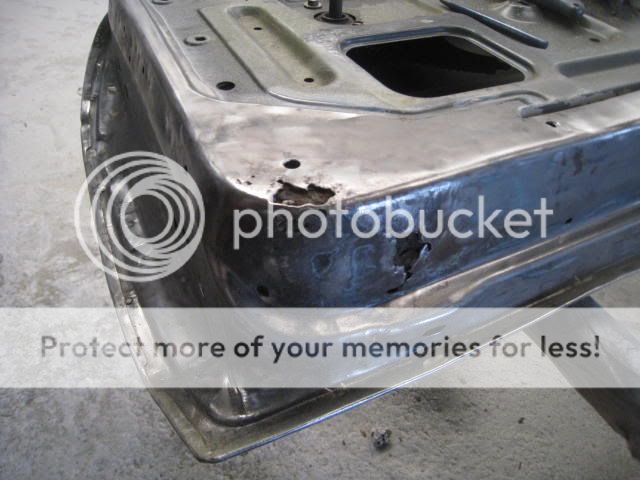 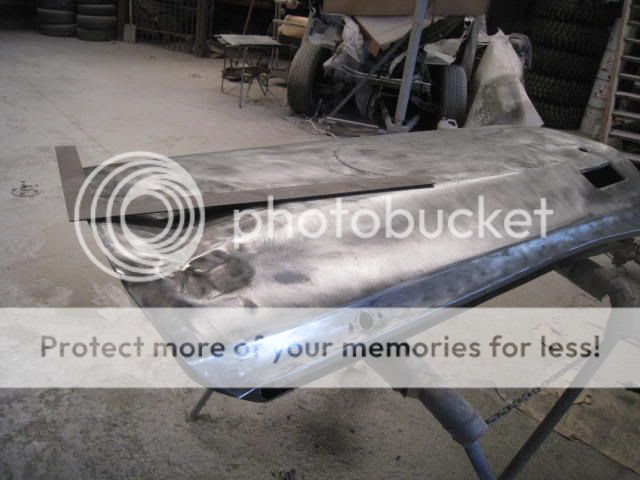 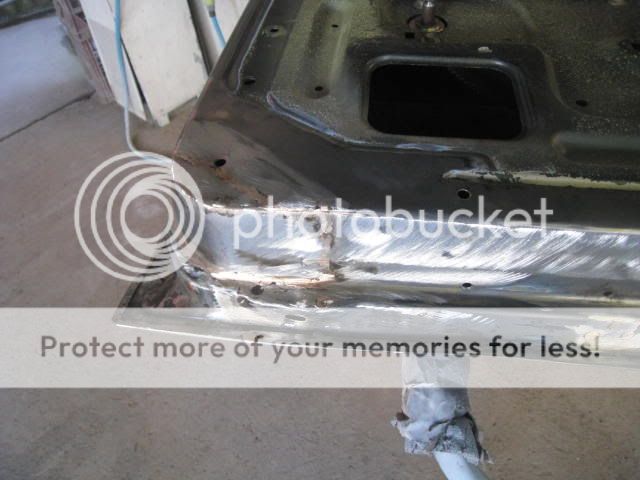  Right front guard next. Last edited by Jallopy; 18-09-2011 at 12:15 AM. |
||
|
|

|
|
|
#2 | ||
|
FF.Com.Au Hardcore
Join Date: Jun 2009
Posts: 1,600
|
thats a nice wack on the door, did ya bash it out straight mate ?
|
||
|
|

|
|
|
#3 | ||
|
Banned
Join Date: Jan 2009
Posts: 1,621
|
did you braze in that piece in the bottom of the door? if so, why not weld it?
|
||
|
|

|
|
|
#4 | |||
|
Regular Member
Join Date: Mar 2007
Location: Sydney
Posts: 340
|
Quote:
Flatter welds = less clean up around 30% quicker than wire mig welding. The main draw back is the cost of the wire about $300 for a roll and pure Argon shielding gas. This is what the robots use to weld panels on new cars if spot welds are unsuitable. If I need to weld any thing i have my other Mig set up with wire or the oxy set. Paint striped the guard and was not happy to much rust. So i paint striped a better guard and got the lead wiping tools out again to put a little lead on the front edge where it is not quite right. 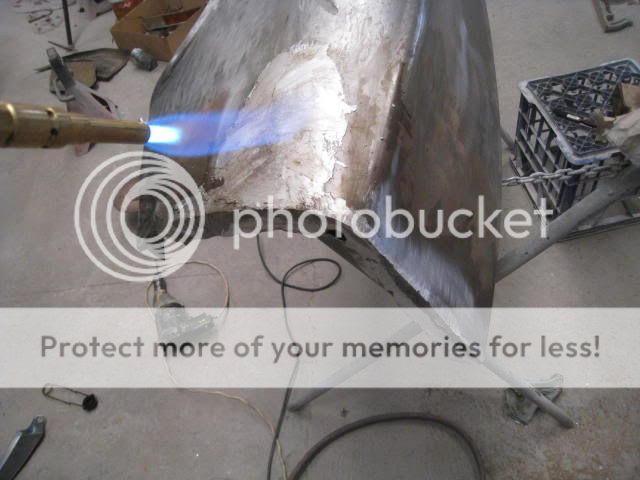 Test fit of the extension before the final file.  It has had some horrible repairs half done so I will cut them all out and do a permanent repair. 
|
|||
|
|

|
|
|
#5 | ||
|
Regular Member
Join Date: Mar 2007
Location: Sydney
Posts: 340
|
It was registered previously with a engineers cert. but had been lost years ago
I have to get it Engineered again before I paint it. Just in case it needs extra reinforcements added. I set it up for the Beaming and Torsional test. Remove all 4 shocks and fit solid struts in their place to make the suspension rigid. Make a bracket up to fix the left rear wheel studs to the floor. Attach 10 dial gauges to the car. Beaming Test; This is the easy test to pass. put axle stands under 4 axles. Zero all gauges then fill the car with weight about 780kg take measurement again. Now Torsional Test remove stands from front and replace with a beam attached to the front hubs Put a fulcrum in the middle and load up the beam about 200kg and read the dial gauges. The engineer put the figures into his computer and it worked out the twist (Or lack of twist). It passed. Hooray  I can now get on with the restoration I can now get on with the restoration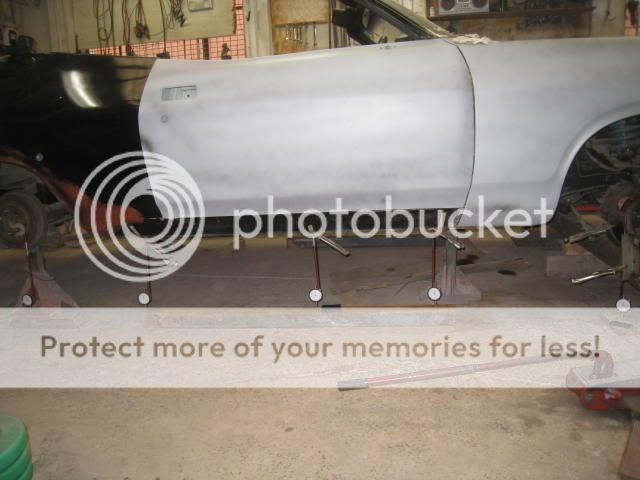 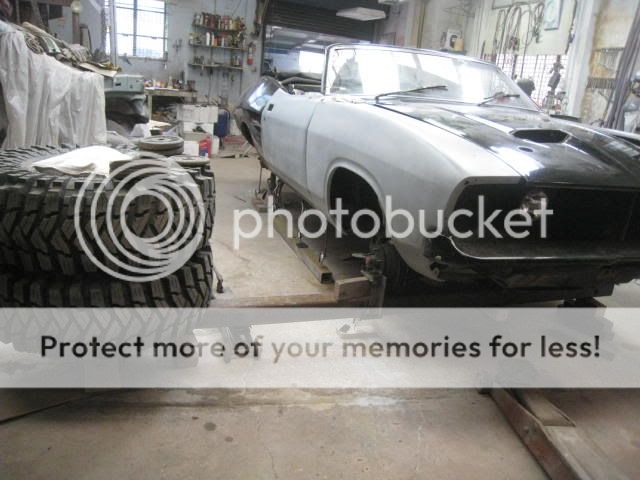 The reinforcement that runs from torque box at the front back to the rear spring hangers. 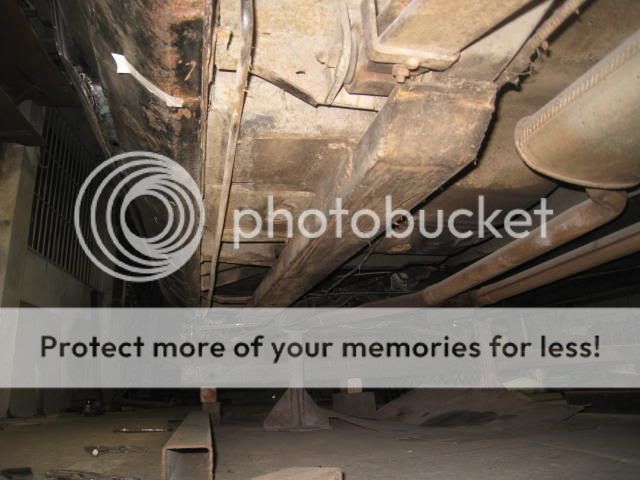 I wont be cleaning that crap off under there .... off to the sandblasters and let them do it. Last edited by Jallopy; 19-09-2011 at 12:37 AM. |
||
|
|

|
|
|
#6 | ||
|
FF.Com.Au Hardcore
Join Date: Mar 2005
Location: whitsundays
Posts: 1,340
|
sounds and looks like you know your panel beating, have you thought about making a roof from scratch
|
||
|
|

|
|
|
#7 | ||
|
FF.Com.Au Hardcore
Join Date: Mar 2008
Posts: 954
|
Looking good John
|
||
|
|

|
|
|
#8 | ||||
|
Regular Member
Join Date: Mar 2007
Location: Sydney
Posts: 340
|
Quote:
  Quote:
  The car has had a radiator support put on but they never straightened the top guard support very well after the bingle. 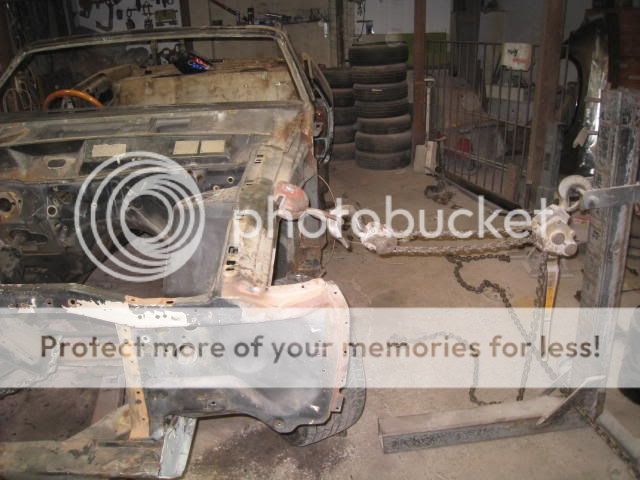 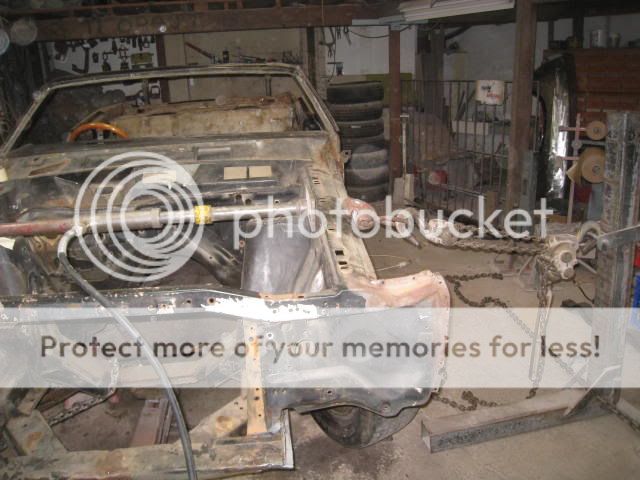 I welded a solid steel bar to the front for a trolly jack. The two radius rod supports were completely mangled from previous inappropriate use of a trolly jack. 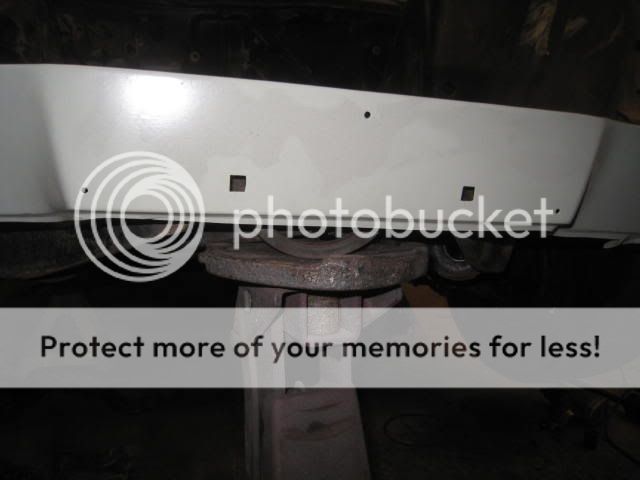 The bottom of the engine xmember was removed the xmember reinforced inside with 1.6mm steel and the bottom piece that I removed and straightened was reinforced inside with 6mm flat bar then epoxy painted and welded back on again. There wont ever be any dents in that bottom plate from a trolly jack. |
||||
|
|

|
|
|
#9 | ||
|
Awesome
Join Date: Oct 2007
Location: In my own little world..Everyone here knows me :)
Posts: 9,401
|
Looking great! Love the progress shots. Keep them coming

__________________
|
||
|
|

|
|
|
#10 | |||
|
Regular Member
Join Date: Mar 2007
Location: Sydney
Posts: 340
|
Quote:
Had a few rust bubbles so I cut the whole section out to make sure I got it all and just as well because rust was half way thru in a few other spots. I will leave this open for the sandblaster to remove all the rust. Same deal on the other side. I cut open any rust or daggy previous repairs so the sand blaster can get in behind. 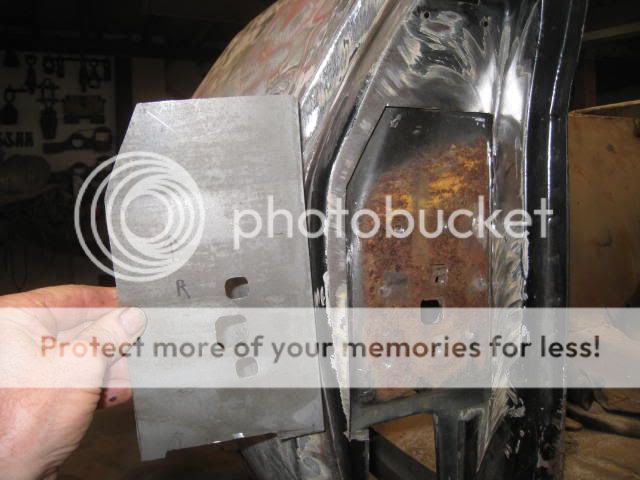 I had the complete shell blasted spotless 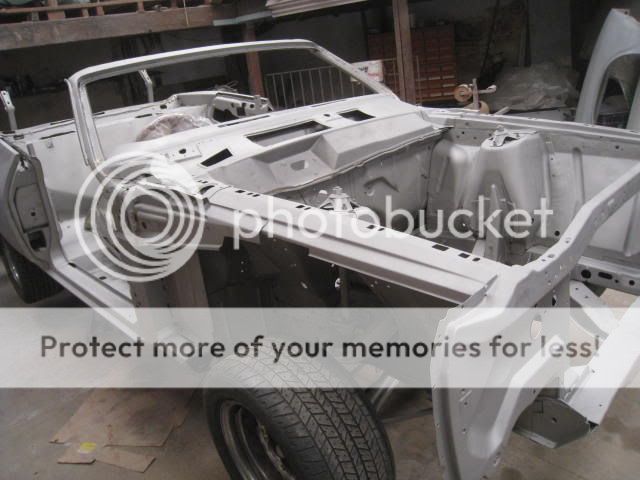 Some poor repairs that will all have to be done again 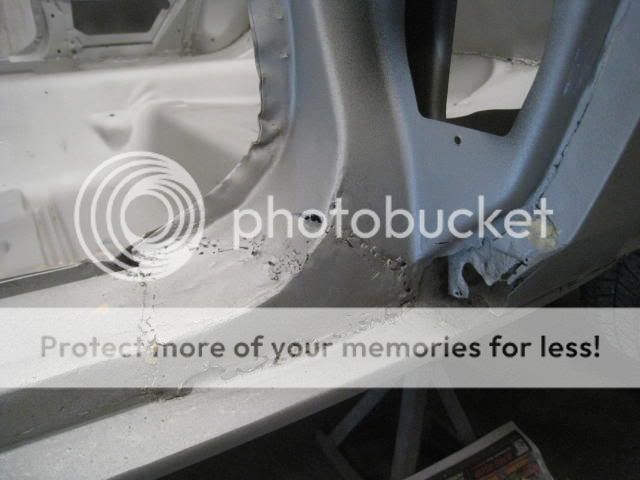 so much cleaner underneath now. 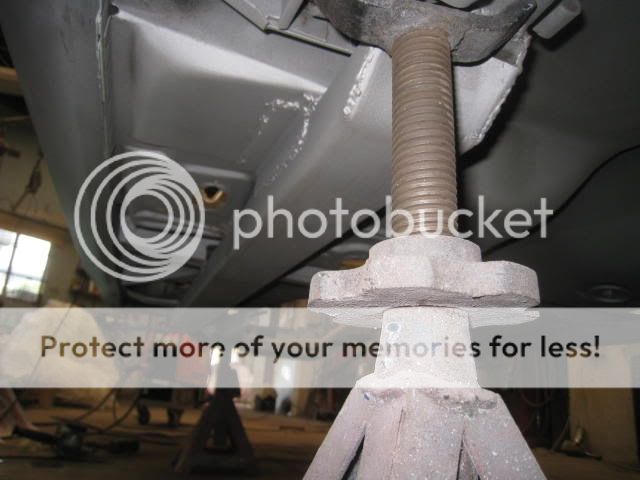 Here we are with a coat of epoxy in the engine bay for now and 2 coats under the floor and then coated with 2k Satin Black. 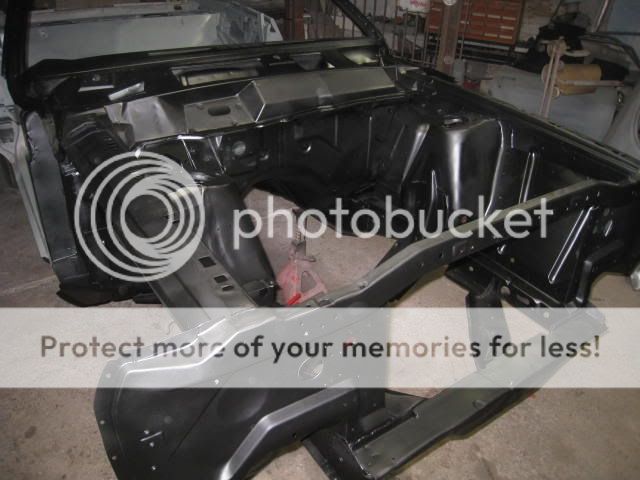 I am fixing the rear of the sill panels and dog leg where a bit of rust has appeared thru previous repairs. What they had done is make a rust sandwich..... welded new metal over the top of the old rusty metal and left it to sweat together. They should have at least removed the rusty bits then welded the new piece in or on if they could not do a butt weld properly. At least doing it like that you will be able to paint the back of the new steel. There were a few pin holes in the plenum mainly under the original seam sealer, which was put onto bare metal then primed over. In a lot of places the seam sealer had gone as hard as a biscuit and had cracked and lifted. Most seam sealers dont have rust inhibitors in them. So I epoxy prime then put the seam sealer onto the primer. I am waiting for a new tail light panel, rear panel between the boot and rear screen and an inner rear guard section. |
|||
|
|

|
|
|
#11 | ||
|
Regular Member
Join Date: Mar 2007
Location: Sydney
Posts: 340
|
A few more repairs
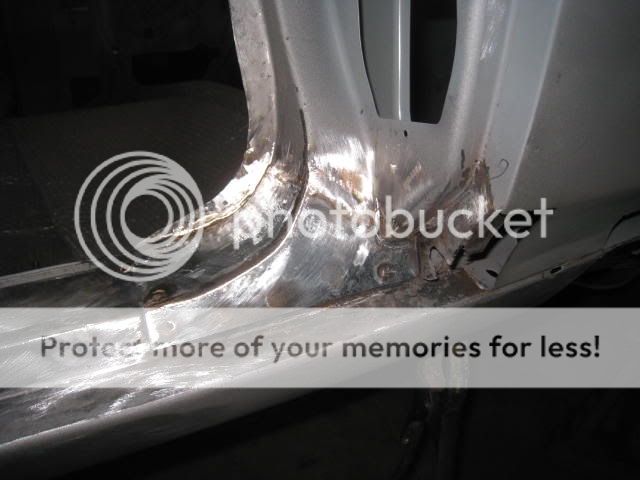 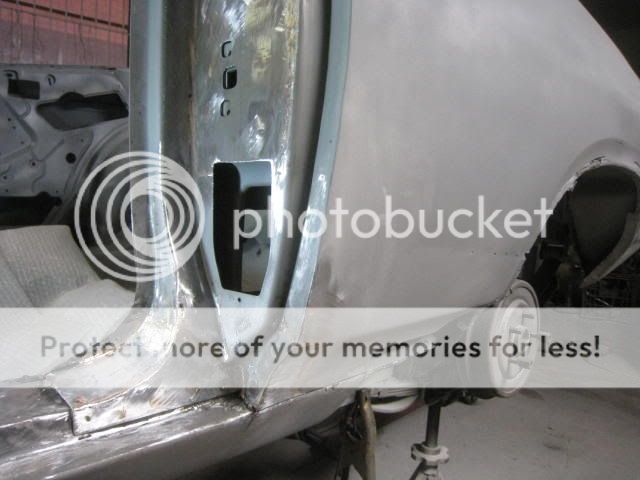 I cut a piece from a front guard and new sill panel and welded it in. 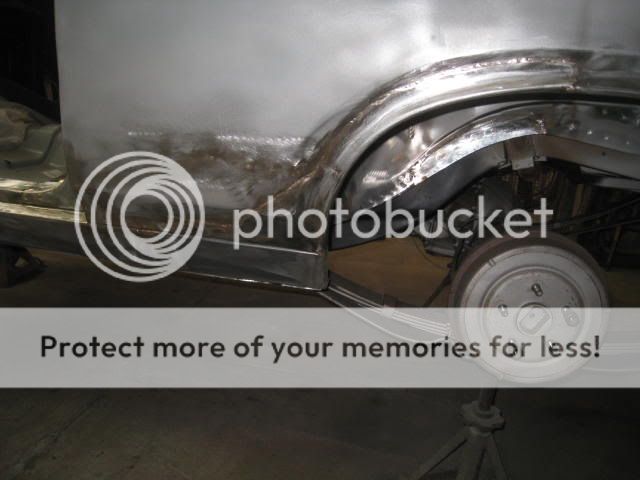 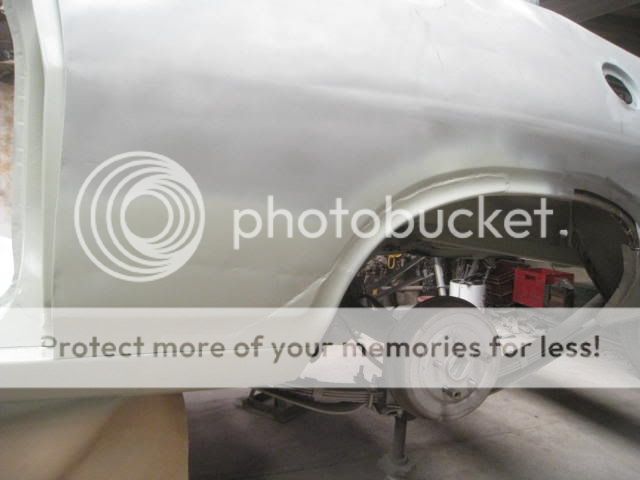 These are some more repairs that will be removed. 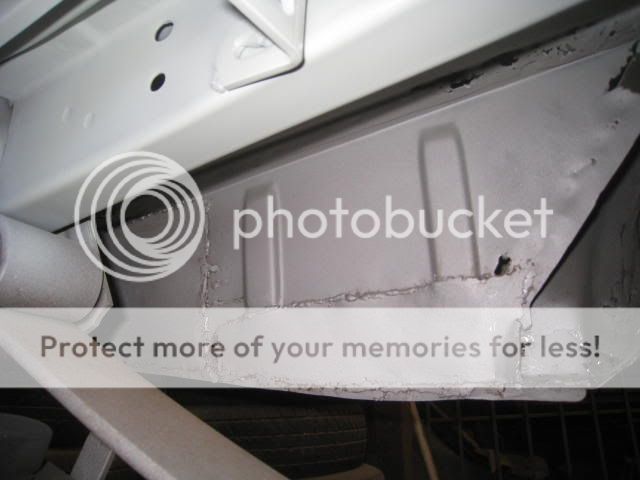 I was not happy with the replacement patch panel so I made up one from 1.1 mm gal with a better look and fit. 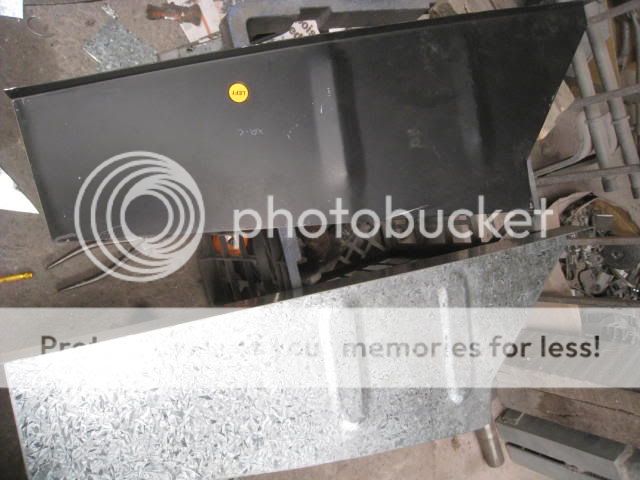 The other patch panels turned up as expected and about 2k of other parts from Mustang Spares in Brisbane. I will get around to fitting them next week if all goes to plan. |
||
|
|

|
|
|
#12 | ||
|
Awesome
Join Date: Oct 2007
Location: In my own little world..Everyone here knows me :)
Posts: 9,401
|
You going to leave it a convertable then?
Repairs are looking good 
__________________
|
||
|
|

|
|
|
#13 | ||
|
Donating Member
 Join Date: Dec 2004
Location: QLD
Posts: 11,836
|
Subscribing.... Nice work

|
||
|
|

|
|
|
#14 | ||
|
FF.Com.Au Hardcore
Join Date: Nov 2010
Posts: 895
|
Putting a roof on it?
|
||
|
|

|
|
|
#15 | ||||
|
Regular Member
Join Date: Mar 2007
Location: Sydney
Posts: 340
|
Quote:
Quote:
 I would not have got an engineers cert. if i was going to put a roof back on. . |
||||
|
|

|
|
|
#16 | ||
|
Regular Member
Join Date: Mar 2007
Location: Sydney
Posts: 340
|
Welded the new inner panel in.
I butt welded to the boot floor so i dont have a seam to rust away again. Any known rust traps are being removed as I go. 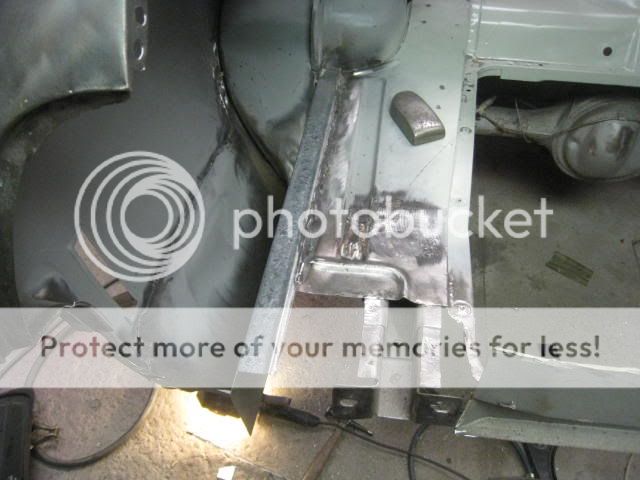 Look....... What am I making now??? 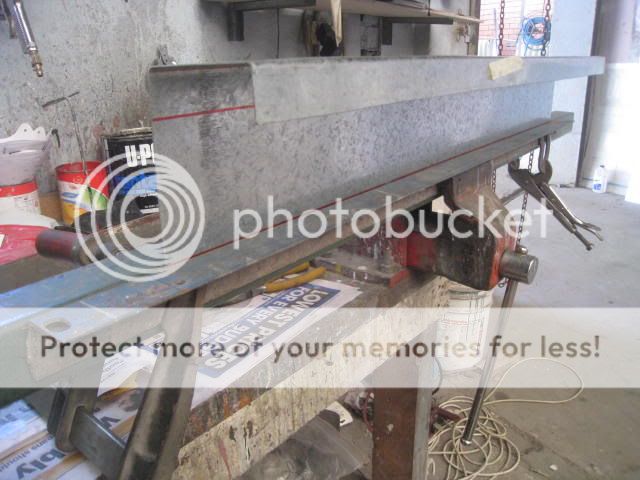
|
||
|
|

|
|
|
#17 | ||
|
Regular Member
Join Date: Mar 2007
Location: Sydney
Posts: 340
|
I am making a new panel that fits under the tail light panel!
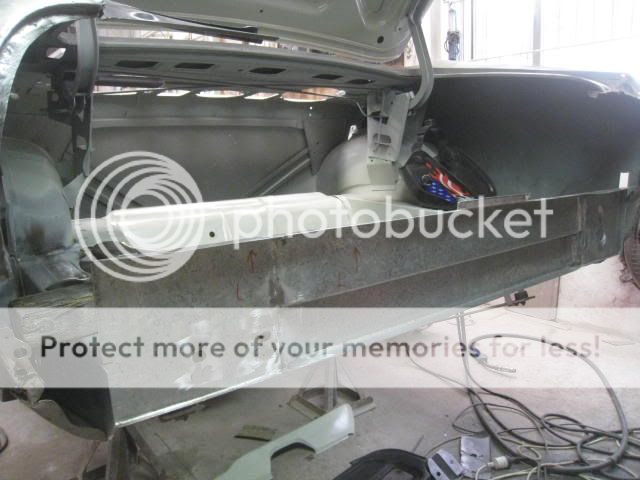 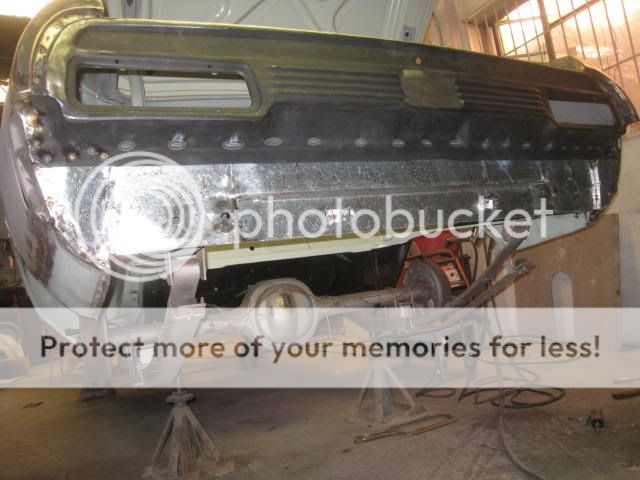 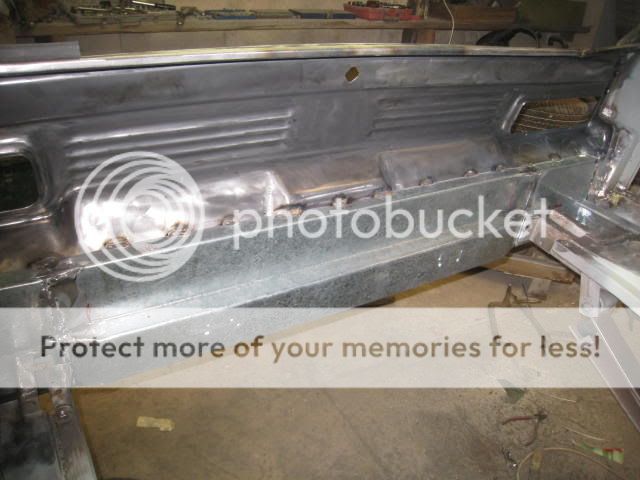 Replica tail light panel is all wrong. It is way to wide, and wont line up with the gutter, so I cut about 7mm out and welded it all back together again. While it was apart I put the "bend" in the top to follow the boot lid edge curve. 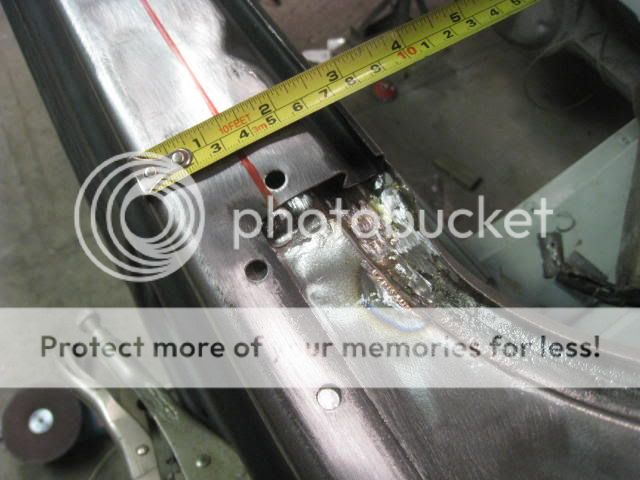 Original panel 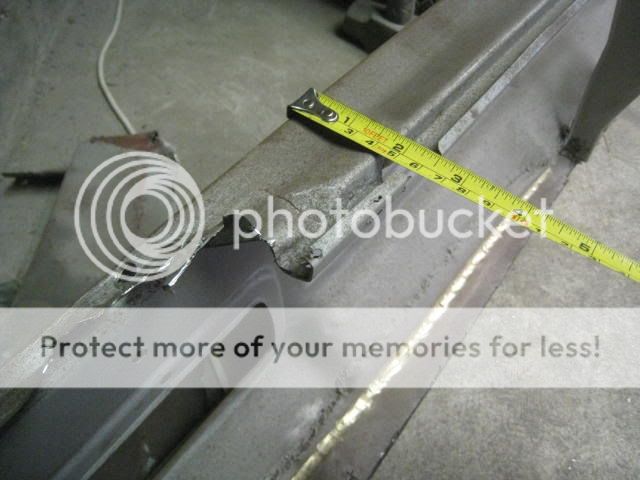 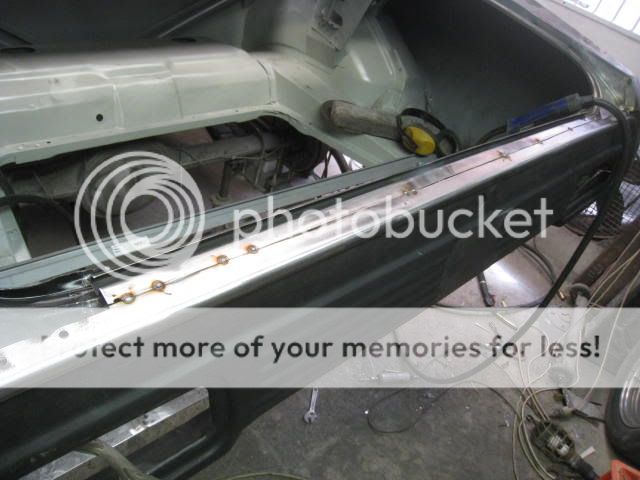 Now how hard would it be to stuff this replica panel up that I bought off fleabay ? A few folds and a couple of holes. 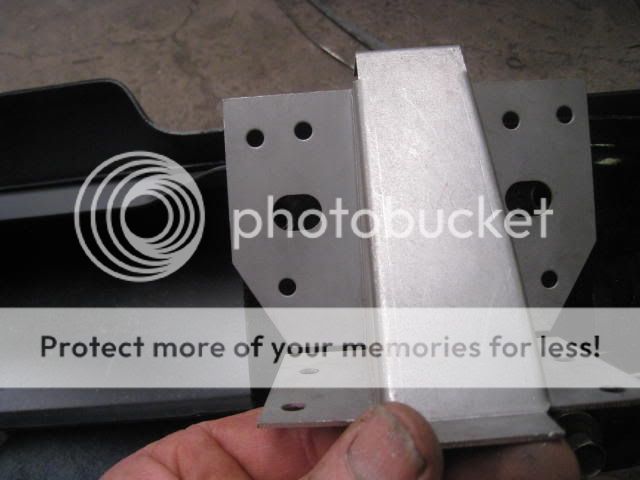 The bl**dy holes are way to close  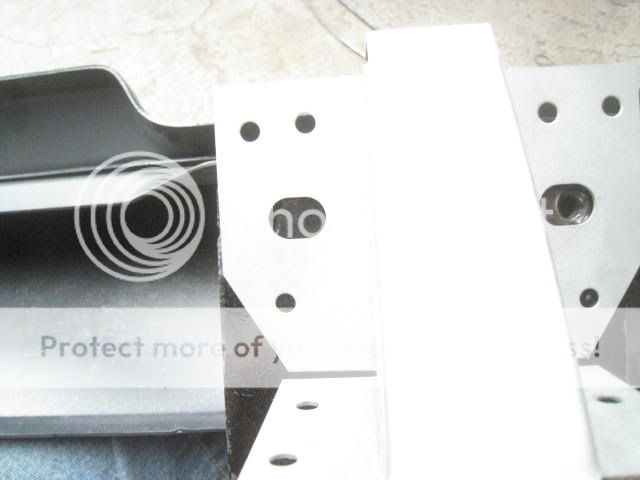 Almost done just need to put the tank in and mark the holes for the tank bolts. 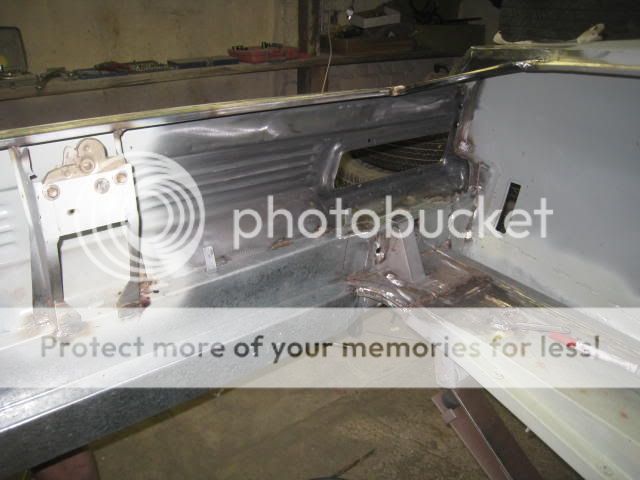
|
||
|
|

|
|
|
#18 | ||
|
Donating Member
 Join Date: Dec 2004
Location: QLD
Posts: 11,836
|
Coming up good .. I got a folder just like yours lol
|
||
|
|

|
|
|
#19 | ||
|
FF.Com.Au Hardcore
Join Date: Apr 2005
Location: GOsFORD Central Coast NSW
Posts: 1,930
|
you have some good skills there! great metalwork
__________________
XB Parts Wanted Twin Horns 8-9/74 and lower horn dated 7-8/74, GT hubcaps. GT aircleaner. Please pm me if you can help |
||
|
|

|
|
|
#20 | ||
|
74xbkoop
Join Date: Mar 2008
Posts: 204
|
Isn't it great how none of the repair panels are the same as what they are replacing!!!!! Looks like you are doing a good job. Well done.
|
||
|
|

|
|
|
#21 | ||||
|
Regular Member
Join Date: Mar 2007
Location: Sydney
Posts: 340
|
Quote:
Quote:
Spend a couple of hours making them fit, or paying a Kings ransom for genuine parts if they can be found. |
||||
|
|

|
|
|
#22 | ||
|
Regular Member
Join Date: Mar 2007
Location: Sydney
Posts: 340
|
I have a few more repairs done.
All the rust and dodgy rust repairs have been finished in the body shell. I have painted the engine bay so I can now bolt the suspension back in. Repaired left rear guard and 2k epoxy painted. 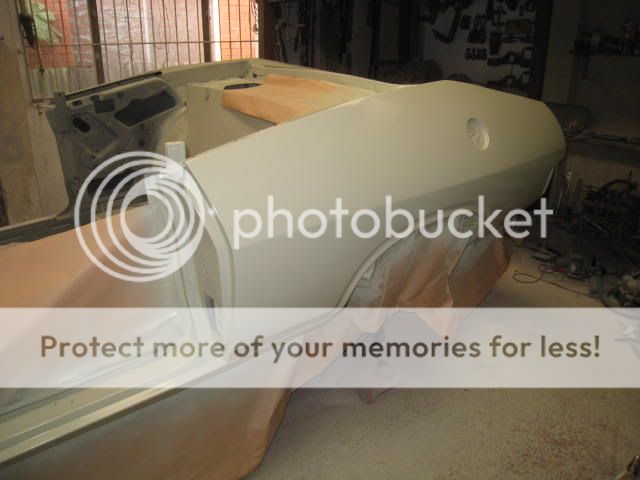 I have got a lot of brackets nuts and bolts back from the electroplater He zinc plated them yellow for me. 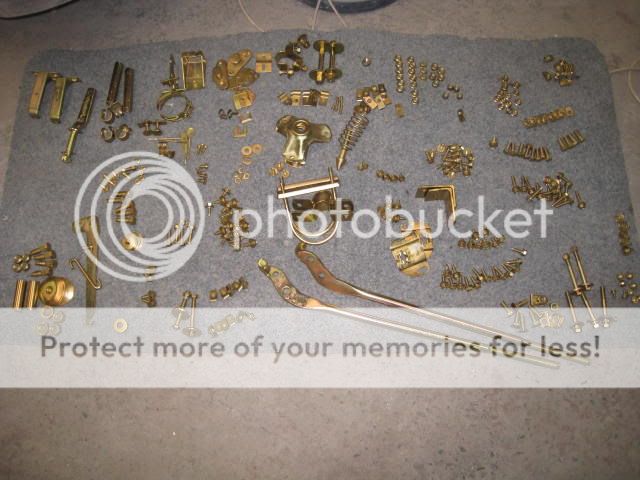
|
||
|
|

|
|
|
#23 | ||
|
Regular Member
Join Date: Mar 2007
Location: Sydney
Posts: 340
|
The door had the usual stress cracks around the lock so I made a new insert from thicker steel. I used 1.6mm steel. Should last a lot longer this time.
 All welded and now in Epoxy.  Rust Panels, both inner and outer have been welded in on the bottom of the front guard.  Finally got the shell all repaired and finished all the other panels. Every panel was badly rusted and plenty of dents and repairs needed everywhere.  Now prepairing for painting |
||
|
|

|
| This user likes this post: |
|
|
#24 | ||
|
FF.Com.Au Hardcore
 Join Date: Nov 2007
Location: Riff
Posts: 12,398
|
awesome repairs mate. what colour are you painting her?
__________________
FGII XR6 IN LIGHTNING STRIKE R52 SIII IN GUN METALLIC |
||
|
|

|
|
|
#25 | ||
|
Donating Member
 Join Date: Dec 2004
Location: QLD
Posts: 11,836
|
Nice progress

|
||
|
|

|
|
|
#26 | |||
|
Regular Member
Join Date: Mar 2007
Location: Sydney
Posts: 340
|
Quote:
I have some of the panels in black epoxy and they are waiting for me to do the final rub down before colour. I have drilled the holes to test fit the side flutes and the Honeycombs to the back. I have found the bloke hoarding all the right side flute shells.   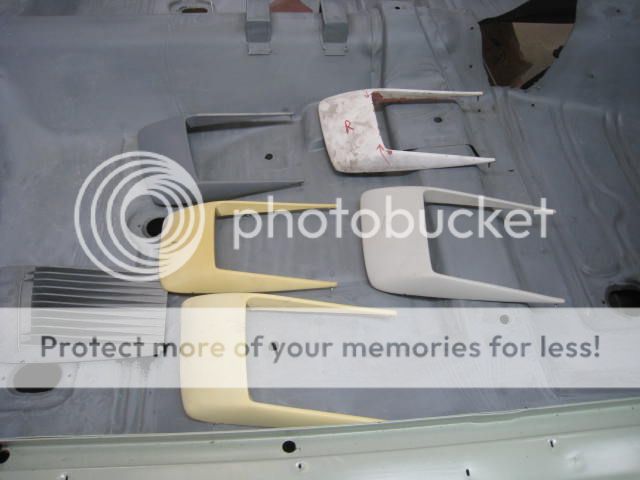 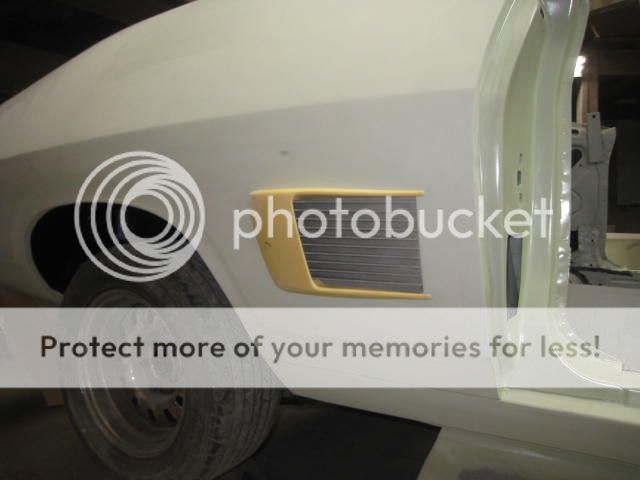 No....... just kidding, I actually make these as well as the Honeycombs. Most used ones have at least one or two pins missing from the back. I use threaded pins with nuts to secure them. 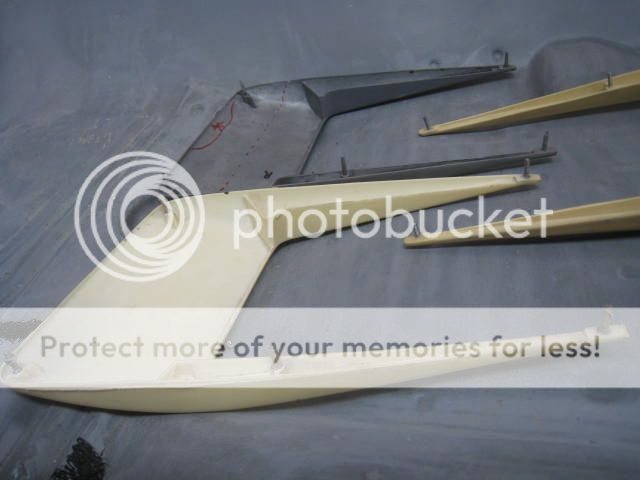 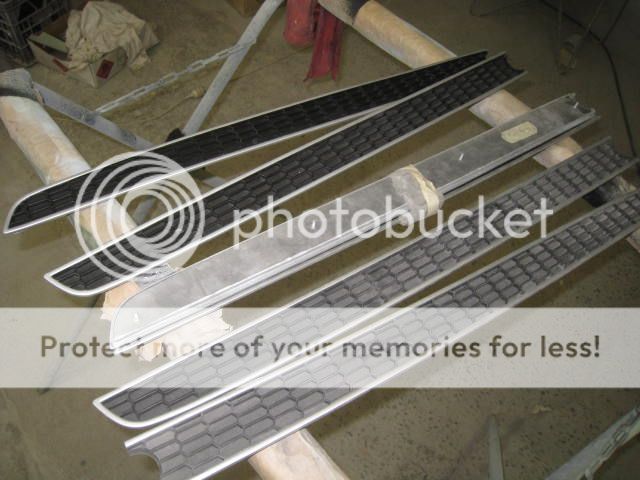 Test fit my "Honeycombs" to the replica panel. 
|
|||
|
|

|
|
|
#27 | ||
|
Regular Member
Join Date: Mar 2007
Location: Sydney
Posts: 340
|
I have the shell all painted in black epoxy primer now.
 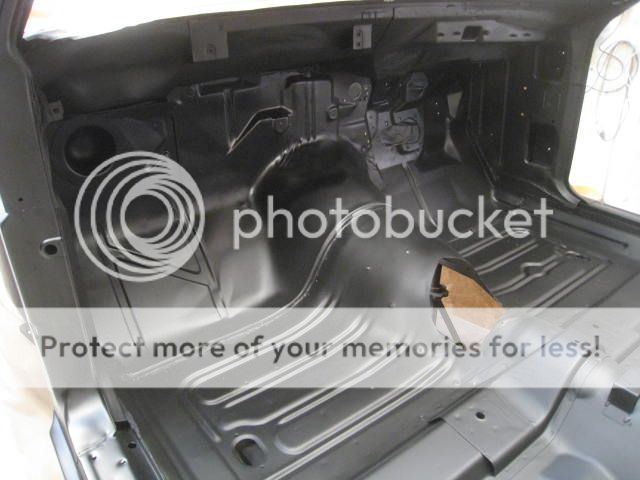 Sanded the paint back for the final time with 400 dry and shot 3 coats of Black colour onto the shell and the two doors. I am painting all the other panels off the car as well to make sure I get good coverage in all the tight spaces. 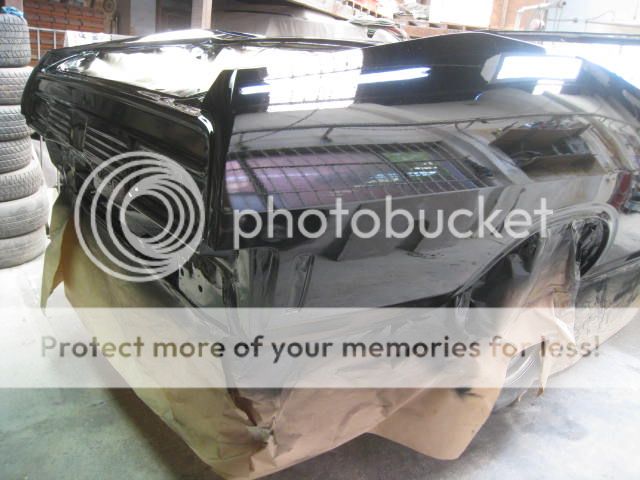 If it stays fine this week I should have the rest of the panels rubbed back and painted |
||
|
|

|
|
|
#28 | ||
|
FF.Com.Au Hardcore
Join Date: Jun 2007
Posts: 1,016
|
Awesome work, badassblack nuthin'says it better, i guessing you have done all the work yourself?
cheers James |
||
|
|

|
|
|
#29 | ||
|
Donating Member
 Join Date: Dec 2004
Location: QLD
Posts: 11,836
|
Now that's nice ......
|
||
|
|

|
|
|
#30 | ||
|
Awesome
Join Date: Oct 2007
Location: In my own little world..Everyone here knows me :)
Posts: 9,401
|
WOW!
 She is coming along great Jallopy. A real credit to you  Cheers Col
__________________
|
||
|
|

|