
|
|
 |
|
|
|
Welcome to the Australian Ford Forums forum. You are currently viewing our boards as a guest which gives you limited access to view most discussions and inserts advertising. By joining our free community you will have access to post topics, communicate privately with other members, respond to polls, upload content and access many other special features without post based advertising banners. Registration is simple and absolutely free so please, join our community today! If you have any problems with the registration process or your account login, please contact us. Please Note: All new registrations go through a manual approval queue to keep spammers out. This is checked twice each day so there will be a delay before your registration is activated. |
|
|||||||
 |
|
|
Thread Tools | Display Modes |
|
|
#1 | ||
|
Next upgraded Mk1 Leopard
 Join Date: Jan 2005
Location: Sydney, in the burbs
Posts: 4,916
|
SImple but effective.
Tools required 1 small flat head screw driver 1 medium Phillips head screw driver 1 long needle 1 sharp pair of scissors and a Stanley knife 1 large nail 1. Using the flat head screw driver pry open the old hanger to expose the screw. 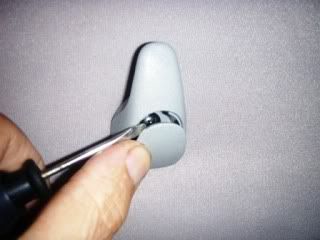 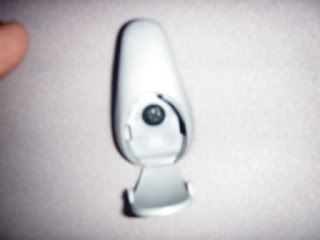 2. Using the Phillips head screw driver undo the screw 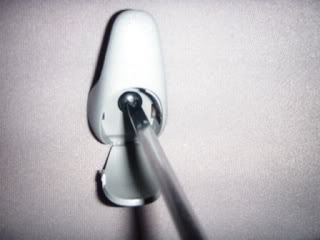 3. Twist out the old hanger. Be careful not the break off the plastic stud 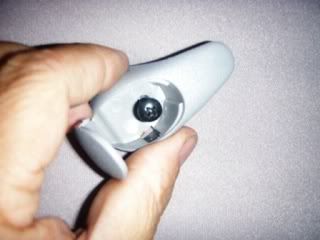 4. With the old one removed you can see the size and space of the two screw holds 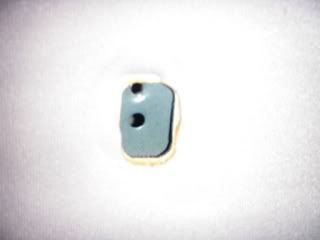 5. Using the new grab handle as a guide, push the rear end in to the exposed area. Now using the large needle estimate wear the hidden screw holes are. 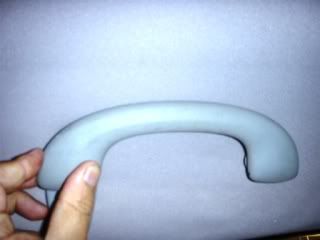 Let go of the handle and carefully use the pin to locate a hole. When you do, leave the needle in and get the large nail. Push the nail into the hole 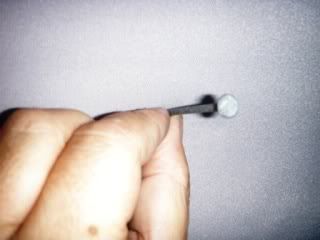 The handles are the reverse of each other i.e. one has the screw at the bottom and the other at the top. Using the handle as a guide again, estimate where the next screw hole should be. Use the needle again to locate the hole. When found use the nail again to make the hole.  6. Danger !! You now have to cut away some of the roof lining. Go slow and be careful. Using the sharp scissors and the two holes as a guide cut out the section between the two holes. You do not need to make a hole as big as the original one. If you look at the grab handle you can see that around the screw end you need to make some space. Use the Stanley knife or the flat head screw driver to remove the roof lining padding. Press the handle on to check if you have remove enough (push it in, it will make a small indent) 7. Before you screw on the handle get the screw and screw into the hole. This will create a thread pattern and will make it easier for the next step. 8. Install the grab handle, screw in the rear first, then pushing on the handle install the new end. 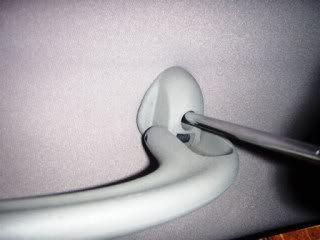 That's it. Repeat for the other side. 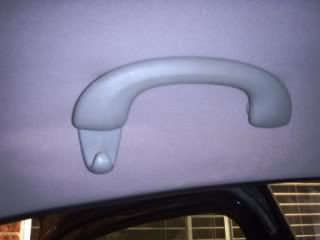 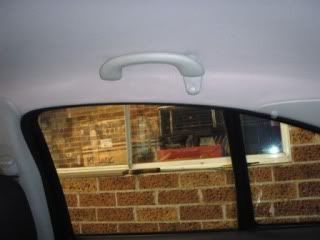 Uk 
__________________
Plastic Surgery 1 AUII Monsoon Blue How 2's: Change rear view mirror, Install backfire valve, Change foam front seats, Install auto transmission cooler, Replace Trans Shift Globe, Remove front door Trim, Paint AU headlights, install door spears, Premium Rear Parcel Shelf, go here...
 |
||
|
|

|